


Before you try at-home insemination, run this checklist:
- Goal: Are you aiming for ICI (intracervical insemination) rather than IVF or IUI?
- Timing plan: Do you know your likely ovulation window (tests, symptoms, or both)?
- Supplies: Do you have a home insemination kit, clean towels, and a simple cleanup plan?
- Comfort: Have you agreed on positioning, pacing, and a “pause” signal?
- Safety: Have you thought through infection risk, sperm handling, and (if applicable) donor screening?
- Legal: If donor sperm is involved, do you understand local parentage rules and documentation?
The big picture: why ICI is trending again
Celebrity pregnancy announcements keep fertility in the group chat. One week it’s a new “who’s expecting” roundup. The next week it’s a TV storyline about a nontraditional family. That cultural noise can be fun, but it also nudges real people to ask a serious question: “Do we have to jump straight to IVF?”
For some, at-home insemination (ICI) feels like a middle lane. It’s more intentional than “just try,” but it’s not as clinical or expensive as many assisted options. It also fits how people live now: private, scheduled, and repeatable.
One more reason it’s in the headlines: legal uncertainty. Reports have discussed court decisions where at-home donor arrangements can create parentage disputes. That’s not meant to scare you. It’s a reminder to treat the “admin side” as part of the process.
The emotional part: keep it human, not performative
At-home ICI can look simple on paper. In real life, it can bring up pressure, grief, excitement, and awkwardness in the same hour.
Set expectations early. Decide if this attempt is “quiet and practical” or “romantic and cozy.” Either is fine. Mixing the two without talking about it is where people feel disappointed.
Don’t let the number 35 hijack your brain. Recent coverage has pushed back on the idea of a sudden fertility cliff. Fertility changes over time, but it isn’t a light switch. Age is one factor among many for all genders, and the best next step depends on your full picture.
Use tools without turning it into a test. Some couples love data. Others spiral. If you’re the second type, keep tracking minimal and focus on consistency.
Practical steps: a repeatable ICI routine at home
This is a technique-and-logistics guide, not medical care. If you have known fertility diagnoses, severe pain, or repeated losses, talk with a clinician for individualized advice.
1) Build your “no-stress station” (10 minutes)
- Wash hands. Clean a flat surface.
- Lay out your kit items, tissues, and a small trash bag.
- Use a towel under hips/seat area for easy cleanup.
- Keep lighting low if that helps you relax.
ICI goes smoother when you aren’t searching for supplies mid-process.
2) Timing: aim for the fertile window, not perfection
Most people try ICI around the days leading up to ovulation and/or the day of a positive ovulation predictor test. If you’re guessing, you’re not alone. You can combine two simple signals:
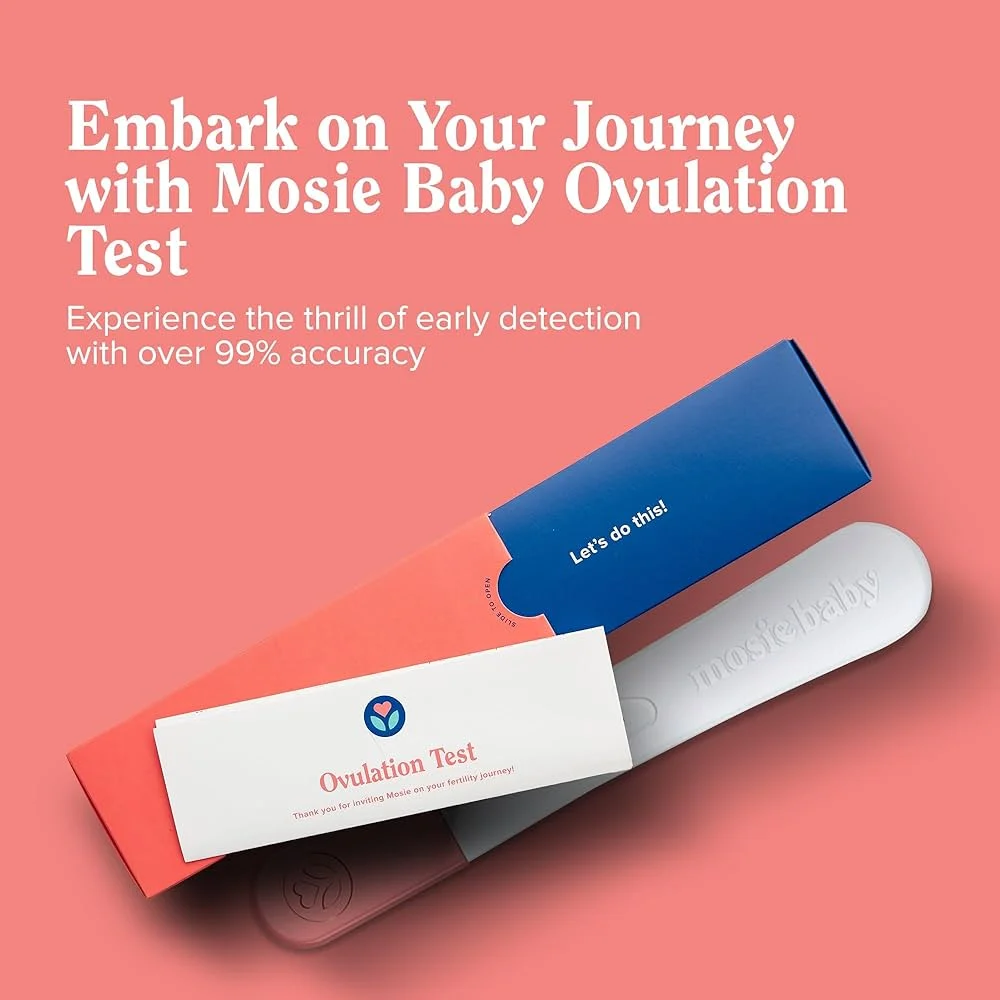
- Ovulation tests (LH strips): helpful for narrowing the window.
- Cervical mucus changes: often becomes clearer, stretchier, and more slippery near ovulation.
If you’re using fresh sperm, timing can feel less rigid. If sperm is frozen, timing often matters more. When in doubt, ask the sperm bank or a clinician about best practices for your specific source.
3) Comfort and positioning: choose “easy to repeat”
Pick a position you can hold without strain. Many people use a reclined position with hips slightly elevated using a pillow. Others prefer side-lying. The best position is the one that keeps you relaxed and steady.
Plan for a short rest afterward. Not because you must, but because it reduces mess and gives you a calm finish.
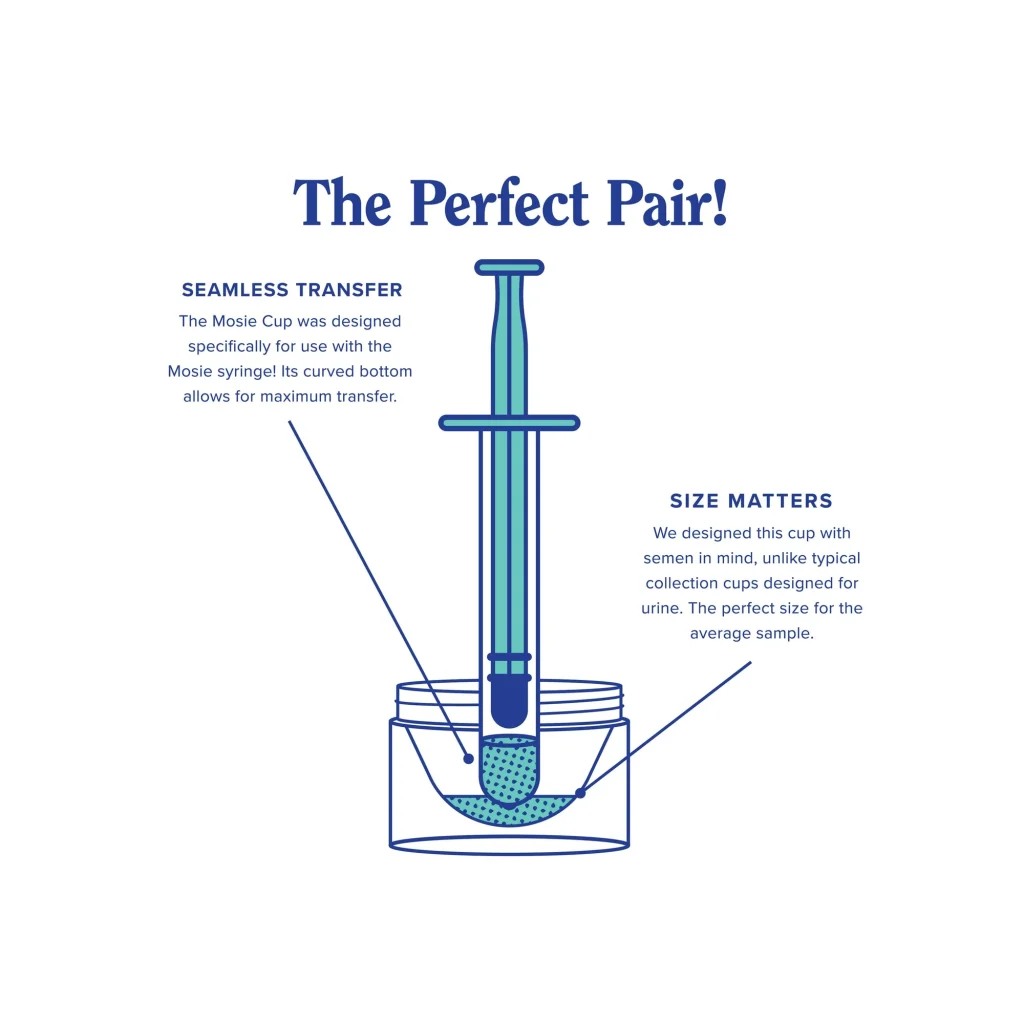
4) The actual ICI step: slow, steady, clean
- Follow your kit’s instructions exactly.
- Move slowly to avoid discomfort.
- Keep everything as clean as possible. Don’t reuse single-use items.
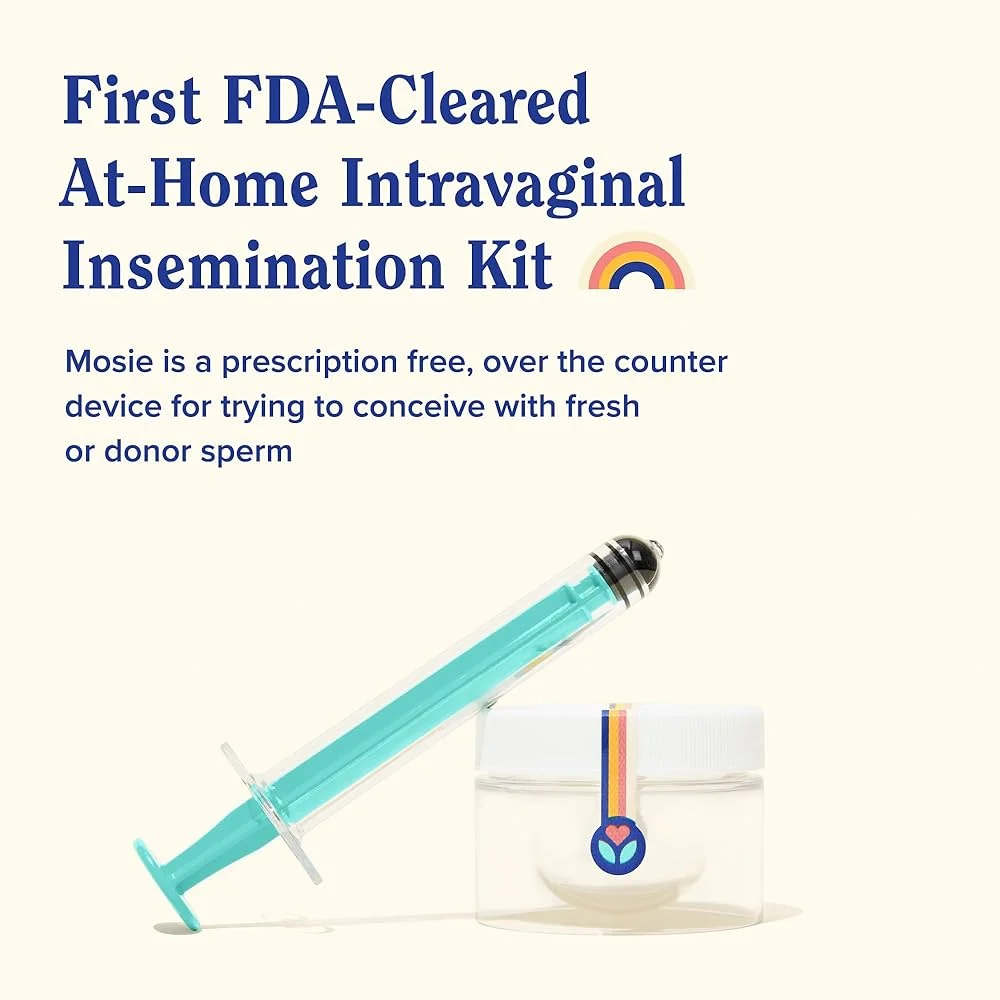
If you’re shopping for supplies, start with a purpose-built option rather than improvising. Here’s a relevant product path: at home insemination kit for ICI.
5) Cleanup: reduce stress for next time
- Expect some leakage afterward. That can be normal.
- Use the towel, then dispose of waste promptly.
- Wash hands and any non-disposable items per instructions.
- Write down what you did (timing, comfort notes, anything you’d change).
That last bullet is underrated. A simple log can prevent repeating the same small mistake next cycle.
Safety and testing: what “responsible at-home” looks like
Infection risk: keep it boring
Clean hands, clean surfaces, and sterile/single-use components matter. Avoid using products not intended for insemination. If you develop fever, severe pelvic pain, or foul-smelling discharge, seek urgent medical care.
Donor sperm: screening and paperwork are part of the kit
If donor sperm is involved, think beyond the moment. Testing and clear consent protect everyone. Also consider legal guidance, because parentage rules can vary and some recent legal coverage has highlighted real disputes tied to at-home arrangements.
Data tools are fine. Don’t let them run your life.
People are using apps, wearables, and even AI-powered trackers to estimate fertile windows. If you’re curious, understand the basics first. A simple starting point is this reference on home insemination kit, so you know what these tools are (and aren’t) doing.
FAQ: quick answers for first-time ICI
Is ICI appropriate if you’ve been trying for a while?
It can be, depending on age, cycle regularity, sperm factors, and medical history. If you’ve had many unsuccessful cycles, a clinician can help you decide when to add testing or change approaches.
Should you do ICI more than once per cycle?
Some people try more than once during the fertile window. The right frequency depends on sperm availability (fresh vs. frozen), timing confidence, and stress level. Don’t let “more” become the enemy of “sustainable.”
What if it hurts?
Stop and reassess. Pain isn’t a goal. If pain is persistent, consider medical advice to rule out issues that need clinician support.
Next step: choose a kit that supports clean, calm attempts
If you want a straightforward setup designed for ICI at home, start here and keep your process consistent from cycle to cycle.
How does at-home insemination (ICI) work?
Medical disclaimer: This article is for general education and is not medical advice. It does not diagnose, treat, or replace care from a licensed clinician. If you have known fertility conditions, severe pain, abnormal bleeding, or concerns about donor screening or legal parentage, seek professional guidance.