


- Timing beats gadgets: hit the fertile window, not random days.
- ICI is simple: sperm goes in the vagina, not the uterus.
- Comfort matters: a calm setup improves follow-through.
- Safety is non-negotiable: clean tools, gentle technique, clear labeling.
- Legal gray areas are real: informal donor arrangements can get complicated fast.
What’s trending: DIY fertility talk is everywhere
Between celebrity pregnancy chatter, relationship plot twists in streaming dramas, and “will-they-won’t-they” movie romances, family-building is a constant cultural storyline. Lately, the real-world conversation has gotten sharper because of court coverage tied to at-home insemination and donor rights.
In particular, headlines about a Florida case have pushed a practical question into the spotlight: when you skip a clinic and do insemination at home, what assumptions do people make about consent, parentage, and paperwork? If you’re considering ICI, it’s smart to think about those issues early, not mid-pregnancy.
If you want the general news context, see this coverage via Florida Supreme Court makes ruling in at-home artificial insemination case.
What matters medically: ICI basics without the overwhelm
ICI vs. IUI vs. IVF (quick clarity)
ICI (intracervical insemination) is commonly used to describe at-home insemination where sperm is placed in the vagina, near the cervix. It’s closer to “timed intercourse mechanics” than to a clinical procedure.
IUI (intrauterine insemination) places prepared sperm into the uterus and is done in a clinic. IVF is a bigger step involving egg retrieval and lab fertilization.
The real lever: ovulation timing
Most ICI success comes down to one thing: sperm needs to be present before the egg is released. The fertile window is usually the 5 days before ovulation plus ovulation day. That sounds wide, but your best odds are typically clustered around the day before and the day of ovulation.
To keep it simple, many people combine:
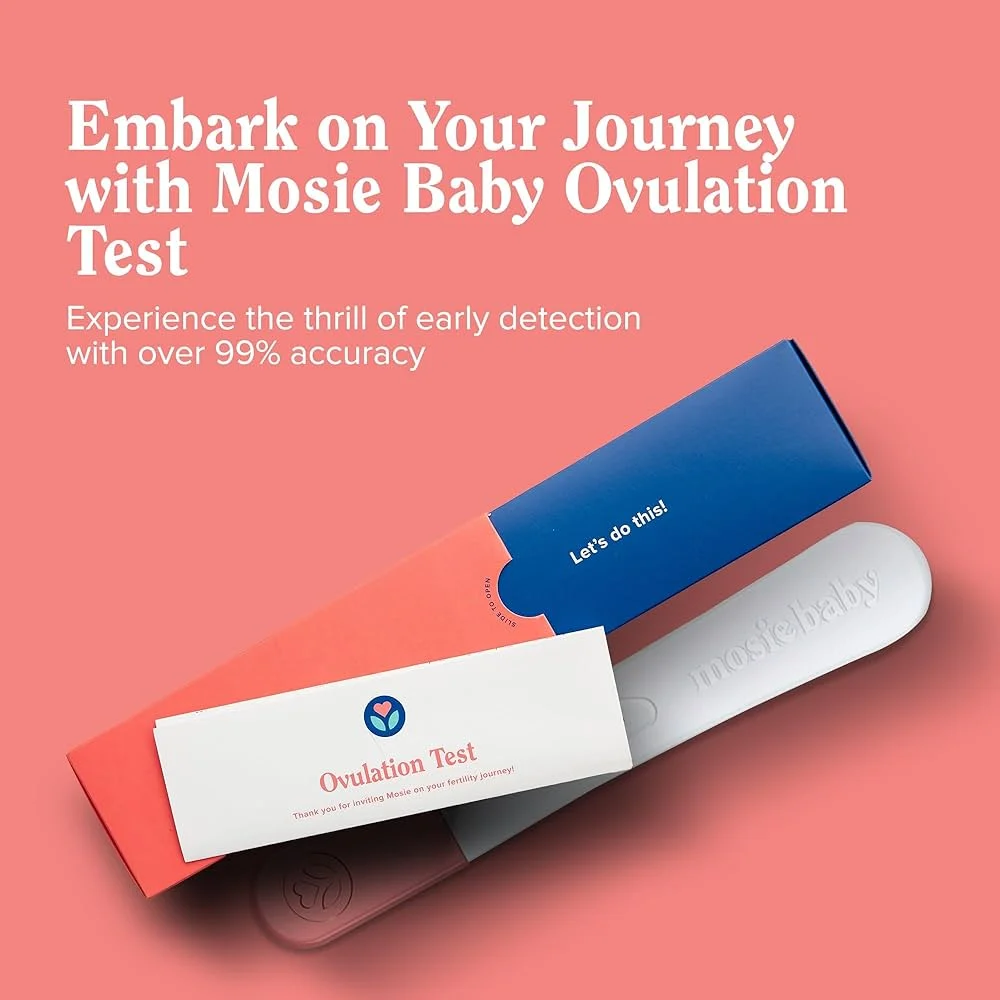
- OPKs (ovulation predictor kits) to catch the LH surge
- Cervical mucus changes (often clearer/slippery near ovulation)
- Cycle tracking to spot patterns over 2–3 months
A note on supplements and “fertility hacks”
You may see wellness headlines about adaptogens like ashwagandha and other trending supplements. Some people use them for stress. Still, supplements can interact with medications and aren’t a replacement for targeted fertility evaluation. If you’re trying to conceive, it’s reasonable to ask a clinician or pharmacist before starting anything new.
How to try at home: a straightforward ICI plan
Step 1: Choose your timing strategy
Pick one approach and stick to it for a full cycle so you can learn what your body does.
- OPK-first approach: start testing daily a few days before expected ovulation. Plan an insemination the day you get a positive and, if possible, another within ~24 hours.
- Mucus-plus-OPK approach: when mucus looks fertile, test with OPKs and time insemination around the surge.
Step 2: Set up supplies and reduce variables
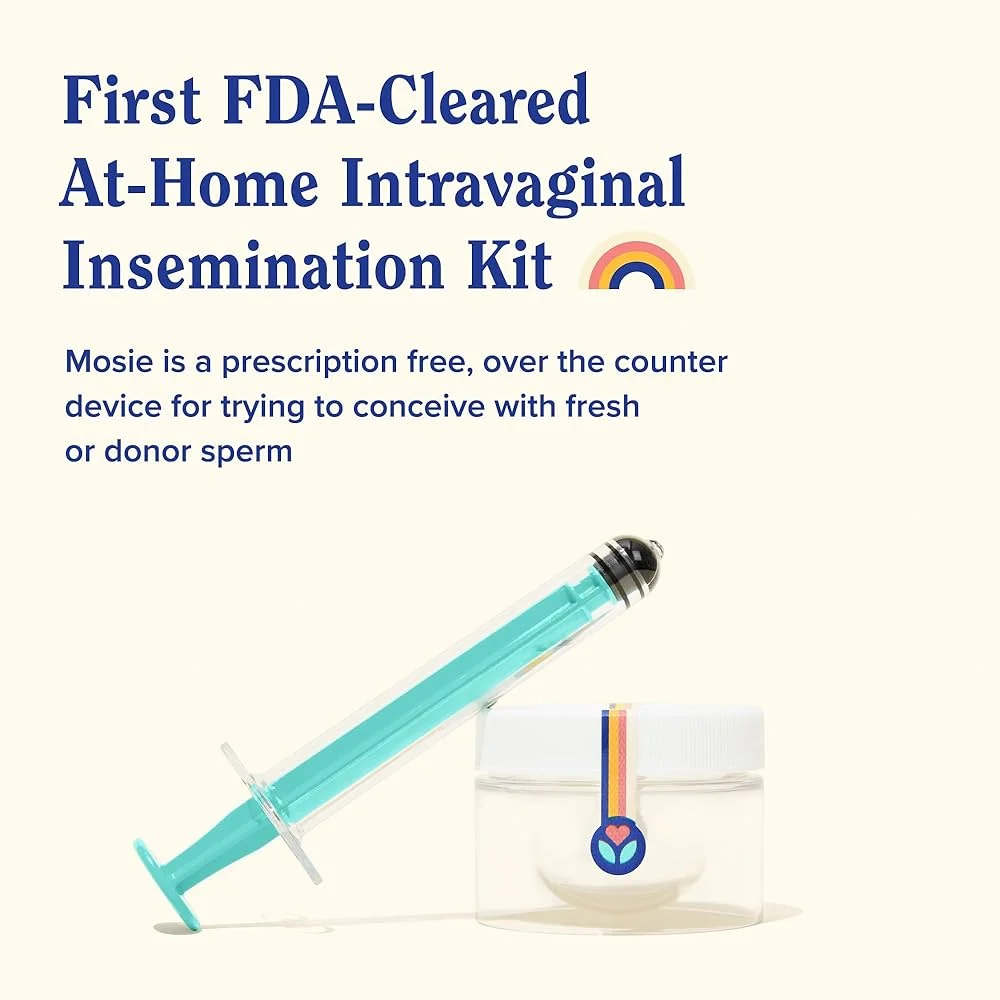
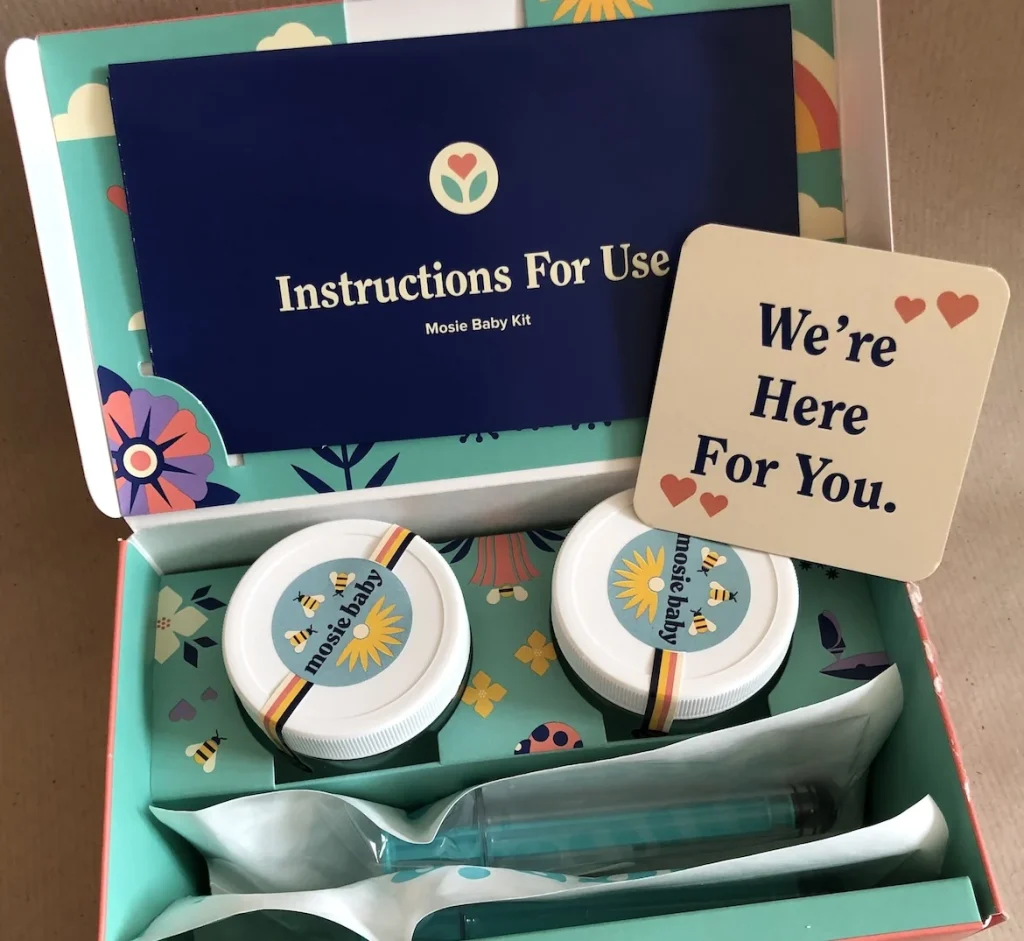
A home insemination kit typically focuses on controlled placement and less mess. Keep your setup minimal so you don’t turn the moment into a production.
Look for tools designed for comfort and gentle use. If you’re comparing options, start here: at-home insemination kit for ICI.
Step 3: Keep it clean and gentle
- Wash hands and use clean, dedicated tools.
- Avoid anything that could irritate vaginal tissue.
- Go slowly. Discomfort is a sign to stop and reassess.
After insemination, some people rest for 10–20 minutes. Do it if it helps you feel calm. Don’t treat it like a magic trick.
Step 4: Track what happened (briefly)
Write down three things: OPK result, cervical mucus, and the insemination time. That’s enough to learn and adjust next cycle without obsessing.
Step 5: Don’t skip the “boring” conversation (consent + expectations)
If donor sperm is part of your plan, talk through expectations before you start. At-home arrangements can blur lines that clinics usually formalize. Because laws vary, consider getting legal guidance in your area if you’re using a known donor or any informal agreement.
When to seek help: signs DIY should become a clinic conversation
At-home ICI can be a reasonable first step for some people. But it shouldn’t become an endless loop if the basics aren’t lining up.
- Irregular cycles or very unpredictable ovulation
- Known sperm concerns (low count/motility) or prior fertility history
- 6–12 months of trying without pregnancy (the shorter end is often used if you’re 35+)
- Severe pain, heavy bleeding, or symptoms that worry you
A clinician can help confirm ovulation, review timing, and discuss options like IUI or IVF if needed. That’s not “giving up.” It’s tightening the plan.
FAQ: quick answers people ask before buying a kit
Is a home insemination kit necessary?
Not always, but it can make placement easier and reduce stress. The goal is consistent timing with a comfortable, gentle method.
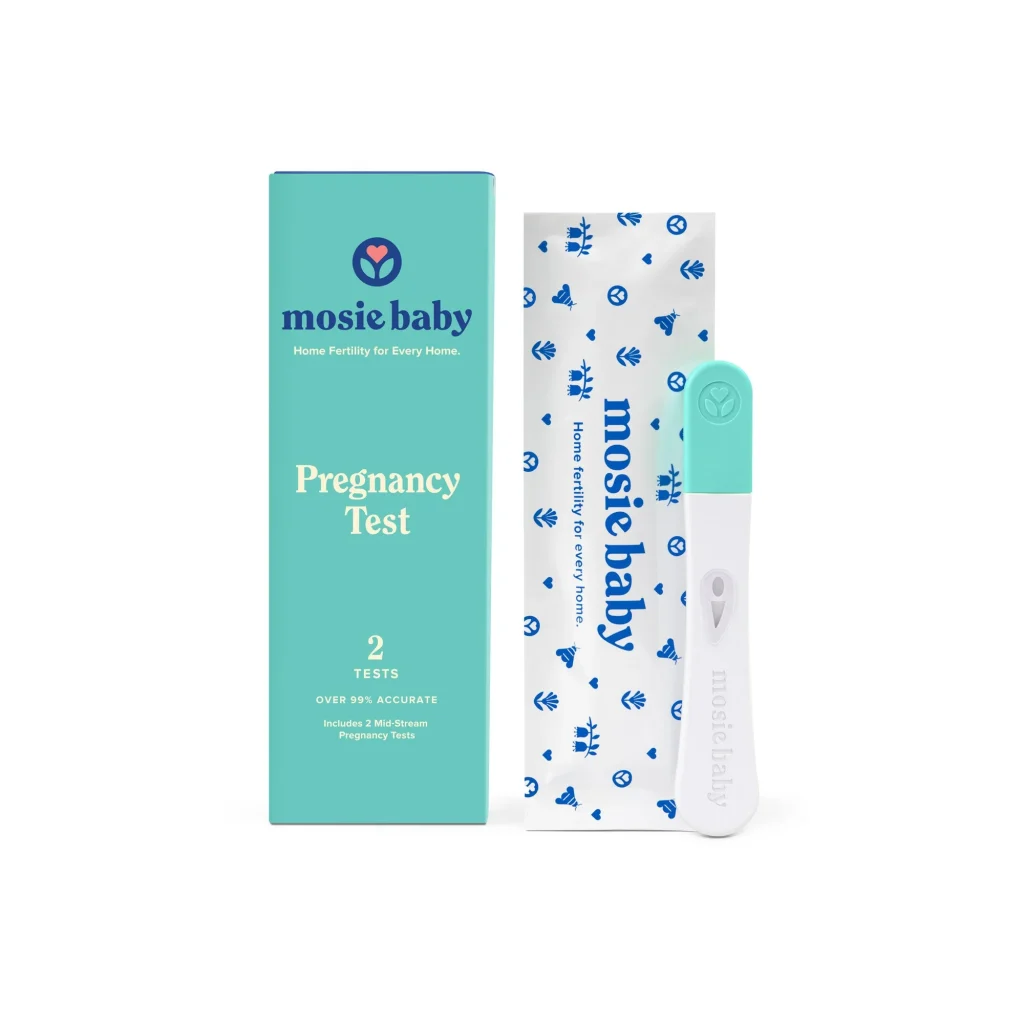
How long should you wait to take a pregnancy test?
Many people test around the day of a missed period. Testing too early often creates confusion and repeat testing.
Does lubricant affect sperm?
Some lubricants can be sperm-unfriendly. If you need one, look for fertility-friendly options and confirm product labeling.
CTA: keep it simple, keep it timed
If you’re building an ICI plan, start with the one thing you can control: the fertile window. Then choose tools that support calm, repeatable attempts.
How does at-home insemination (ICI) work?
Medical disclaimer: This article is for general education and is not medical or legal advice. It does not diagnose conditions or replace care from a qualified clinician. If you have health concerns, severe pain, unusual bleeding, or questions about medications/supplements, consult a healthcare professional. For donor and parentage questions, consider legal advice in your jurisdiction.