


- Timing beats technique when you only get one or two chances per cycle.
- ICI is not IVF—it’s a lower-intervention option some people try before escalating care.
- A clean, calm setup helps you avoid wasted samples and last-minute scrambling.
- Donor/legal details matter more than TikTok makes it look, especially with known donors.
- Don’t over-test early; it’s a fast track to unnecessary anxiety.
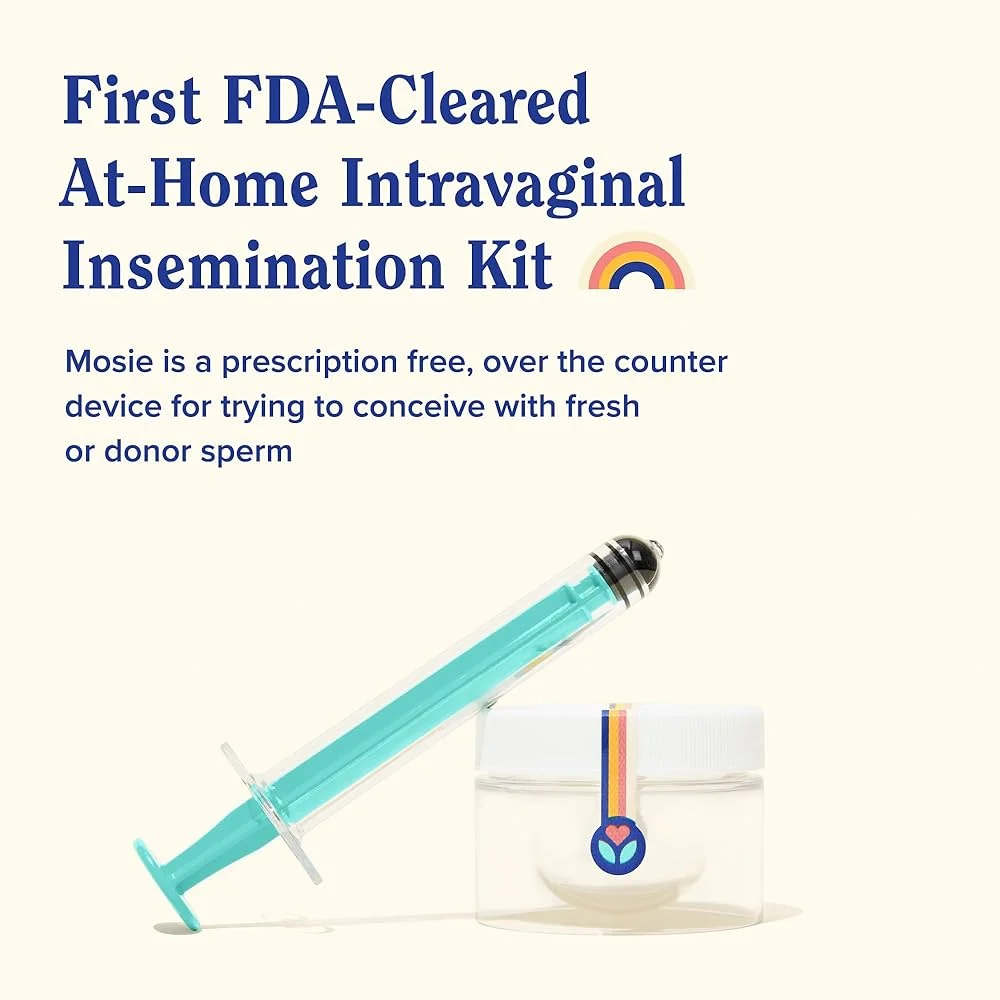
Overview: what ICI at home is (and why it’s trending)
At-home insemination (ICI) is a do-it-yourself approach that places sperm in the vagina, aiming to get it close to the cervix around ovulation. People look at it as a practical step before jumping to more intensive options.

Part of the buzz right now isn’t just about fertility. It’s also about culture and headlines—celebrity pregnancy chatter, TV dramas that turn personal decisions into plot twists, and even court rulings that pull private family planning into public view.
One recent legal story out of Florida has people rethinking “casual” donor arrangements. If you’re using a known donor, you’ll want to read about the Florida Supreme Court makes ruling in at-home artificial insemination case and talk to a family-law attorney in your state if anything feels unclear.
Timing that saves cycles: your “don’t waste the window” checklist
ICI works best when you treat timing like a calendar event you can’t miss. If you only have one sample, timing is the entire game.
Find your fertile window without spiraling
Use tools you can stick with for a few cycles. Many people combine an ovulation predictor kit (OPK) with tracking cervical mucus or basal body temperature.
OPKs typically signal an LH surge before ovulation. That’s your cue to plan insemination soon, not “sometime this week.”
When to inseminate if you have limited samples
If you’re rationing samples, prioritize the day before expected ovulation and the day of ovulation. If you have more flexibility, some people add an extra attempt earlier in the window.
Try to avoid “guess-and-hope” timing. It’s the most common way people burn a cycle and feel like the method failed.
Supplies: what you actually need (and what’s optional)
Keep your setup simple. A pile of gadgets can slow you down and add stress.
Core items
- Home insemination kit designed for ICI use
- Syringe (needle-free) appropriate for insemination
- Collection container (if using fresh sample)
- Clean towels and hand soap
- Optional: water-based lubricant (only if sperm-friendly and needed)
Nice-to-have items
- OPKs and pregnancy tests (choose ones you’ll actually use correctly)
- Timer and a pillow for comfort
- Notebook/app for tracking so you don’t rely on memory
If you’re shopping, start with a at-home insemination kit for ICI that’s straightforward and clearly labeled. Confusing parts and unclear instructions are where cycles get wasted.
Step-by-step: a practical ICI routine (low drama, high clarity)
This is a general overview for education. Follow product instructions, and seek clinician guidance if you have pain, known fertility conditions, or you’re using frozen sperm.
1) Prep the space before you prep the sample
Wash hands. Set out supplies. Make sure you can reach everything without getting up mid-process.
2) Handle the sample with care
Use a clean container and minimize delays. Avoid heat, harsh soaps, or anything that could contaminate the sample.
3) Draw the sample into the syringe slowly
Go slow to reduce bubbles and mess. Keep the syringe needle-free and use only what’s intended for insemination.
4) Insert just inside the vagina and release gently
ICI is not about pushing deep or forcing anything. Aim to place sperm near the cervix area without discomfort.
5) Stay resting for a short period
Many people lie down briefly afterward for comfort. It’s less about “gravity hacks” and more about staying calm and avoiding immediate leakage.
Common mistakes that waste a cycle (and how to dodge them)
Missing the window
The biggest issue is timing too early or too late. If your OPK is positive and you wait a full day “to be safe,” you may miss the best hours.
Overcomplicating the process
When you add extra steps, you add delays. Keep your routine repeatable, especially if you plan to try more than one cycle.
Using the wrong lubricant (or too much)
Some lubricants can be harmful to sperm. If you need lube, look for sperm-friendly options and use as little as possible.
Ignoring the legal side with a known donor
Recent headlines have reminded people that “we agreed verbally” may not protect anyone. Family-building can be joyful and still require paperwork and legal advice.
Testing too early and changing your plan mid-cycle
Early testing can lead to confusion. It can also push people into panic-buying new products instead of improving timing next cycle.
FAQ: quick answers people are asking right now
Medical note: This article is educational and not medical advice. It doesn’t diagnose conditions or replace care from a licensed clinician.
Next step: pick a simple kit, then plan your timing
If you want the most practical approach, choose a home insemination kit you can use confidently and build your cycle plan around ovulation timing. That’s the lever that prevents wasted attempts.