

Before you try at-home insemination, run this quick checklist:

- Timing: you have a plan to identify your fertile window (OPKs, cervical mucus, or tracking).
- Supplies: you have a home insemination kit, clean collection container, and a calm setup.
- Comfort: you’ve picked a position you can hold for 10–20 minutes without stress.
- Cleanup: you know what’s normal leakage and what would be unusual pain or irritation.
- Expectations: you’re ready for this to take more than one cycle, even when everything is “right.”
Overview: where ICI fits in today’s fertility conversation
At-home insemination (ICI) is having a moment because people want options. Some want more privacy. Others want a lower-cost step before jumping into clinic-based care. Meanwhile, news cycles keep spotlighting fertility from every angle—research breakthroughs in animal reproduction, legal debates about reproductive rights, and the usual celebrity pregnancy chatter that makes timelines feel louder than reality.
It can also feel like everything is reduced to a single number. You’ve probably seen the “35” talking point pop up again recently. The more accurate take is less dramatic: fertility doesn’t fall off a cliff on a specific birthday. It shifts over time and depends on multiple factors for women and men.
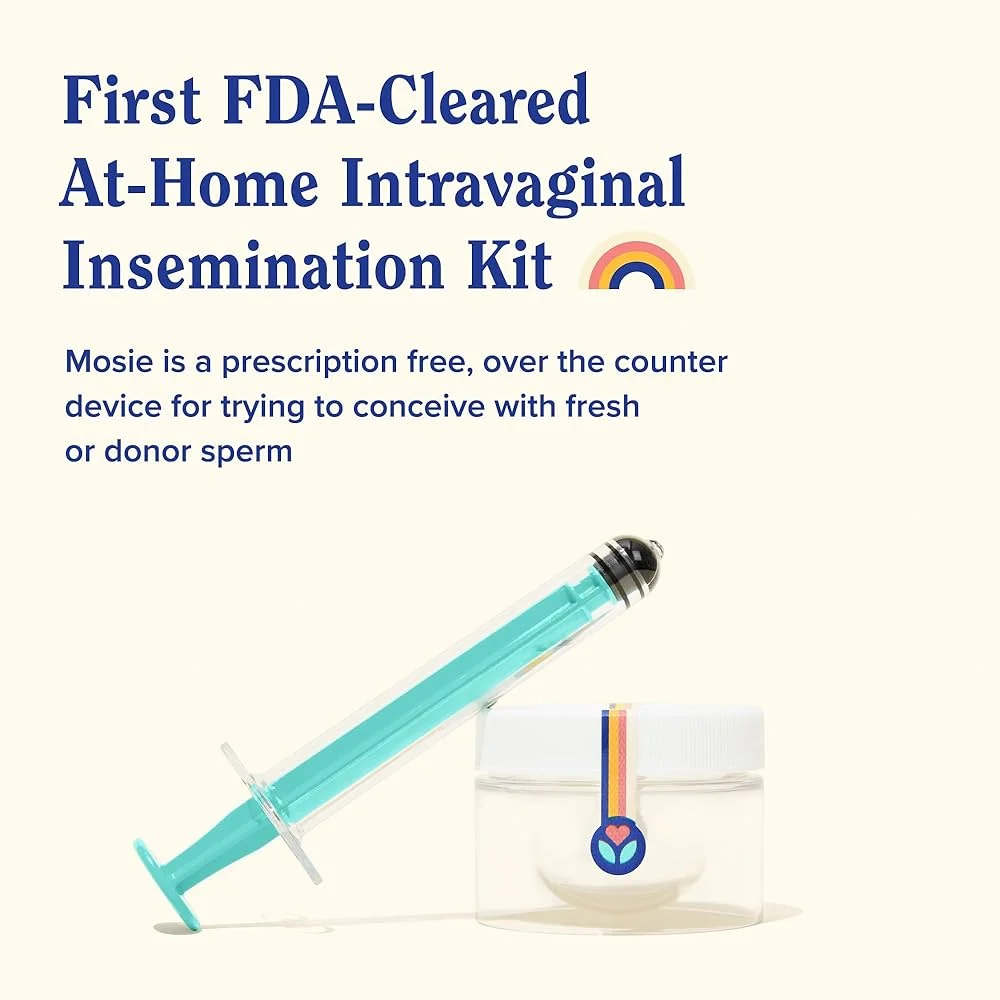
ICI is not IVF, and it’s not a guarantee. It’s a practical, at-home method that places semen near the cervix to support natural conception. For some people, it’s a first-line approach. For others, it’s a bridge while they decide what’s next.
Timing: the part that matters more than the syringe
If you only optimize one thing, optimize timing. The goal is to inseminate close to ovulation, when an egg is available and cervical mucus is most supportive of sperm movement.
Simple ways to find your fertile window
- Ovulation predictor kits (OPKs): look for an LH surge that often happens 24–36 hours before ovulation.
- Cervical mucus changes: many people notice clearer, stretchier “egg-white” mucus near peak fertility.
- Cycle tracking: helpful for patterns, but less precise if cycles vary.
Real life isn’t a perfectly scripted TV drama. If you miss the “perfect” hour, it’s not automatically a wasted cycle. Aim for a tight window, then keep it simple and repeatable.
Supplies: what you actually need (and what you don’t)
A solid setup reduces mess, discomfort, and second-guessing. You don’t need a complicated lab vibe at home. You need clean, compatible tools and a plan.
Core items
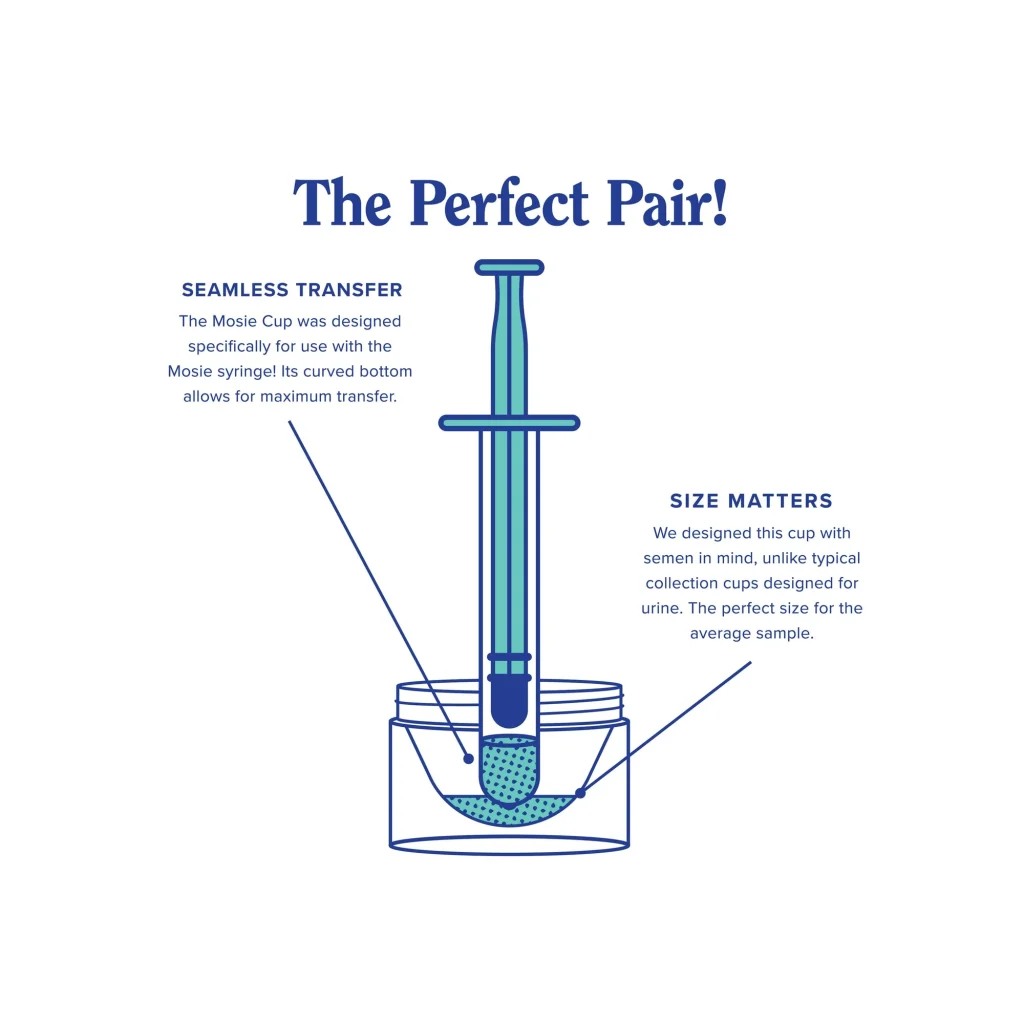
- Home insemination kit: typically includes a syringe and sometimes a catheter-style tip designed for comfort.
- Clean collection cup/container: wide enough to avoid spills.
- Timer: your phone works.
- Towels/wipes: for quick cleanup.
Nice-to-have items
- Disposable gloves: optional, but some people feel more comfortable using them.
- Body-safe, fertility-friendly lubricant: only if needed; use sparingly.
- Pillow for hip support: for comfort during the rest period.
Skip anything that adds friction or confusion. If a product makes you feel like you need a training montage, it’s probably not helping.
Step-by-step ICI at home: a calm, repeatable routine
This is a general, non-medical overview. Follow the instructions that come with your kit, and consider clinician guidance if you have pain, known conditions, or questions about safety.
1) Set the scene
Wash hands. Lay out supplies. Choose a private space where you won’t feel rushed. Stress doesn’t “ruin” everything, but a calm setup prevents avoidable mistakes.
2) Collect the sample
Collect semen in a clean container. Avoid mixing it with water, saliva, or non-fertility lubricants. If using a donor sample, follow storage and thawing guidance exactly.
3) Draw into the syringe slowly
Pull the plunger back gently to reduce bubbles. Air isn’t the goal here. Slow and steady keeps things more comfortable and less messy.
4) Get into a comfortable position
Many people choose lying on their back with knees bent, or hips slightly elevated with a pillow. Pick what you can maintain without strain.
5) Inseminate gradually
Insert only as far as is comfortable and intended by the device design. Depress the plunger slowly. Rushing can cause leakage and discomfort.
6) Rest briefly, then move on with your day
Rest for 10–20 minutes if that helps you feel confident. Some leakage afterward is common. That doesn’t mean it “didn’t work.”
Common mistakes that make ICI harder than it needs to be
- Chasing the exact minute: timing matters, but obsessing can increase stress without improving results.
- Using the wrong lubricant: some products can be sperm-unfriendly.
- Going too fast: quick plunging increases discomfort and mess.
- Overcomplicating the setup: too many steps creates room for errors.
- Assuming “35” is a hard stop: fertility is more nuanced than a single headline-friendly number.
Also, keep your media diet realistic. Between true-crime binge releases, rom-com watch lists, and political updates about reproductive health in the courts, it’s easy to absorb urgency. Your body runs on biology, not the news cycle.
FAQ: quick answers people ask before buying a kit
Does at-home ICI hurt?
It shouldn’t be sharply painful. Mild pressure can happen. Stop if you feel significant pain, burning, or bleeding, and consider medical advice.
How clean does it need to be?
Use clean hands and clean tools. Don’t reuse single-use items. Avoid harsh internal cleansing, which can irritate tissue.
Can tech help with timing?
Yes. Apps and wearables can help you track patterns, and some tools use data modeling. If you’re curious about how modern prediction works, skim home insemination kit to understand the general idea behind pattern recognition.
Ready to choose a home insemination kit?
If you want a simple, purpose-built option for ICI, start with a product designed for comfort and ease of use. Explore this at home insemination kit and keep your process consistent for a few cycles.
Medical disclaimer: This article is for general education and is not medical advice. It does not diagnose or treat any condition. If you have pain, irregular cycles, a known reproductive health issue, or questions about donor screening and legal considerations, talk with a qualified clinician or legal professional for guidance.