


Q: Why does it feel like everyone is announcing a pregnancy right now?

Q: Is at-home insemination (ICI) a real option, or just internet noise?
Q: If timing is everything, what should we actually do this cycle?
Those questions are exactly why people keep searching for a home insemination kit. Celebrity baby news can make it look effortless, while real life is calendars, ovulation tests, and a lot of feelings. Let’s cut through the hype and focus on what you can control: timing, setup, and next steps.
What people are talking about (and why it matters)
Pop culture is in full “baby bump watch” mode. Entertainment outlets keep rounding up celebrity pregnancy announcements, and the tone is usually glossy and fast. It’s the same energy as a binge-worthy TV drama: big reveals, quick timelines, and not much about the months of trying that many people experience.
At the same time, fertility topics are showing up in more serious places. You may have seen coverage about a court case involving at-home artificial insemination and donor parental rights. If you want the general context, here’s a related source you can review: Florida Supreme Court makes ruling in at-home artificial insemination case.
Also trending: fertility supplements. Market reports and forecasts get headlines because lots of people are shopping for “one more lever” to pull. That’s understandable. Still, supplements rarely beat the basics: well-timed insemination and a plan you can repeat without burning out.
What matters medically (the simple version)
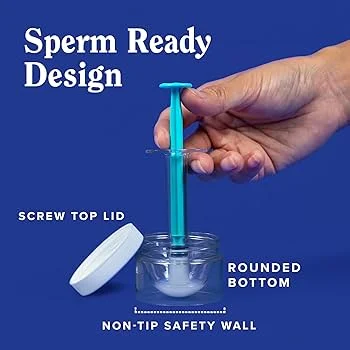
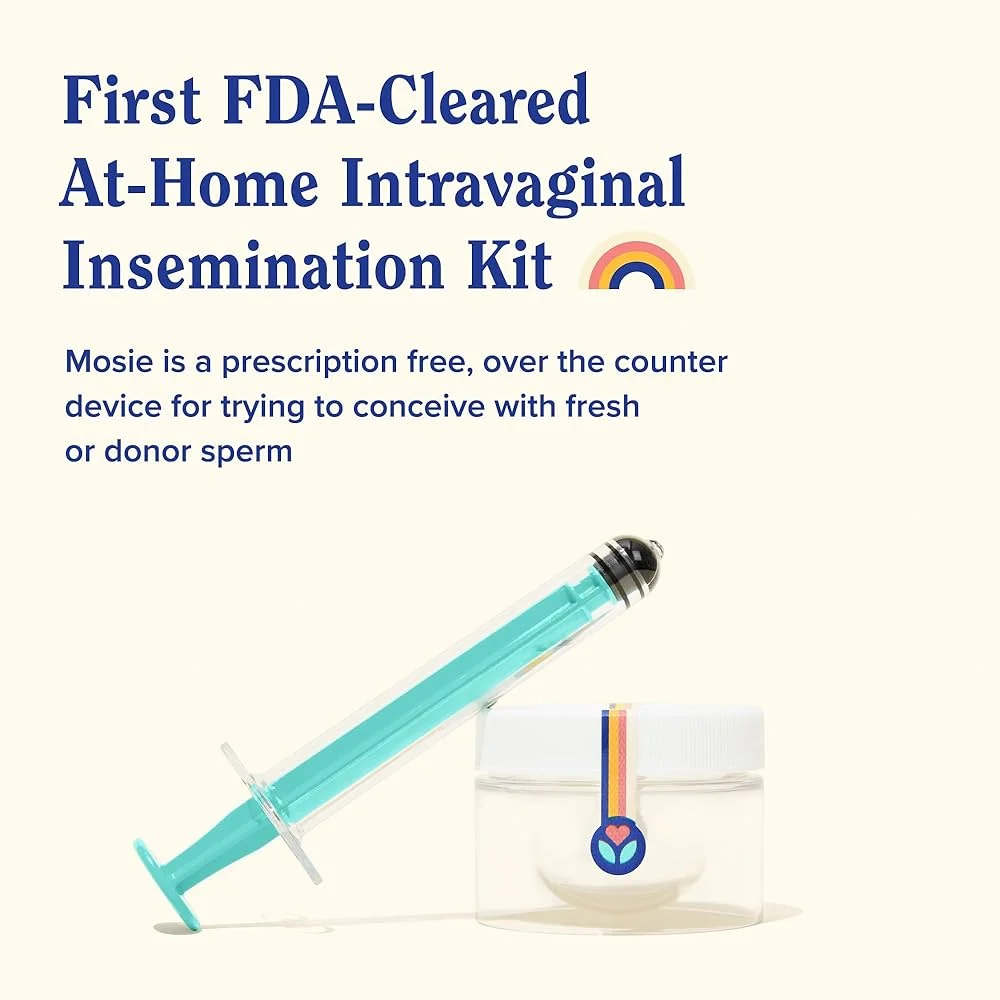
ICI means placing semen near the cervix, typically with a syringe and collection supplies. It’s different from IVF and different from IUI. The biggest advantage is accessibility and privacy. The biggest challenge is that timing has to be right, because you don’t get the lab help that clinics use to optimize steps.
The timing target: your fertile window
Pregnancy happens when sperm meets an egg. The egg is available for a short time after ovulation, while sperm can survive longer in the reproductive tract. That’s why most ICI plans focus on inseminating close to ovulation, not days earlier “just in case.”
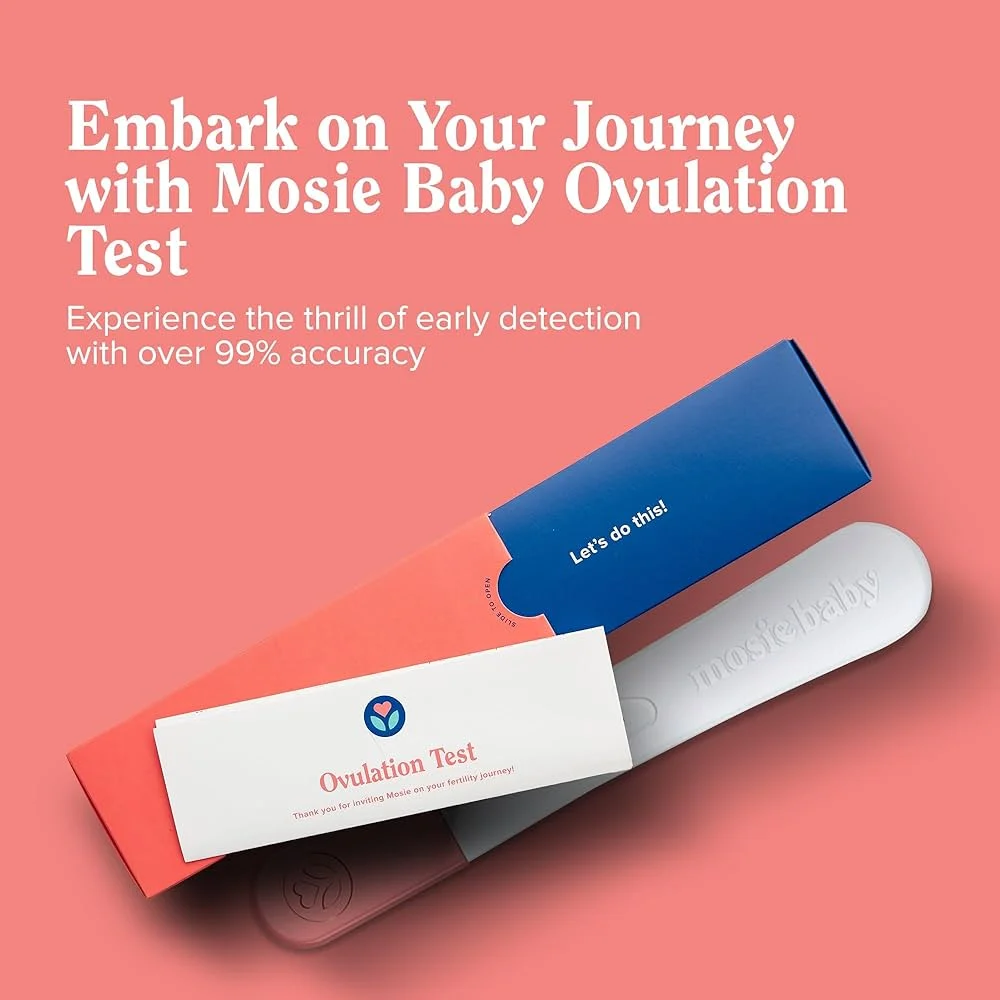
How to spot ovulation without overcomplicating it
Most people keep it practical with two signals:
- LH ovulation tests: A positive surge often means ovulation is coming soon.
- Cervical mucus changes: Many notice clearer, stretchier mucus near peak fertility.
If you love data, basal body temperature can confirm ovulation after it happens. It’s useful for learning your pattern. It’s less helpful for deciding what to do today.
How to try at home (ICI) with a home insemination kit
This is the part people want to rush. Don’t. A calm setup reduces mistakes and makes it easier to repeat next cycle if needed.
Step 1: Choose your “try days” before emotions kick in
A simple approach is to plan for insemination around:
- The day you see an LH surge
- And/or the following day
Some people do one attempt. Others do two across that window. Your schedule, comfort, and sperm availability matter here.
Step 2: Keep the environment clean and unhurried
Use clean hands and clean surfaces. Read the kit instructions once when you’re not stressed, then again when you’re ready. If something feels confusing, pause and reset. Rushing is what creates mess and worry.
Step 3: Aim for “close to the cervix,” not “as far as possible”
ICI isn’t about force or depth. Comfort matters. If you have pain, stop. Pain is information, not a challenge to push through.
Step 4: Give it a little time afterward
Many people choose to lie down briefly after insemination. It’s not a magic trick. It can help you feel calmer and reduce immediate leakage. Then return to normal life.
Step 5: Track what happened (so you don’t relive the same guesswork)
Write down three things: day of cycle, ovulation test result, and when insemination happened. Next cycle, that note becomes your shortcut.
If you’re comparing options and want a starting point, here’s a product link for browsing: at-home insemination kit for ICI.
When to get help instead of “just trying harder”
At-home ICI can be a reasonable first step for some people. It’s not the right tool for every situation. Consider professional guidance if:
- You have very irregular cycles and can’t identify ovulation most months.
- You’ve had pelvic infections, known tubal issues, or endometriosis concerns.
- You’re using a known donor and need clarity on screening and legal protections.
- You’ve been trying for a while without success (commonly 12 months if under 35, 6 months if 35+).
Also, if you’re feeling pressured by social media or celebrity timelines, that’s a sign to slow down. Your plan should fit your body and your life, not a headline cycle.
FAQ: quick answers about ICI at home
Is ICI the same as IUI?
No. ICI is typically at home and places semen near the cervix. IUI is done in a clinic and places washed sperm into the uterus.
When is the best time to use a home insemination kit?
Often the day of an LH surge and/or within about 24 hours after. If you’re unsure, track for a couple cycles to learn your pattern.
Can at-home insemination work with irregular cycles?
It can, but timing becomes the main obstacle. Ovulation testing and mucus tracking can help reduce missed windows.
Do we need legal paperwork if using a known donor?
Many people do. Laws vary, and recent court coverage has shown that assumptions about donor rights can backfire. Get local legal advice before starting.
Should we use fertility supplements to improve chances?
Some are widely marketed and widely discussed, but evidence isn’t uniform. Review any supplement with a clinician, especially if you have conditions or take medications.
CTA: make your next try simpler
If you want a more organized, lower-stress way to approach ICI timing at home, start with a clear plan and supplies you trust.
How does at-home insemination (ICI) work?
Medical disclaimer: This article is for general education and is not medical or legal advice. It can’t diagnose or treat any condition. For personalized guidance—especially about fertility history, infection screening, medications, pain, bleeding, or donor legal rights—talk with a qualified clinician and, when relevant, a local attorney.