


Before you try at-home insemination, run this quick checklist:
- Timing: You have a plan to identify your fertile window (OPKs, cervical mucus, BBT, or clinic monitoring).
- Supplies: You’re using clean, body-safe tools (no improvised syringes, no “kitchen” containers).
- Screening: You’ve thought through STI testing, donor agreements, and identity/traceability.
- Documentation: You can track dates, batch/ID info (if applicable), and what you did each attempt.
- Boundaries: Everyone involved agrees on roles, consent, and next steps.
Overview: where ICI fits (and why it’s trending again)
At-home insemination (ICI) is a practical option for people who want a lower-intervention path than clinic-based treatment. It’s also a common first step for single parents by choice and LGBTQ+ families, or for couples who want to start with something simpler.
Interest in fertility options tends to spike whenever reproductive tech hits the news. Lately, headlines about research pushing IVF forward in animals have reminded people that science keeps moving. At the same time, fertility supplements keep getting market attention, and reproductive rights debates stay in the cultural background. That mix often nudges people to ask: “What can I do at home, safely, right now?”
Pop culture helps too. A wave of romance adaptations, buzzy streaming true-crime, and celebrity pregnancy chatter can make family-building feel like a constant subplot. Real life is less scripted. A solid plan beats vibes.
Timing: aim for the fertile window, not a random day
ICI works best when sperm and ovulation overlap. You’re not trying to be perfect. You’re trying to be close enough, more than once, without burning out.
Simple ways to find your window
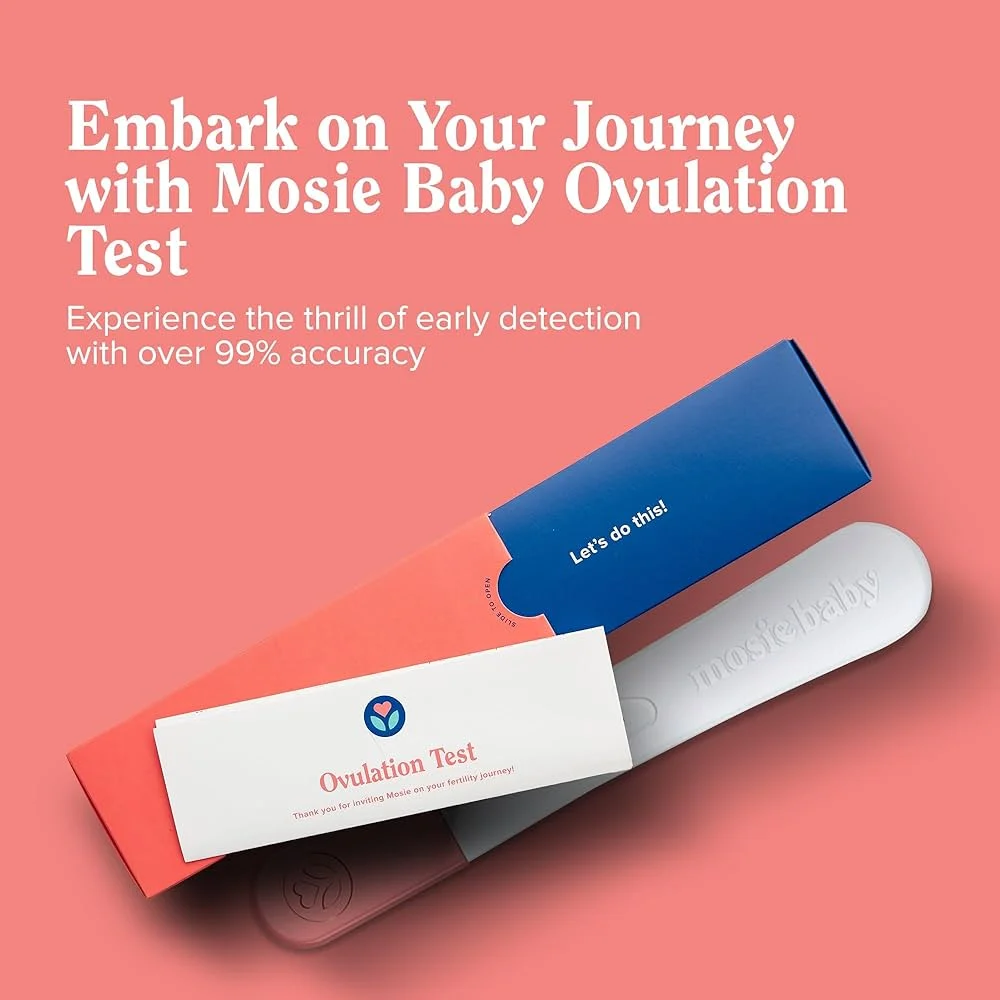
- Ovulation predictor kits (OPKs): A positive test suggests ovulation may happen soon.
- Cervical mucus changes: Many people see clearer, stretchier mucus near ovulation.
- Basal body temperature (BBT): Useful for confirming ovulation happened, not predicting it early.
- Clinic monitoring: If you’re combining home attempts with medical guidance, monitoring can reduce guesswork.
A practical timing approach
If you’re using OPKs, many people plan one attempt the day of the first positive and another within the next day. If you’re tracking mucus, target the “best” mucus days and the day it starts to change. If sperm availability is limited, prioritize the most fertile-looking day rather than spreading attempts too thin.
Supplies: what a home insemination kit should (and should not) include
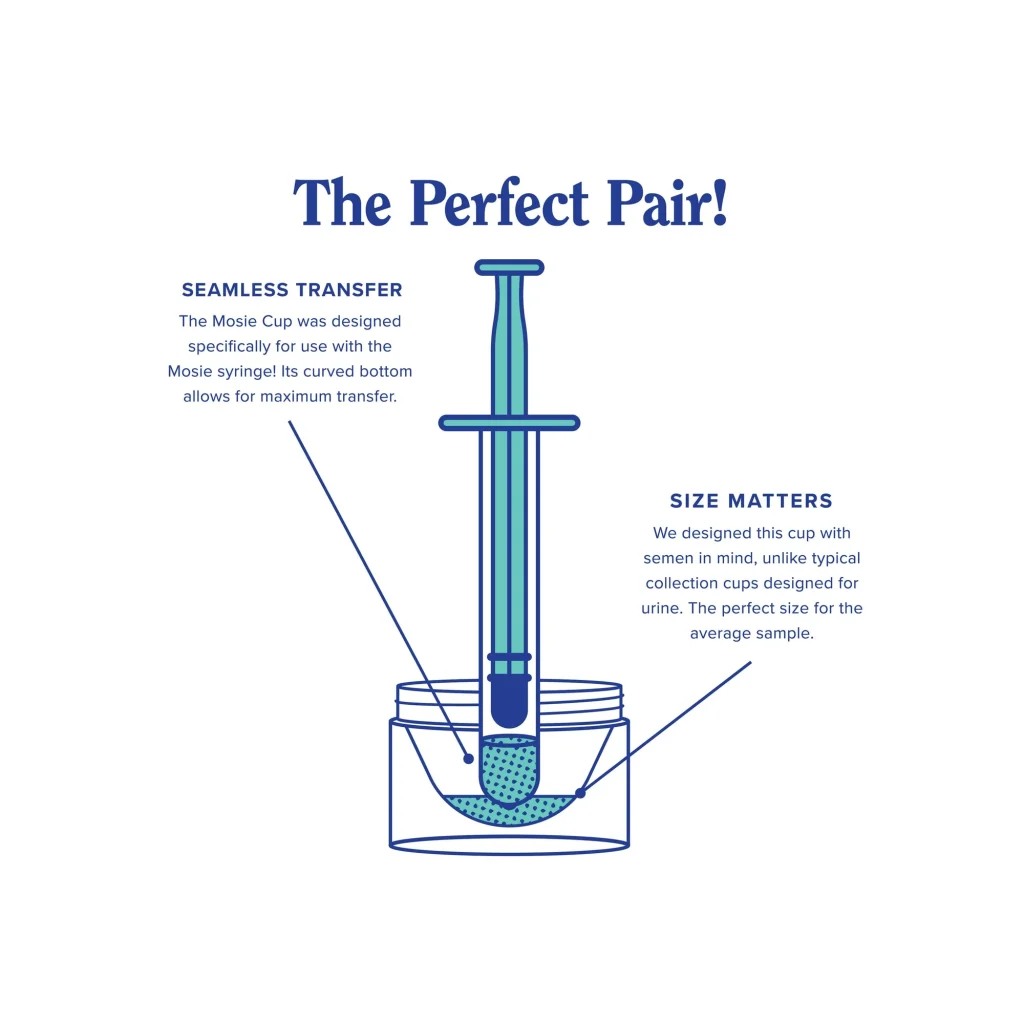
The goal is simple: move semen to the cervix area with minimal contamination and minimal confusion. A home insemination kit typically focuses on clean collection and controlled placement.
Core items to plan for
- Needleless syringe (smooth tip, appropriate size) or a kit-designed applicator
- Sterile collection cup (not a food jar, not a shot glass)
- Clean, disposable gloves (optional, but helpful for cleanup)
- Fertility-friendly lubricant (optional; only if needed)
- Labels + pen for date/time notes and basic identification
- Paper towels + mild soap for surface cleanup
Skip these common “DIY hacks”
- Any tool with sharp edges or rough plastic that could irritate tissue
- Household containers that aren’t sterile
- Saliva as lubricant (higher contamination risk)
- Reusing single-use items if they aren’t designed for reuse
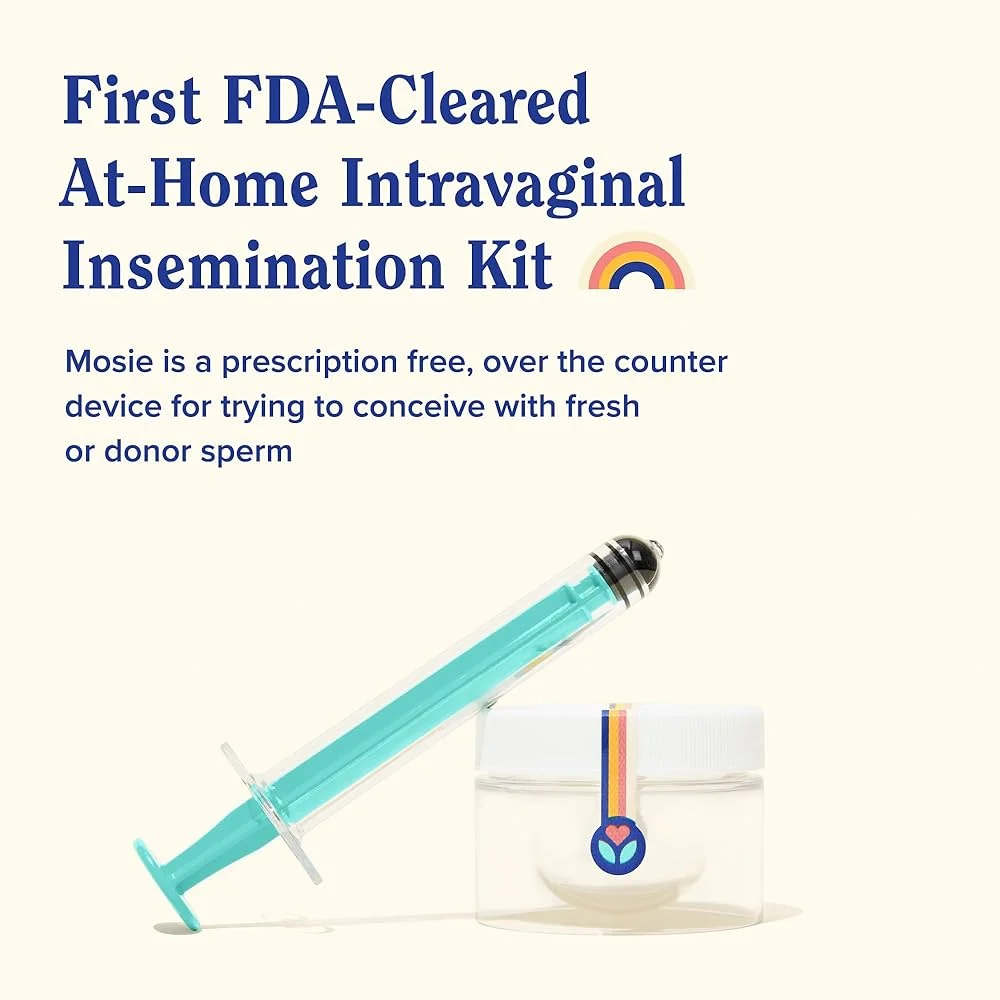
If you want a purpose-built option, start with a product designed for this use case, like an at home insemination kit, and still follow basic hygiene and documentation steps.
Step-by-step ICI: a clean, low-stress workflow
This is general education, not medical advice. If you have a condition that affects the cervix, uterus, or tubes, get clinician guidance before trying at home.
1) Set up your space (reduce contamination and mix-ups)
Choose a clean, private room. Wash hands well, clear a surface, and lay out supplies. If you’re working with donor sperm or multiple labeled items, slow down and verify labels before anything starts.
2) Collect semen safely
Use a sterile cup. Avoid lotions and typical lubricants unless they’re fertility-friendly. Keep the sample at body/room temperature and use it within the time window you’ve planned.
3) Draw the sample into the syringe
Move slowly to reduce bubbles. If the sample is thick, patience helps more than force. Do not use a needle.
4) Inseminate near the cervix
Get comfortable in a position that lets you relax your pelvic muscles. Insert the syringe gently into the vagina (not into the cervix) and dispense slowly. Rushing can cause discomfort and leakage.
5) Rest briefly, then resume normal life
Many people rest on their back for 10–20 minutes because it feels calmer. It’s fine if you don’t. Stressing about the “perfect position” tends to create more tension than benefit.
6) Document what you did
Write down date/time, ovulation signs (OPK result, mucus notes), and anything that might matter next cycle. If you’re coordinating with a donor, keep consent and testing paperwork organized. This is the unglamorous part that prevents future headaches.
Mistakes that waste cycles (or create avoidable risk)
Messing up timing by guessing
Trying “sometime mid-cycle” is common and often disappointing. Use at least one tracking method so you can learn from each attempt.
Using non-sterile tools
Infection risk is real. You don’t need a surgical suite, but you do need clean, body-safe supplies.
Ignoring screening and consent
Even when everyone trusts each other, testing and written agreements lower the chance of conflict. This matters more now because reproductive health and rights issues are frequently debated in courts and policy. Laws vary by location, and assumptions can backfire.
Over-optimizing based on internet trends
People love “biohacks,” from supplement stacks to app predictions. Some tools can help, but none replace basics: timing, hygiene, and clear documentation. If you’re curious about how algorithms shape predictions, read up on home insemination kit—then treat fertility apps as helpers, not referees.
FAQ: quick answers people ask before buying a kit
Is at-home insemination an IVF alternative?
It can be an alternative for some situations because it’s less invasive and cheaper than IVF. It’s not a replacement if you need medical help for ovulation, tubes, severe male-factor infertility, or recurrent loss.
Do fertility supplements improve ICI results?
Supplement research and market reports get a lot of attention, but results vary by person and product. Talk with a clinician before starting supplements, especially if you take other medications or have a medical condition.
How do we reduce “mix-up” risk at home?
Use one labeled set of supplies per attempt, verify names/IDs before collection, and document immediately after. If anything feels unclear, pause and reset.
Next step: choose a kit, then choose a process
A kit helps, but your process is what protects you: clean tools, clear timing, and written notes. If you want a simple place to start, use the button below to review the basics and plan your first attempt.
How does at-home insemination (ICI) work?
Medical disclaimer: This article is for general education only and does not provide medical diagnosis or treatment. For personalized advice—especially with irregular cycles, pelvic pain, known fertility conditions, or repeated unsuccessful attempts—consult a qualified healthcare professional.