Before you try at-home ICI, run this checklist:

- Goal: ICI (intracervical insemination) at home, not IVF.
- Timing plan: cycle tracking, ovulation predictor kits (optional), and a calm window to try.
- Supplies: a home insemination kit, clean workspace, towels, and a liner/pad.
- Safety: no needles, no sharp devices, no harsh soaps internally.
- Donor clarity: understand consent, screening, and the legal landscape where you live.
What people are talking about right now (and why it matters)
Fertility talk keeps popping up everywhere. Celebrity pregnancy chatter makes timelines look effortless, and that can crank up pressure fast. Meanwhile, “planning hacks” spread on social media, including trend-driven ideas about getting a head start before you’re even pregnant.
At the same time, real-world legal headlines are pulling attention back to basics: when insemination happens outside a clinic, parentage and expectations can get complicated. If you’re considering a known donor, those discussions matter as much as the supplies.
If you want a high-level reference point for the legal conversation in the news cycle, see Florida Supreme Court makes ruling in at-home artificial insemination case.
What matters medically (keep this simple)
ICI is about placing semen near the cervix during your fertile window. It’s not the same as IUI (which typically places sperm in the uterus in a clinic) and it’s not IVF. Think of ICI as an at-home method that relies on timing, sperm quality, and your body’s normal process.
Timing beats intensity
Trying more often isn’t always better if timing is off. Many people use cycle tracking and optional ovulation predictor kits to narrow the window. If your cycles vary a lot, tracking can reduce guesswork.
Comfort and tissue safety are not “extras”
The cervix and vaginal tissue can get irritated by rough tools or rushed technique. Use a needle-free syringe intended for insemination. Skip DIY devices that weren’t made for the job.
A quick word on tests and trend advice
Easy-to-use pregnancy tests are popular for a reason: they lower friction when you’re anxious. Still, social media “pre-pregnancy” trends can add stress without adding clarity. If a plan makes you feel frantic, it’s not a plan—it’s noise.
Medical disclaimer: This article is educational and not medical advice. It can’t diagnose conditions or replace care from a licensed clinician. If you have health concerns, pain, bleeding, or a history that affects fertility, talk with a healthcare professional.
How to try ICI at home (tools, technique, cleanup)
This is the no-drama version: prep, place, rest, clean up, and move on with your day.
1) Set up a clean, calm space
Wash hands well. Lay down a towel. Keep your kit, a timer/clock, and a pad or liner within reach. Turn the room into “boring and functional,” not “high stakes.”
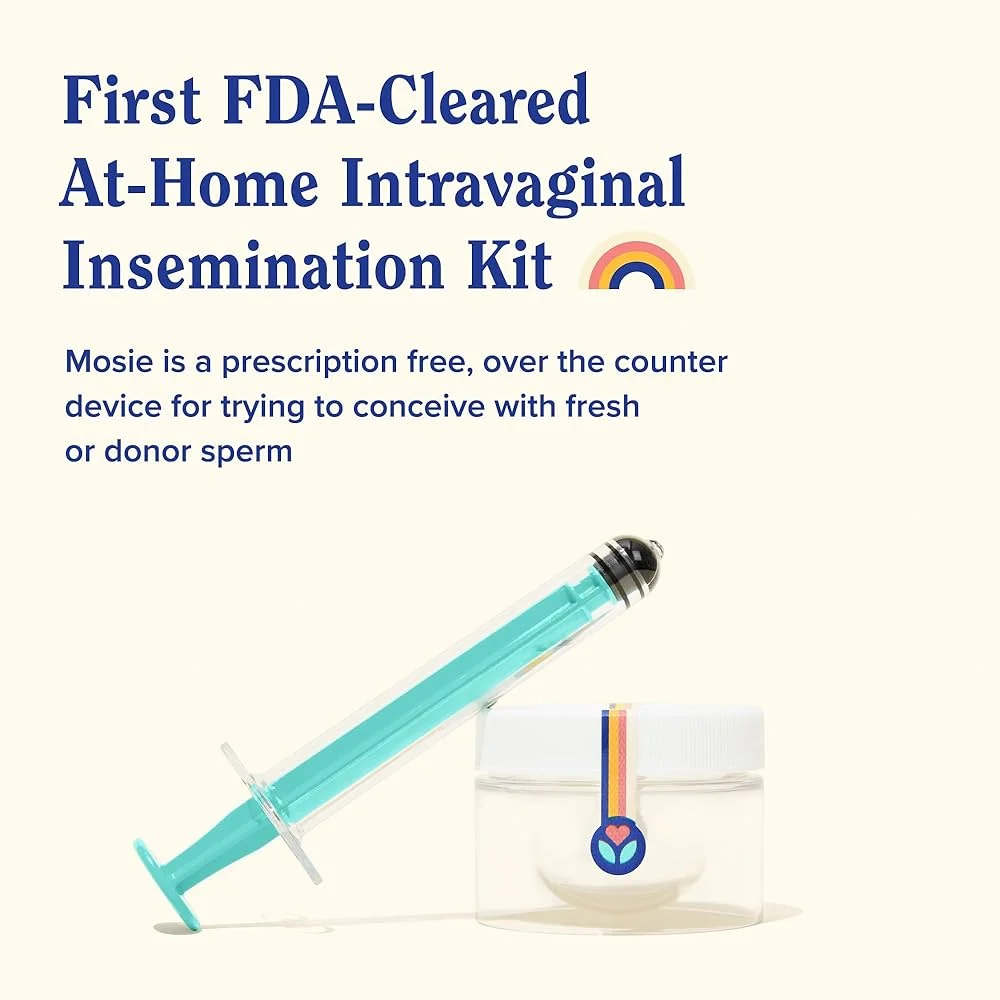
2) Use a kit designed for the job
A purpose-built kit can make the process smoother and more comfortable. If you’re shopping, start with a at-home insemination kit for ICI that includes a needle-free syringe and clear instructions.
3) Positioning that prioritizes comfort
Choose a position you can hold without strain. Many people prefer lying on their back with hips slightly elevated (a folded towel can help). The goal is comfort and steadiness, not acrobatics.
4) Insemination: slow, steady, gentle
Move slowly to reduce irritation. Insert only as far as is comfortable, then depress the syringe gradually. If anything hurts sharply, stop and reassess.
5) Rest briefly, then plan for normal leakage
Leakage is common and doesn’t automatically mean it “didn’t work.” Rest a short time if it helps you feel settled. Use a liner afterward and avoid inserting soaps or douches internally.
6) Cleanup and reset
Dispose of single-use items as directed. Wash reusable parts per instructions. Then do something grounding—eat, hydrate, take a walk. The point is consistency across cycles, not one perfect attempt.
When to get help (medical and practical)
At-home ICI can be a reasonable starting point for some people, but it isn’t a fit for every situation.
Seek medical advice sooner if you have:
- Severe pelvic pain, fever, heavy bleeding, or signs of infection
- Known conditions that may affect fertility (or a history of pelvic infections)
- Repeated unsuccessful cycles and you want a clearer plan
Don’t skip the legal conversation if using a known donor
Legal parentage rules can vary, and recent headlines highlight that DIY arrangements may not work the way people assume. If you’re using a known donor, consider getting legal guidance in your state and documenting expectations clearly.
FAQ: quick answers about ICI at home
Is ICI the same as IVF?
No. ICI places semen at the cervix area without lab fertilization. IVF is a clinical process that fertilizes eggs in a lab and transfers an embryo.
How long should you stay lying down after ICI?
Many people rest briefly for comfort. There’s no universal “magic number,” but a short rest can help you relax and reduce immediate leakage.
Can you do ICI with a syringe?
Many at-home approaches use a needle-free syringe designed for insemination. Avoid needles and avoid improvised tools that can irritate tissue.
Do you need ovulation tests for ICI?
They’re optional. Timing tools like ovulation predictor kits can make attempts more targeted, especially with irregular cycles.
What are red flags to stop and get medical advice?
Severe pain, heavy bleeding, fever, foul-smelling discharge, or symptoms of infection warrant prompt medical care.
Does a known donor change the risks?
It can. Health screening matters, and legal parentage can become complicated. Consider written agreements and professional guidance in your area.
Next step: keep it simple and repeatable
If you’re choosing ICI as a home fertility option or an IVF alternative for now, focus on the repeatable basics: timing, gentle technique, and clear boundaries with anyone involved.