At 11:47 p.m., the bathroom light was the only one on in the apartment. The group chat kept buzzing with celebrity pregnancy speculation, and a trending video promised a “perfect” pre-pregnancy checklist. She muted her phone, took a breath, and chose the boring plan: get the timing right, keep the setup clean, and don’t overcomplicate it.

If you’re considering ICI (intracervical insemination) at home, you’re not alone. DIY fertility is getting louder online, and some of the hype can push people into “trimester zero” style pressure. This guide keeps it practical: how to use a home insemination kit, what to prep, and what mistakes waste cycles.
Overview: what ICI is (and what it isn’t)
ICI is a method where semen is placed near the cervix using a syringe-style applicator. It’s often discussed as a home fertility option for people trying to avoid or delay clinic-based treatments.
It’s not IVF. It’s also not a guarantee. Think of ICI as a technique that helps with placement and timing, not a shortcut around biology.
Medical disclaimer: This article is for general education only and isn’t medical or legal advice. It can’t diagnose, treat, or replace care from a licensed clinician. If you have known fertility conditions, pain, irregular bleeding, or a history of ectopic pregnancy, talk with a healthcare professional.
Timing that actually matters (ignore the viral noise)
Social media loves rigid “preconception” routines. In real life, timing is simpler: aim for the fertile window around ovulation.
Use signals you can repeat
- Ovulation predictor kits (LH tests): Many people inseminate after a positive surge and sometimes again the next day.
- Cervical mucus: Clear, slippery, “egg-white” mucus often shows up near peak fertility.
- Cycle tracking: Track length over a few months to spot patterns, not perfection.
Don’t let “optimization” steal your sleep
If your plan requires five apps, a supplement spreadsheet, and nightly doomscrolling, it’s too much. A calm, repeatable timing routine beats a trendy checklist you quit mid-cycle.
Supplies: what to gather before you start
Set up your space first. You’re aiming for clean, comfortable, and low-stress.
Your basic kit list
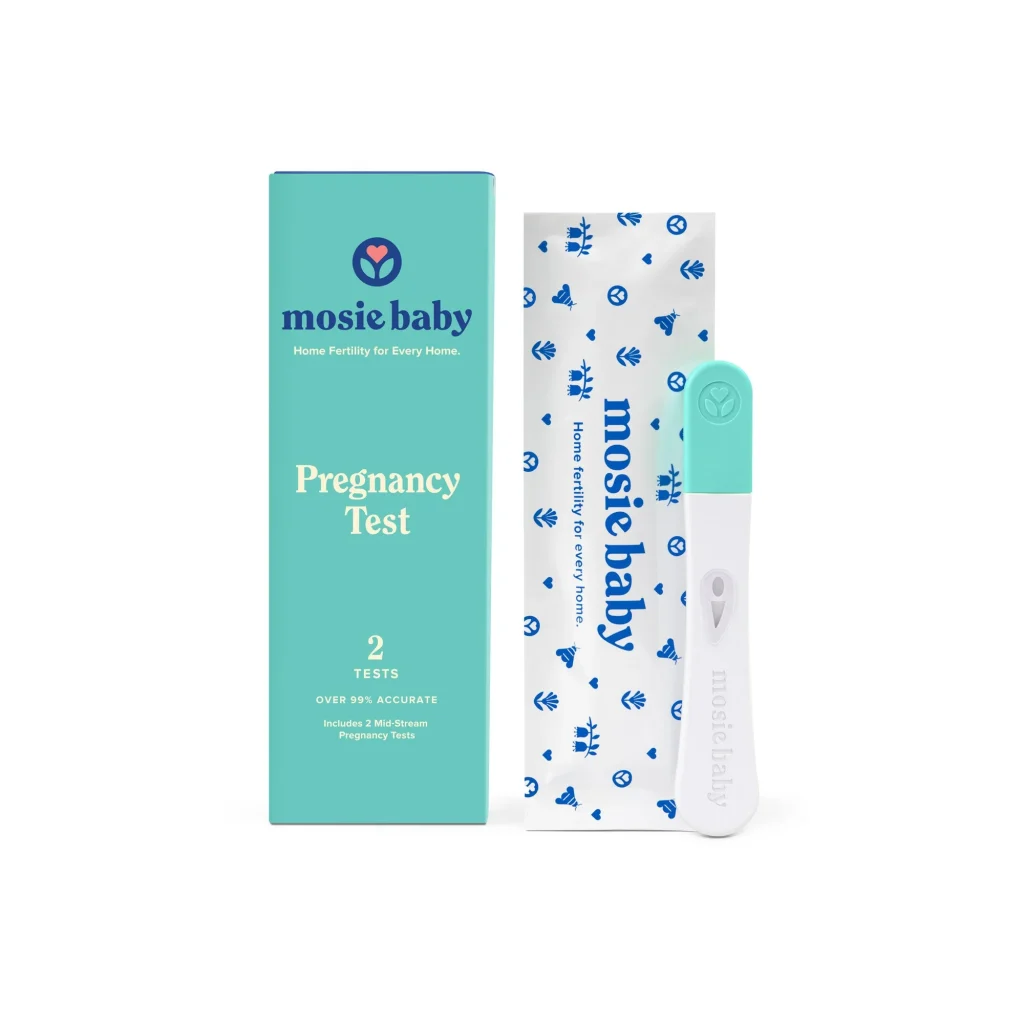
- Home insemination kit components: needleless syringe/applicator and collection supplies (varies by brand).
- Clean surface + fresh towel: for laying out supplies.
- Hand soap and warm water: wash thoroughly before handling anything.
- Optional pillow: to elevate hips slightly if that’s comfortable.
- Optional panty liner: for minor leakage afterward.
What to skip
- Needles: never use a needle for ICI.
- Household containers: avoid anything not intended for clean collection.
- Random lubricants: if needed, choose fertility-friendly options.
Step-by-step ICI at home (clean, calm technique)
This is a general technique overview. Follow your product instructions, and stop if you feel sharp pain or unusual symptoms.
1) Prep the room and your body
- Wash hands well.
- Lay out supplies so you’re not searching mid-step.
- Find a position you can hold without strain (often reclined on a bed).
2) Collect and handle the sample thoughtfully
- Use the collection method recommended by your kit.
- Keep things simple and minimize delays.
- Avoid exposing the sample to heat, cold, or unclean surfaces.
3) Load the syringe/applicator slowly
- Draw the sample into the syringe gently to reduce bubbles.
- Go slow. Rushing makes spills and stress more likely.
4) Insert comfortably and place near the cervix
- Insert the syringe/applicator gently into the vagina (not into the cervix).
- Angle can matter for comfort. If it feels wrong, adjust slowly.
- Depress the plunger gradually, not forcefully.
5) Rest, then clean up
- Stay reclined for comfort for about 10–20 minutes if you can.
- Expect some leakage. That’s common and not a sign it “didn’t work.”
- Dispose or clean supplies per product instructions.
Common mistakes that cost cycles (and sanity)
Chasing “trimester zero” perfection
Planning can help, but obsessive rules can backfire. Focus on timing, cleanliness, and repeatability. Let the rest be optional.
Confusing ICI with IUI
IUI is a clinical procedure that places washed sperm inside the uterus. At-home kits are typically for ICI, which places semen near the cervix.
Using the wrong tools
A needleless syringe is the standard. Anything sharp or improvised adds risk and discomfort.
Overthinking position and “holding it in”
You can’t control everything. A small hip elevation may feel helpful, but don’t turn it into a 45-minute inversion routine.
Ignoring legal reality with known donors
Recent headlines have highlighted how messy parentage can get when at-home insemination intersects with unclear agreements. If you’re using a known donor, consider getting local legal guidance. For background reading, see this coverage: Florida Supreme Court makes ruling in at-home artificial insemination case.
FAQ: quick answers people ask before buying a kit
Is ICI the same as IVF?
No. ICI places semen near the cervix using a syringe. IVF is a lab-based process with egg retrieval and embryo transfer.
When is the best time to do ICI at home?
Usually around ovulation. Many people use LH tests and cervical mucus to time it.
How long should you lie down after ICI?
Often 10–20 minutes for comfort. Choose a routine you can repeat without stress.
Can you use lubricant with a home insemination kit?
Some lubricants may harm sperm. If you need one, look for fertility-friendly labeling.
Do you need a contract with a known donor for at-home insemination?
Rules vary by location. News coverage suggests donor parentage can be disputed, so local legal advice is a smart step.
CTA: choose a simple kit and a repeatable plan
If your goal is a clean, no-drama setup, start with the right tools and a timing plan you can stick to. Look for a at-home insemination kit for ICI that matches your comfort level and keeps steps straightforward.