Before you try at-home ICI, run this checklist.

- Confirm your timing plan: know your fertile window and how you’ll track it.
- Use sterile, body-safe supplies: skip improvised tools.
- Decide the sperm source: screened, documented, and traceable beats “gray market.”
- Write down agreements: keep records, even if everyone feels aligned today.
- Know your stop signs: pain, fever, foul odor, or unusual bleeding means pause and seek care.
Overview: why at-home insemination is getting talked about again
At-home fertility conversations tend to spike whenever pop culture does its usual thing: a celebrity pregnancy rumor, a dramatic TV storyline, or a movie plot where “one decision changes everything.” It makes people curious about what’s possible without a clinic.
But the louder driver lately has been policy and court coverage. Reports about a Florida Supreme Court decision involving at-home insemination have pushed a practical question into the spotlight: if you DIY the medical part, what happens to the legal part?
That’s why this guide stays direct. It focuses on ICI (intracervical insemination) using a home insemination kit, with an emphasis on safety, screening, and documentation.
ICI vs IUI vs IVF (30-second clarity)
ICI places semen in the vagina (often near the cervix). IUI places washed sperm into the uterus in a clinical setting. IVF fertilizes eggs in a lab. If you’re looking for a lower-intervention option, ICI is usually the first place people start.
Timing that actually matters (more than the “perfect technique”)
Most ICI frustration is timing, not the kit. You’re aiming for the fertile window around ovulation, not a random day that “feels right.”
Pick a tracking method you can stick with
- Ovulation calculator + cycle tracking: a planning tool, best when your cycles are predictable.
- LH ovulation tests: many people use these to catch the surge that often happens before ovulation.
- Cervical mucus changes: helpful context, but easier to misread under stress.
Headlines about “best ovulation tests” and “how to track fertile days” keep circulating for a reason: consistent tracking reduces guesswork. Choose one primary method and one backup, then keep it simple.
A practical target window
Many people try ICI on the day of a positive LH test and again the next day. If your cycles are irregular, consider getting clinical guidance for timing. It can save months of trial-and-error.
Supplies: what to use (and what to never improvise)
DIY doesn’t mean “whatever’s in the drawer.” Use clean, sterile items designed for insemination. That lowers infection risk and reduces the chance of tissue irritation.
Core items
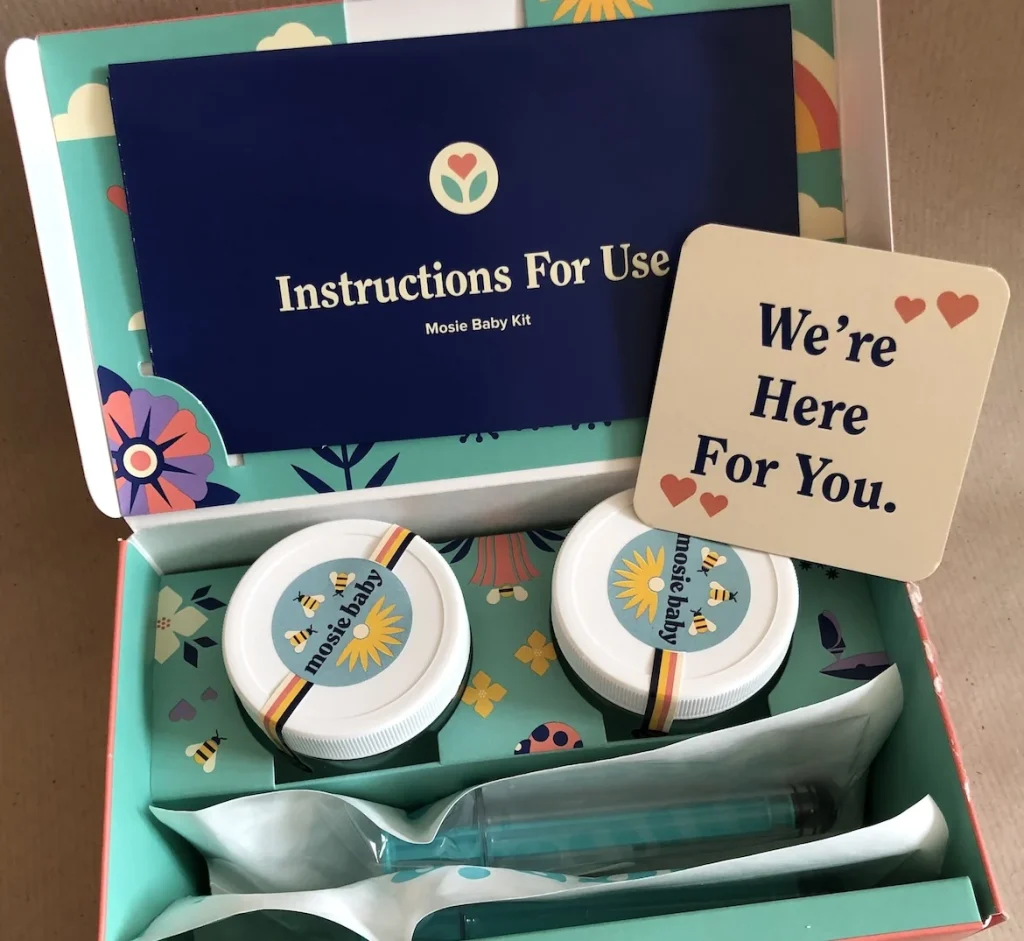
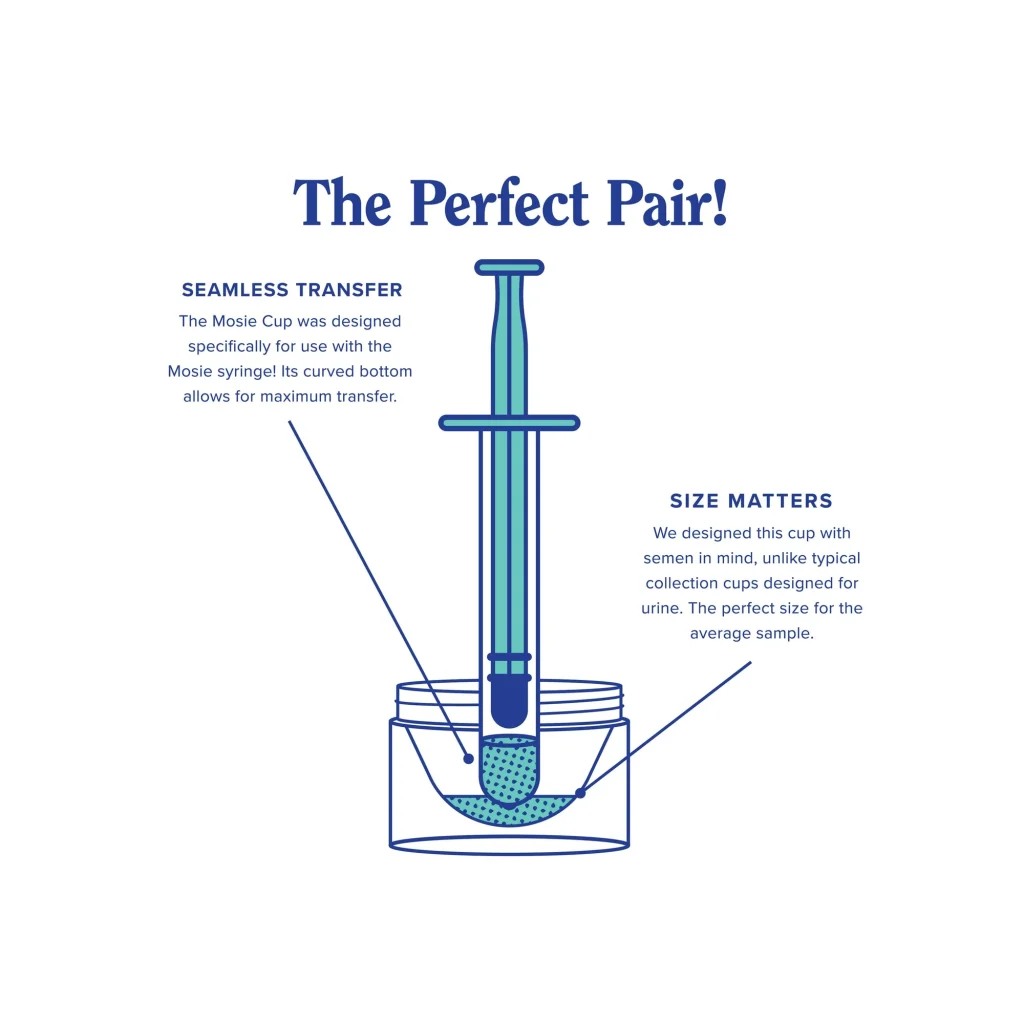
- Home insemination kit components: sterile syringe/applicator designed for vaginal insemination.
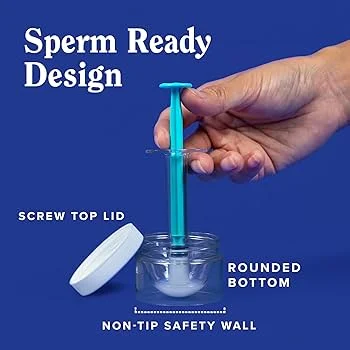
- Collection container (if needed): sterile and sperm-friendly.
- Gloves: optional but helpful for cleanliness.
- Lubricant: only if it’s fertility-friendly (many common lubes are not).
- Timer/clock: so you don’t rush or overthink “how long.”
What to avoid
- Non-sterile syringes or household tools
- Anything sharp or rigid that could injure tissue
- Products not labeled body-safe for internal use
If you’re looking for a purpose-built option, see at-home insemination kit for ICI.
Step-by-step ICI at home (no drama, just the sequence)
This is a general, educational overview. Follow the instructions that come with your kit, and consider professional guidance if you have medical concerns.
1) Set up a clean, calm space
Wash hands. Use a clean surface. Open sterile items only when you’re ready. Stress doesn’t help, and rushing creates mistakes.
2) Confirm timing before you open supplies
Check your tracking method (LH test result, calendar, symptoms). If timing is off, don’t force it. Save supplies and try at the right time.
3) Prepare the sample as directed
Use the collection method your kit recommends. Keep everything at a comfortable room temperature and avoid contamination.
4) Inseminate gently
Position comfortably. Insert the applicator only as far as it’s designed to go. Go slow. Discomfort is a signal to stop and reassess.
5) Stay resting briefly, then move on with your day
Some people rest for a short period afterward. There’s no universal magic number. The bigger win is doing the process calmly and cleanly.
Common mistakes that quietly lower your odds
Mistake #1: treating timing like a vibe
Tracking beats guessing. If you only change one thing, make it timing.
Mistake #2: using “gray market” sperm without screening
This is where safety and real-life consequences show up. Screening reduces infectious disease risk. Documentation reduces future disputes and confusion. News coverage has highlighted how informal arrangements can become complicated later, even when everyone starts with good intentions.
Mistake #3: skipping written records because it feels awkward
Awkward now can be expensive later. Keep a simple file: dates, messages, agreements, receipts, and any donor paperwork. If you’re using a known donor, consider legal advice specific to your location.
Mistake #4: assuming “more tries in one day” is always better
Overdoing it can cause irritation and stress. A targeted plan across the fertile window is usually more sustainable.
Mistake #5: ignoring symptoms that should stop the process
Fever, severe pelvic pain, foul-smelling discharge, or heavy bleeding are not “normal.” Pause and seek medical care.
Legal and consent notes (the part people skip until it’s too late)
Recent reporting about an at-home insemination dispute in Florida has reminded people that biology and legal parentage don’t always line up the way you expect. Rules vary by state and country, and outcomes can depend on details like how insemination happened and what documents exist.
For a general reference point, see this coverage: Florida Supreme Court makes ruling in at-home artificial insemination case.
Actionable takeaway: if you’re not going through a clinic, be extra serious about written consent, donor terms, and identity records. A family law attorney in your jurisdiction can explain what actually applies to you.
FAQ (quick answers)
Is ICI the same as IVF?
No. ICI is insemination without lab fertilization. IVF is a clinical process involving egg retrieval, lab fertilization, and embryo transfer.
Can ICI work without a clinic?
Some people do conceive with ICI at home. Results vary based on timing, sperm quality, age, and underlying fertility factors.
Do I need ovulation tests for ICI?
They’re not required, but they can help you time attempts more accurately than calendar guessing alone.
What are the biggest safety risks with DIY insemination?
Infection from non-sterile supplies and legal/identity complications from informal donor arrangements. Use sterile tools, screened sources, and written documentation.
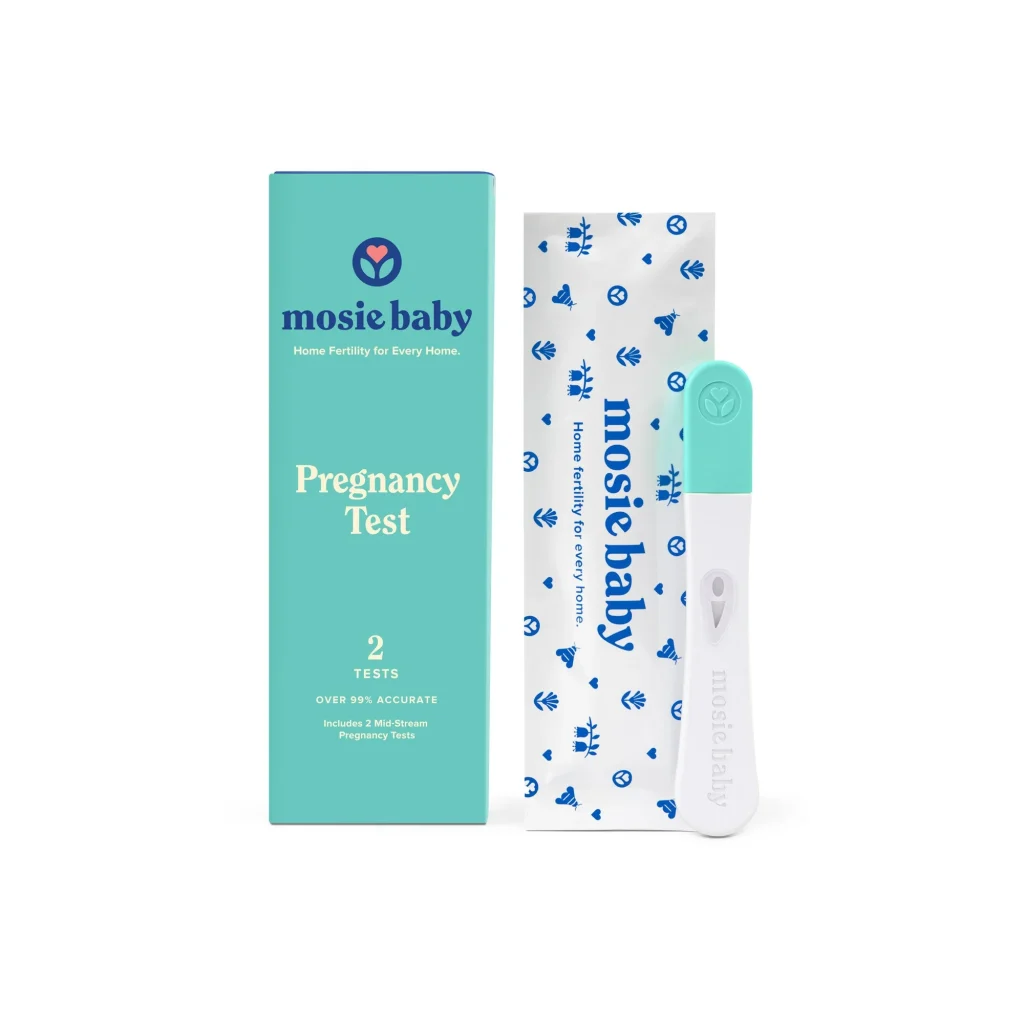
How long should I wait before taking a pregnancy test after ICI?
Many tests are most reliable around the time of a missed period. Testing too early can cause false negatives or confusing lines.
When should we consider a clinic instead of home ICI?
If you have severe symptoms, very irregular cycles, known reproductive conditions, or repeated unsuccessful cycles, clinical evaluation can clarify next steps.
Next step: make your plan simple and documented
If you want a straightforward way to gather the right supplies, start here: at-home insemination kit for ICI.
How does at-home insemination (ICI) work?
Medical disclaimer: This article is for general education and does not provide medical advice or diagnosis. If you have pain, fever, unusual bleeding, concerns about infection, or questions about fertility conditions or medications, consult a qualified healthcare professional.