On a Tuesday night, an anonymous couple sat on the couch half-watching a new streaming drama while scrolling celebrity pregnancy headlines. It felt like everyone, everywhere was announcing a bump. They weren’t jealous exactly. They were just tired of feeling behind.

Then the conversation shifted from gossip to logistics: “Do we keep waiting, or do we try something simple at home this cycle?” If you’re asking the same question, this guide is for you. We’ll keep it practical, timing-first, and not overly complicated.
Big picture: where ICI fits in home fertility options
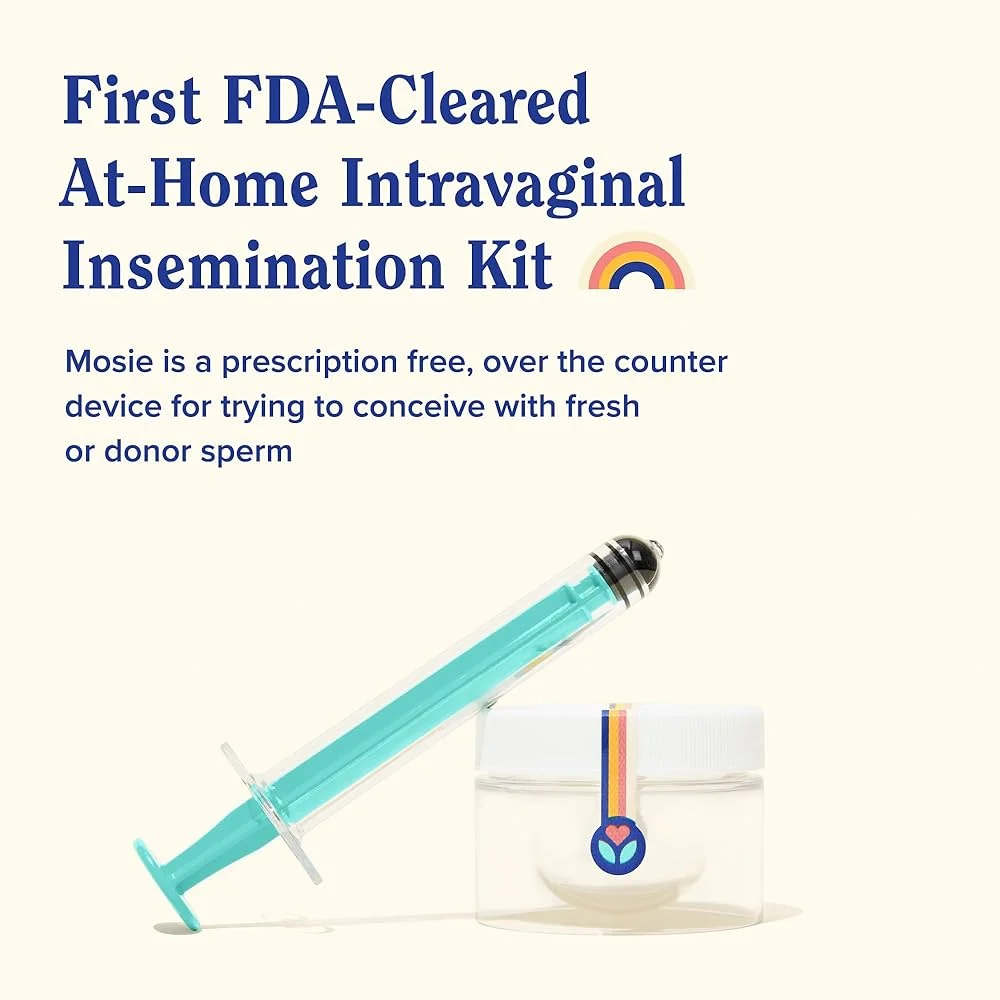
At-home insemination usually means ICI (intracervical insemination). In plain terms, semen is placed in the vagina near the cervix during your fertile window. It’s different from IUI (done in a clinic) and very different from IVF (lab fertilization and embryo transfer).
It also sits in a cultural moment. Between celebrity baby announcements and constant “planning hacks” on social media, it’s easy to feel like you need a perfect regimen. You don’t. What matters most is hitting the right days and using clean, body-safe supplies.
Some people also use apps and prediction tools to plan attempts. Just remember that “smart” doesn’t always mean “accurate.” Even tools marketed with predictive tech can be opaque. If you’re curious about the broader concept behind these claims, here’s a helpful explainer on home insemination kit.
Timing first: the simplest way to target the fertile window
If you only optimize one thing, make it timing. The egg is available for a short window after ovulation. Sperm can survive longer in the reproductive tract, so the days leading up to ovulation matter.
Use a “two-signal” approach (without obsessing)
Many people get the best clarity by combining two signals:
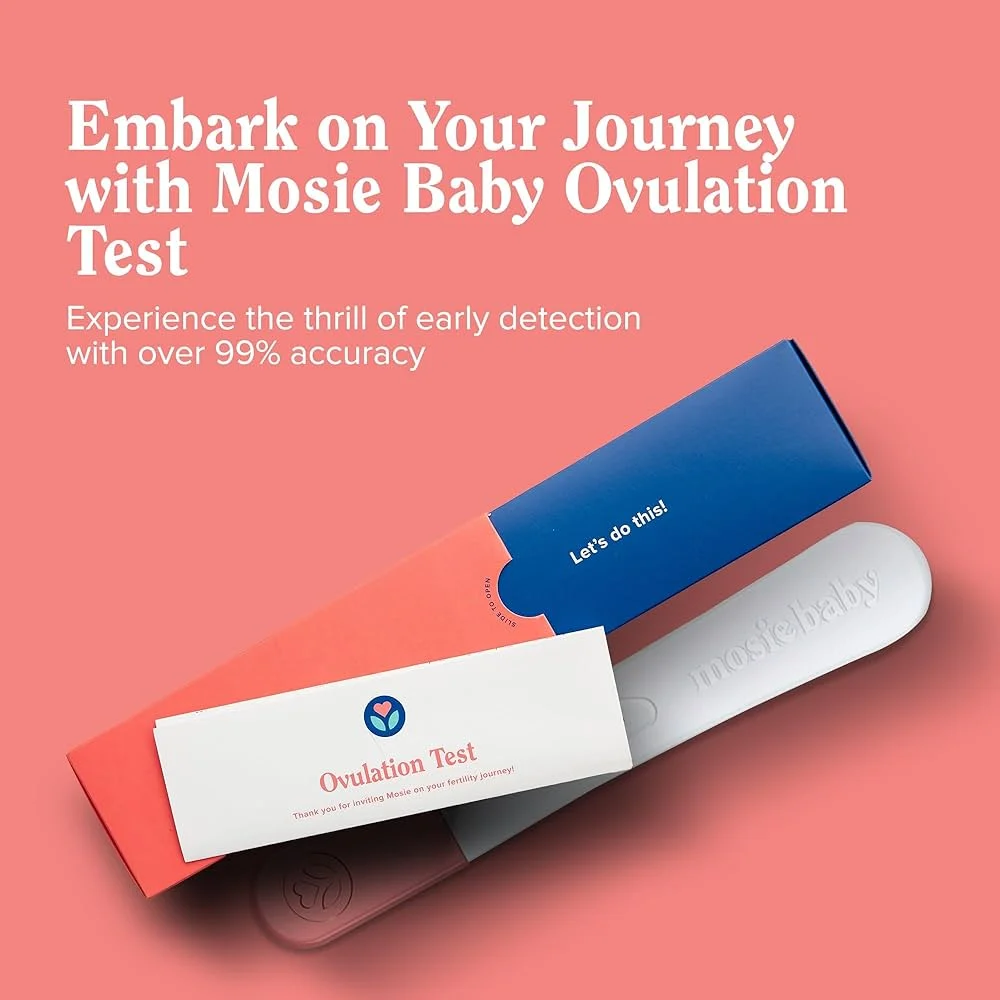
- LH ovulation tests (OPKs): Helps identify the surge that often happens 24–36 hours before ovulation.
- Cervical mucus changes: When it becomes clear, slippery, and stretchy, fertility is often higher.
If you prefer less tracking, you can still do well with one method. Just be consistent for a couple cycles so you learn your pattern.
A practical timing plan for ICI attempts
- If you see fertile mucus: Consider an attempt that day.
- If you get a positive LH test: Consider an attempt the same day.
- If you have enough supply and energy: Consider a second attempt about 12–24 hours later.
This isn’t a rule. It’s a low-drama framework that fits real schedules.
Supplies: what you actually need (and what you can skip)
You don’t need a drawer full of gadgets. You need clean, compatible basics that reduce mess and irritation.
Core items for an at-home ICI setup
- Needleless syringes designed for insemination (smooth edges, sterile packaging).
- Collection container (sterile cup if collecting at home).
- Timing tools (OPKs and/or a simple calendar).
- Clean surface + hand hygiene supplies (soap, paper towels).
Helpful extras (optional)
- Water-based, fertility-friendly lubricant if dryness is an issue (avoid products that may be sperm-unfriendly).
- Disposable underpad or towel for comfort and easy cleanup.
- Soft lighting and privacy because stress doesn’t help the experience.
Where a kit can simplify things
A curated kit can reduce last-minute shopping and compatibility worries. If you’re comparing options, start with a purpose-built at-home insemination kit for ICI that includes the basics and clear instructions.
Step-by-step: a straightforward ICI routine at home
This is a general educational overview, not medical advice. If you have pain, unusual bleeding, or a known medical condition, talk with a clinician before trying at home.
1) Set up a clean, calm space
Wash hands thoroughly. Lay out supplies on a clean surface. Check packaging for damage and confirm everything is within its sterile wrap until you’re ready.
2) Collect and handle the sample carefully
Follow the guidance that matches your situation (partner or donor logistics can differ). Keep everything at a comfortable, room-appropriate temperature. Avoid exposing the sample to harsh soaps, lotions, or hot water.
3) Draw the sample into the syringe slowly
Go slow to reduce bubbles and mess. If your kit includes guidance on volume and technique, follow it.
4) Inseminate gently and slowly
Insert the syringe only as far as comfortable. Then depress the plunger slowly. Rushing can increase discomfort and leakage.
5) Rest briefly, then return to normal life
Many people rest for 10–20 minutes afterward. The goal is comfort, not a perfect ritual. If you’re cramping or feel unwell, stop and consider medical advice.
Common mistakes that waste cycles (or add stress)
Missing the window by relying on calendar math alone
Cycle day predictions can be off even when your period looks “regular.” A simple LH test can prevent mistimed attempts.
Overcomplicating with social-media trends
“Prep” culture is loud right now. You may see viral preconception plans and new buzzwords that make it sound like you need months of optimization. Keep your focus on basics: timing, comfort, and clean supplies.
Using the wrong lubricant (or too much of it)
Some lubricants may interfere with sperm movement. If you need lube, choose one marketed as fertility-friendly and use the smallest amount that works.
Skipping donor screening and legal clarity
If donor sperm is involved, consider medical screening and legal agreements. The right steps depend on where you live and your family plan.
FAQ: quick answers before you try
Is spotting after ICI normal?
Light spotting can happen from irritation, but it shouldn’t be heavy or persistent. If bleeding is significant or you have strong pain, seek medical advice.
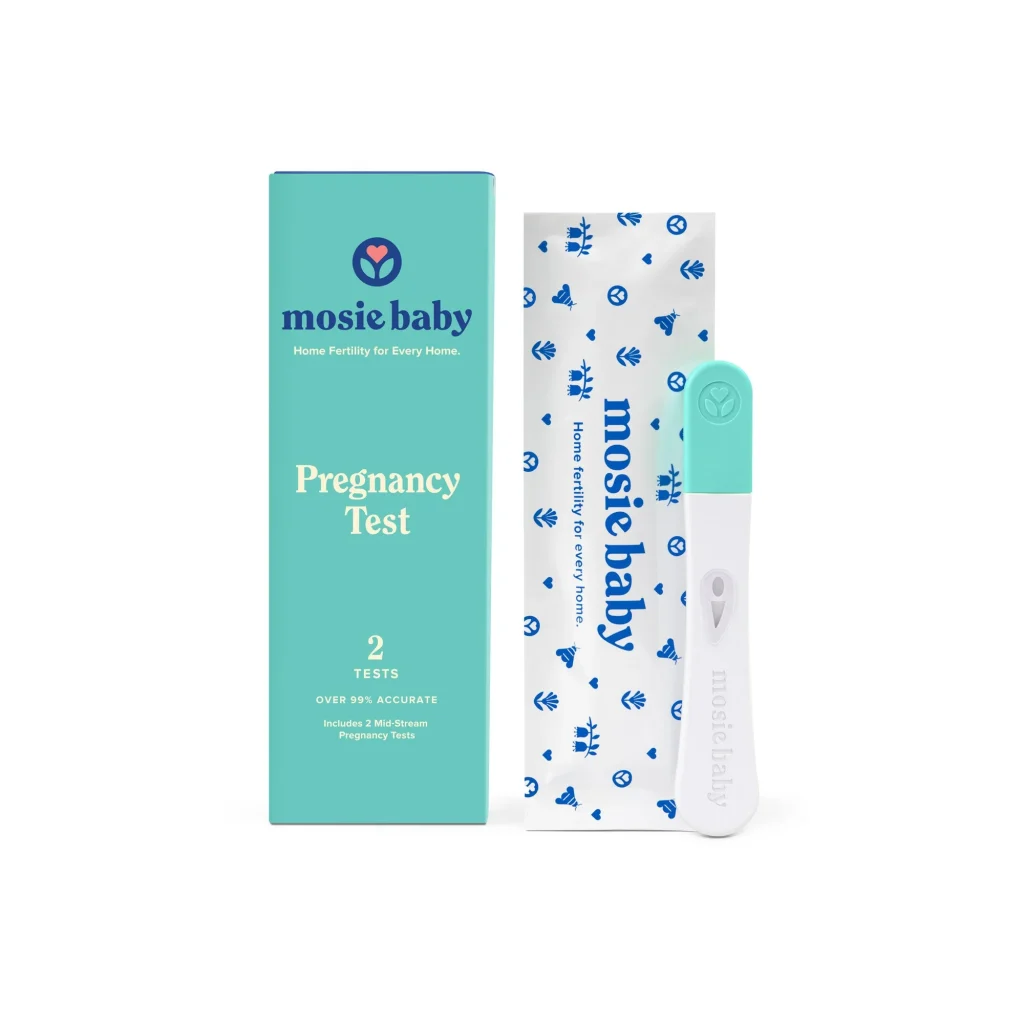
What about pregnancy tests everyone is talking about online?
Simple, easy-to-read tests are popular for a reason. Still, timing matters more than brand. Testing too early often leads to unnecessary stress.
Does position after insemination matter?
Comfort matters most. Resting briefly can help you feel in control, but there’s no need for extreme positioning.
Next step: make this cycle simpler
If you want a clean, organized setup and a timing-first plan, start with the basics and avoid adding pressure. When you’re ready, here’s the fastest way to get oriented and choose your next step.
How does at-home insemination (ICI) work?
Medical disclaimer: This article is for general education and is not medical advice. It does not diagnose, treat, or replace care from a licensed clinician. If you have severe pain, heavy bleeding, known fertility conditions, or repeated unsuccessful cycles, seek personalized medical guidance.