Before you try ICI at home, run this checklist.
- Timing tool picked: ovulation predictor kits (OPKs), an ovulation calculator, or both.
- Supplies ready: your home insemination kit, clean towels, a small pillow, and a timer.
- Plan for comfort: privacy, low-stress setup, and a cleanup plan.
- Consent + communication: clear expectations with your partner or donor.
- Reality check: you’re choosing an at-home option, not a promise.
Fertility is having a moment in the culture. News about expanded IVF coverage in places like California has people comparing options. Meanwhile, the “fertility cliff at 35” debate keeps popping up in major outlets and social feeds. Add TV storylines where an actor’s real pregnancy gets written into the plot, and it’s easy to feel like everyone else’s timeline is moving faster than yours.
This guide keeps it practical: what ICI is, how to time it, and how to decide what to do next.
First, the 30-second ICI refresher (what you’re actually doing)
ICI means intracervical insemination. In plain terms, semen is placed inside the vagina close to the cervix. It’s different from IUI, which places washed sperm into the uterus and requires a clinic.
At-home ICI is popular because it can feel more private and more affordable than clinic pathways. It also gives you control over timing and setup.
Decision tree: if this is your situation, then do this
If your cycles are fairly regular, then make timing your #1 job
Most ICI frustration comes from mistimed attempts, not “doing it wrong.” Use OPKs and confirm your fertile window with a second signal when possible (like cervical mucus changes or a calendar-based ovulation calculator).
If you like simple tools, start with a calculator and then add OPKs for precision. If you like data, track for 2–3 cycles to learn your pattern.
If you feel stuck on the “35” narrative, then swap panic for a plan
The idea that fertility falls off a cliff at 35 is widespread, but it’s often presented too dramatically. Age can matter, yet the timeline is more nuanced than a single birthday.
If you’re 35+ (or just time-sensitive), focus on earlier clarity: track ovulation tightly, consider basic fertility labs with a clinician, and set a cycle limit before you reassess.
If you want an IVF alternative right now, then define what “alternative” means
Some people use ICI as a first step before clinic care. Others use it while they decide whether IVF, IUI, or medication support makes sense.
With policy changes expanding IVF access in some areas, more families are weighing “try at home first” against “start the workup now.” The best move is the one that matches your budget, timeline, and medical history.
If you’re anxious about technique, then simplify your setup
Technique should be boring. Aim for clean, calm, and consistent.
- Positioning: many people use a pillow under hips for comfort. Choose what helps you relax.
- Insertion depth: follow your kit instructions. Don’t force anything.
- Afterward: resting 10–20 minutes can reduce immediate leakage and helps some people feel more confident.
Skip anything that adds risk: no harsh cleansers, no improvised tools, and no pushing through pain.
If cleanup is your stress point, then pre-stage it
ICI can be emotionally intense. Don’t let towels be the breaking point.
- Put a towel down first.
- Keep wipes/tissues nearby.
- Wear a liner afterward if that helps you feel normal.
If you’re comparing apps and “smart” trackers, then remember what they are
Apps can help you organize information and spot patterns. They can’t confirm ovulation by themselves. If you’re curious about how tech “learns” patterns, read up on home insemination kit and keep your expectations grounded.
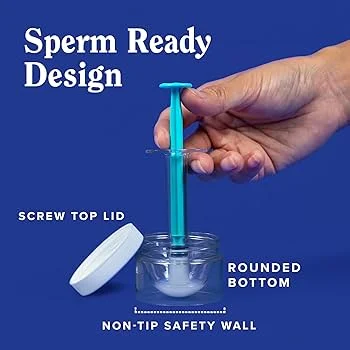
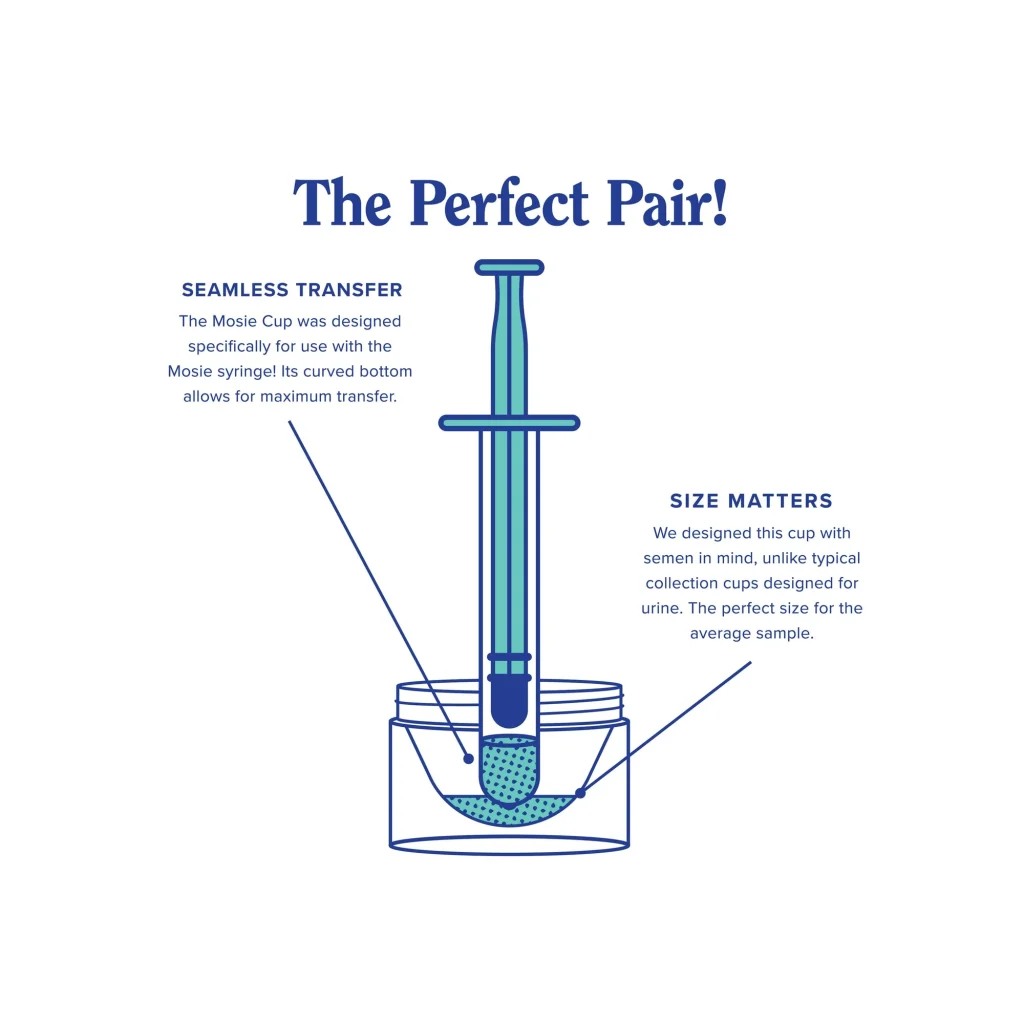
What to buy (and what to avoid) in a home insemination kit
A good kit supports a clean, controlled transfer. It should be designed for this use case, not repurposed from something else.
If you’re shopping now, start here: at-home insemination kit for ICI.
Avoid anything that looks unsealed, poorly labeled, or not intended for insemination. When in doubt, choose simplicity over gimmicks.
Testing and the two-week wait: keep it boring on purpose
It’s tempting to test early, especially when social feeds are full of bump news and “surprise pregnancy” plotlines. Real life is slower.
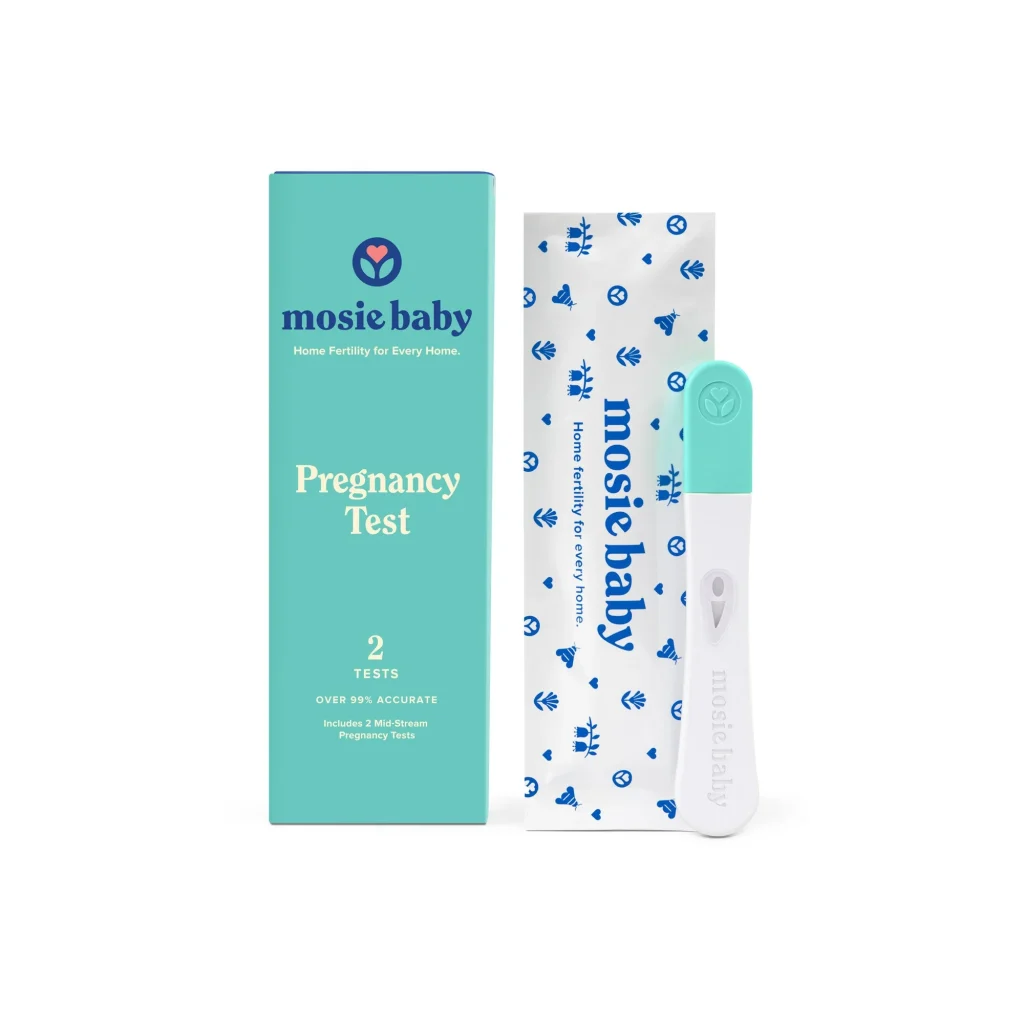
Use a reliable home pregnancy test and follow the timing on the box. Many guides recommend waiting until around the expected period for clearer results. If you’re getting confusing lines, retest in a couple days or talk with a clinician.
Safety notes you shouldn’t skip
- Pain isn’t a normal goal: stop if you feel sharp pain, dizziness, or significant bleeding.
- Infection prevention matters: wash hands, use clean supplies, and don’t reuse single-use items.
- Know when to escalate: irregular cycles, known conditions, or repeated well-timed cycles without success are reasons to seek medical guidance.
FAQ (quick answers)
Is ICI the same as IUI?
No. ICI is vaginal/intracervical placement at home; IUI is intrauterine placement in a clinic.
When is the best time to do ICI?
Often the day before ovulation and/or the day of ovulation. OPKs plus a calendar tool can help.
How long should you lie down after ICI?
Many people choose 10–20 minutes for comfort. Evidence is limited, so prioritize what feels safe and calm.
Can you use a home insemination kit if you’re 35+?
Yes. Age can affect fertility, but the popular “cliff” framing is often oversimplified. Consider earlier testing if you’re concerned.
What pregnancy test should you use after ICI?
Use a reputable test and follow package directions. Testing too early can mislead.
Next step: one clear action for this cycle
Pick your timing method today. Then set up your supplies so you’re not scrambling mid-window.
How does at-home insemination (ICI) work?
Medical disclaimer: This article is for general education and does not replace medical advice. It doesn’t diagnose conditions or recommend specific treatment for you. If you have health concerns, severe pain, abnormal bleeding, or fertility questions tied to your medical history, consult a qualified clinician.