Before you try ICI at home, run this quick checklist:

- Timing plan: you know how you’ll identify ovulation (OPKs, cervical mucus, BBT, or a combo).
- Supplies: you have a clean setup, the right syringe style, and a no-rush space.
- Comfort: you’ve picked a position you can hold without cramping or stress.
- Legal clarity: if using a known donor, you’ve thought through parentage and paperwork.
- Boundaries: you agree on what “one try” means and when to pause or escalate care.
Overview: why ICI is trending again (and why that matters)
Pop culture keeps putting pregnancy in the spotlight. Between celebrity baby announcements, reality-TV relationship plot twists, and endless “who’s expecting?” roundups, fertility talk feels everywhere right now. That visibility can be comforting. It can also make trying feel like it should be quick.
At the same time, headlines have pulled attention toward the practical side of at-home insemination—especially legal questions around donor arrangements. If you’re considering a home insemination kit, you want two things: a clean, repeatable technique and a plan that fits your real life.
Timing: the lever that matters most
If you only optimize one thing, optimize timing. Most ICI frustration comes from trying too early, too late, or guessing based on calendar math alone.
Simple timing targets
- OPK positive (LH surge): many people try the day of the first positive and the next day.
- Egg-white cervical mucus: consider that your “high alert” window.
- BBT shift: confirms ovulation happened (helpful for future cycles, less helpful for same-cycle timing).
Two timing styles people use
- Focused: 1–2 attempts tightly around the LH surge.
- Coverage: 2–3 attempts across the fertile window if supply allows.
Choose the style that matches your sperm availability and stress tolerance. Consistency beats perfection.
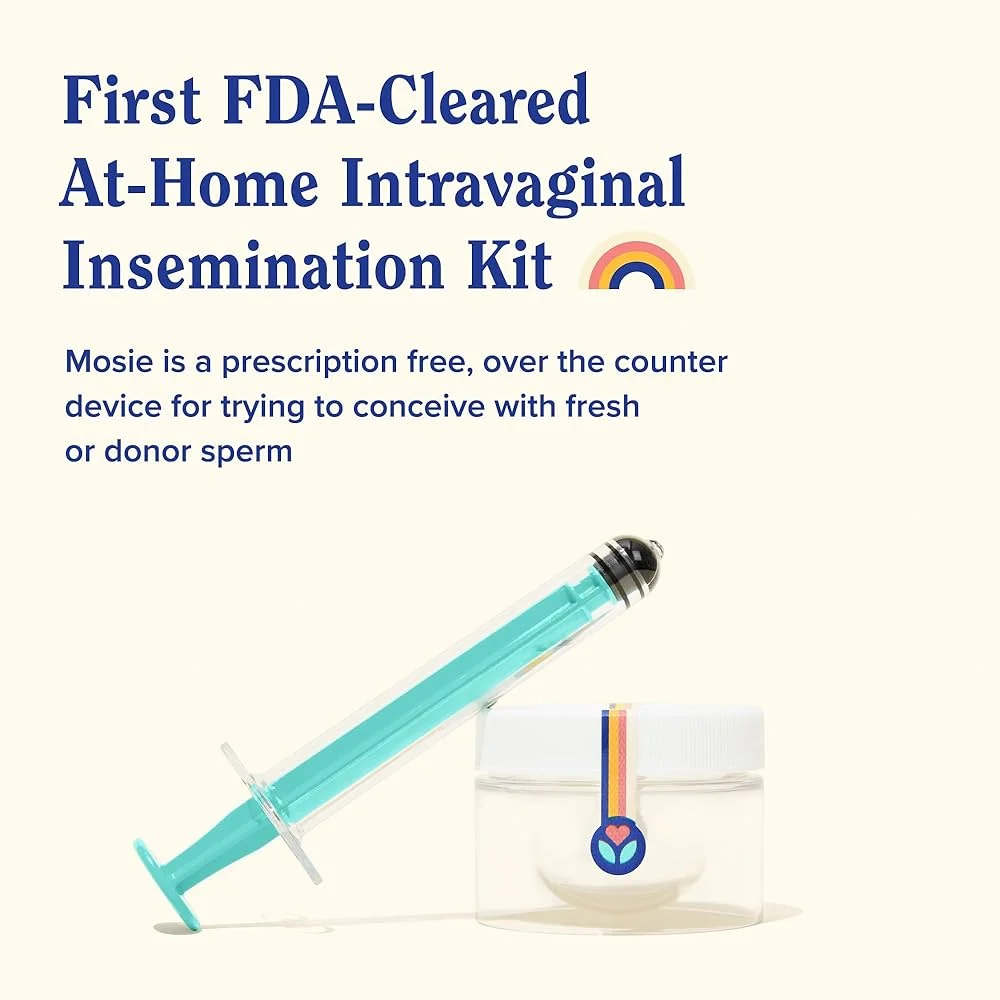
Supplies: what to set out before you start
Keep your setup boring and predictable. You’re aiming for calm, not a complicated “procedure.”
Core items
- Syringe made for insemination (smooth edges, easy control; avoid sharp or irritating tips).
- Clean collection container if needed.
- Optional lube: if you use any, pick one that’s fertility-friendly.
- Towels/wipes for cleanup.
- Timer (so you’re not checking the clock mid-try).
Comfort add-ons
- Pillow under hips (optional; use only if it feels good).
- Dim lighting, music, heat pad (relaxation helps you go slow and steady).
If you want a ready-to-go option, consider an at-home insemination kit for ICI so you’re not improvising at the last minute.
Step-by-step (ICI): a clean, low-drama routine
This is a general educational outline. Follow any instructions provided with your kit, and stop if you feel pain.
1) Prep the space and your body
Wash hands. Set everything within reach. Use the bathroom first so you can relax afterward without rushing.
2) Get comfortable before anything else
Pick a position you can maintain calmly: on your back with knees bent, on your side, or whatever feels stable. If you tense up, adjust. Don’t force a “perfect” pose.
3) Draw up the sample slowly
Move slowly to reduce bubbles and mess. If bubbles happen, it’s usually not a crisis. Slow down and keep the tip steady.
4) Insert gently and place near the cervix
ICI aims to place semen at the cervix, not inside the uterus. Insert only as far as comfortable. Pain is a stop signal, not something to push through.
5) Depress the plunger gradually
Slow pressure tends to feel better and reduces backflow. After dispensing, keep the syringe in place briefly, then remove gently.
6) Stay relaxed for a short rest
Many people rest 10–20 minutes. Use the time to breathe and decompress. Some leakage afterward is normal.
Mistakes that waste cycles (and how to avoid them)
Mistake 1: treating timing like a guess
Fix: pair OPKs with one more signal (mucus or BBT). Write down what you see. Patterns show up fast.
Mistake 2: rushing the technique
Fix: build in 15 extra minutes. A calm pace improves comfort and control.
Mistake 3: using the wrong tools
Fix: avoid makeshift items with rough edges or unclear materials. Use a kit designed for insemination.
Mistake 4: ignoring the legal side with a known donor
Fix: don’t assume intentions equal legal outcomes. Recent coverage has highlighted that donor rights and parental rights can be complicated, especially with at-home arrangements. Start your research early and consider professional advice.
For a general reference point tied to recent reporting, see: Florida Supreme Court makes ruling in at-home artificial insemination case.
FAQ: quick answers people want right now
Does a home insemination kit replace IVF?
It depends on your situation. ICI can be a lower-cost, lower-intervention option for some people. IVF may be recommended for others based on age, diagnosis, or prior outcomes.
Should we add fertility supplements?
Supplement talk is everywhere, including market and research coverage. Evidence varies by ingredient and individual needs. If you take anything, prioritize safety and discuss interactions with a clinician, especially if you have conditions or take medications.
What if I have cramps or bleeding?
Stop if you feel pain. Light spotting can happen for different reasons, but persistent pain or heavy bleeding needs medical guidance.
Next step: make your first try simpler
If you want a straightforward setup and a repeatable routine, start with tools designed for the job. That reduces friction and helps you focus on timing and comfort.
How does at-home insemination (ICI) work?
Medical disclaimer: This article is for general education and is not medical or legal advice. It does not diagnose, treat, or replace care from a qualified clinician. If you have pain, recurrent pregnancy loss, known fertility conditions, or questions about donor agreements and parental rights, seek professional guidance.