Parenthood is one of the most rewarding experiences in life, but for many couples, the journey to becoming parents can be a difficult one. Medical interventions such as IVF can be expensive and emotionally taxing, leaving some couples feeling discouraged and hopeless. However, there is a DIY approach to parenthood that has been growing in popularity in recent years – at-home insemination. In this blog post, we will share our personal experience with at-home insemination and provide a comprehensive guide for those who are considering this option.
At the start of our journey to parenthood, my partner and I knew that we wanted to have a child together, but we were not ready to take the traditional route of adoption or using a sperm donor. We also did not want to go through the invasive and expensive process of IVF. After much research and discussion, we came across the concept of at-home insemination and decided to give it a try.
The first step in our DIY guide to parenthood was to educate ourselves on the process of at-home insemination. We read articles, watched videos, and spoke to other couples who had successfully used this method. We learned that at-home insemination involves using a syringe or a cervical cap to insert sperm into the vagina, close to the cervix, during ovulation. This method mimics the natural process of conception and can be done in the comfort of your own home.
Next, we needed to find a sperm donor. This was a crucial decision, and we took our time to ensure that we found the right match. We spoke to friends and family who may be interested in donating, but ultimately we found a donor through an online sperm bank. We chose a donor who had similar physical characteristics to my partner and had a detailed medical history available. It was important for us to have all the necessary information about the donor to ensure the health and well-being of our future child.
Once we had selected our donor, we needed to track my ovulation cycle. This was done through an ovulation predictor kit which detects the surge of luteinizing hormone (LH) in urine, indicating that ovulation is about to occur. We also used a basal body temperature (BBT) thermometer to track my body temperature, which rises after ovulation. By combining these methods, we were able to pinpoint my ovulation window, which is crucial for successful at-home insemination.
Now came the exciting part – the insemination itself. We chose to use a cervical cap for our at-home insemination, as it was more comfortable for my partner and allowed for a more natural experience. We followed the instructions provided with the cervical cap and used a syringe to collect and insert the sperm into the cap. We then inserted the cap close to my cervix and remained lying down for 20-30 minutes to allow the sperm to swim towards the egg.
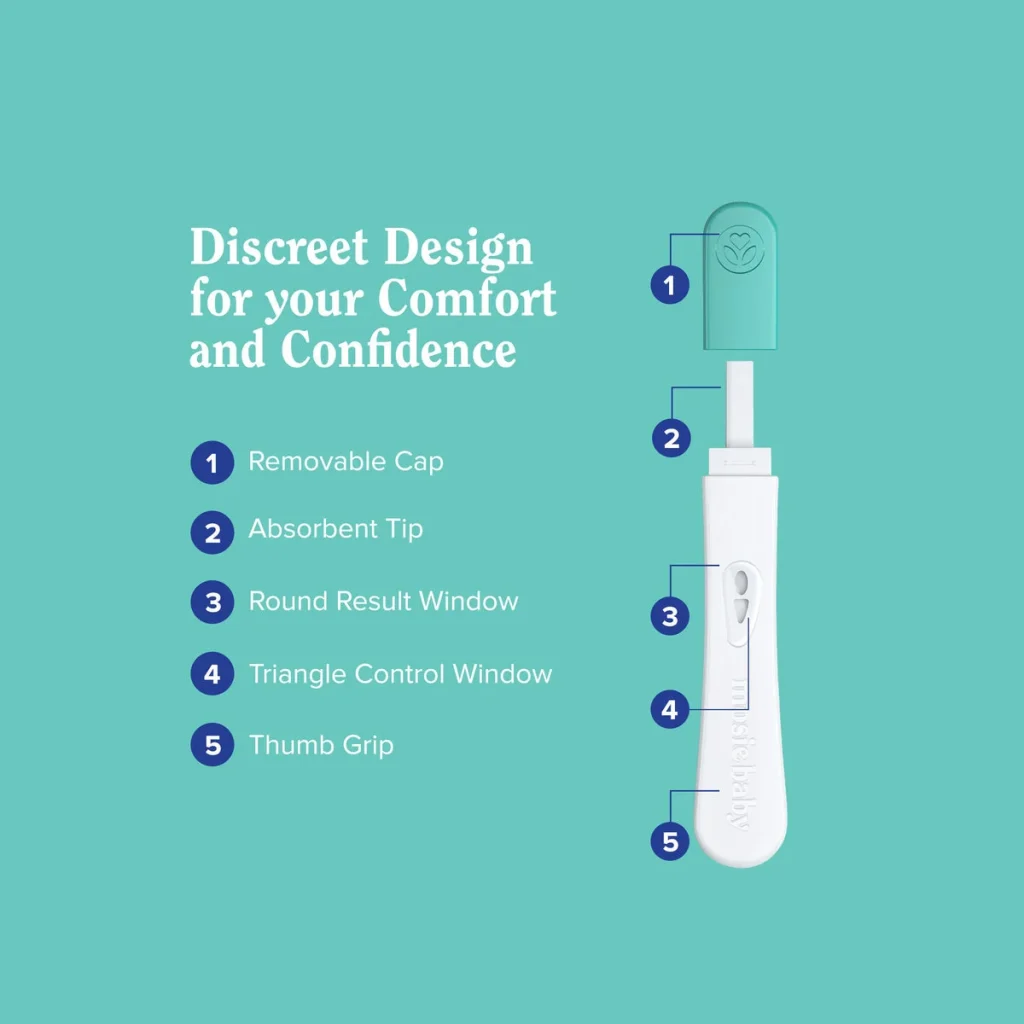
The waiting game was the most challenging part of our at-home insemination journey. We had to wait for two weeks before we could take a pregnancy test. During this time, we tried to stay positive and remind ourselves that even if it didn’t work the first time, we could try again. However, to our elation, our first attempt was successful, and we found out we were pregnant!
The DIY Guide to Parenthood: Our Experience with At-Home Insemination
Our DIY guide to parenthood had worked, and we were overjoyed. In hindsight, we believe that our success was due to several factors. Firstly, we were well-informed and educated about the process. We also had a clear understanding of my ovulation cycle and used the necessary tools to track it accurately. Additionally, we were patient and had realistic expectations.
For those who are considering at-home insemination, here are a few tips we learned from our experience:
1. Educate yourself: Knowledge is power, and it is essential to understand the process of at-home insemination thoroughly before attempting it.
2. Choose your donor carefully: Take your time to find a donor that is the right fit for you and your partner. Consider physical characteristics, medical history, and any other factors that are important to you.
3. Track your ovulation cycle: Use ovulation predictor kits and BBT thermometers to accurately pinpoint your ovulation window.
4. Be patient: At-home insemination may not work on the first try, and that’s okay. Be patient and try again if needed.
5. Stay positive: The emotional aspect of at-home insemination can be challenging, but it is essential to stay positive and have realistic expectations.
Overall, our DIY guide to parenthood with at-home insemination was a beautiful and rewarding experience for us. It allowed us to take control of our fertility journey and create a family on our terms. We hope that our story and tips will inspire and help other couples who are considering this option. Parenthood may not always be easy, but with determination and perseverance, it is possible.