


Mini vignette: They paused the TV right as the heroine’s storyline took a darker turn—one of those “should we even watch this tonight?” moments. The room went quiet. Then someone said what a lot of people are thinking lately: “If fiction can’t handle pregnancy loss without making it sensational, where do we get the practical info?”

If you’re exploring at-home insemination (ICI), you deserve clear steps, realistic expectations, and fewer wasted cycles. This guide focuses on using a home insemination kit with a budget-and-planning mindset.
Quick overview: ICI at home vs. IVF (and why people talk about it)
ICI (intracervical insemination) is an at-home option where semen is placed in the vagina near the cervix. It’s often discussed as a lower-cost, lower-intervention path compared with clinic-based options like IUI or IVF.
Pop culture keeps dragging fertility into the spotlight—sometimes clumsily. Recent chatter around a period drama adjusting a pregnancy-loss storyline reminds people that reproductive journeys can be emotionally loaded. Meanwhile, real-world headlines have also highlighted something less glamorous but crucial: legal and consent issues around do-it-yourself “donations.”
One practical takeaway: planning for ICI isn’t just about supplies. It’s also about timing, communication, and avoiding preventable missteps.
Timing that protects your cycle (the “don’t miss the window” plan)
If you only optimize one thing, optimize timing. Many at-home attempts fail because the insemination happens too early or too late.
Find your fertile window
Common ways people estimate ovulation include:
- Ovulation predictor kits (OPKs): help you catch the LH surge.
- Cervical mucus changes: often becomes clearer and stretchier near ovulation.
- Cycle tracking: helpful over time, but less precise by itself.
Practical timing tips (without overcomplicating it)
- If you use OPKs, many people plan ICI close to the positive test and around suspected ovulation.
- If cycles are irregular, consider adding a second method (like mucus tracking) to reduce guesswork.
- Build a simple checklist the day before so you’re not scrambling when timing matters.
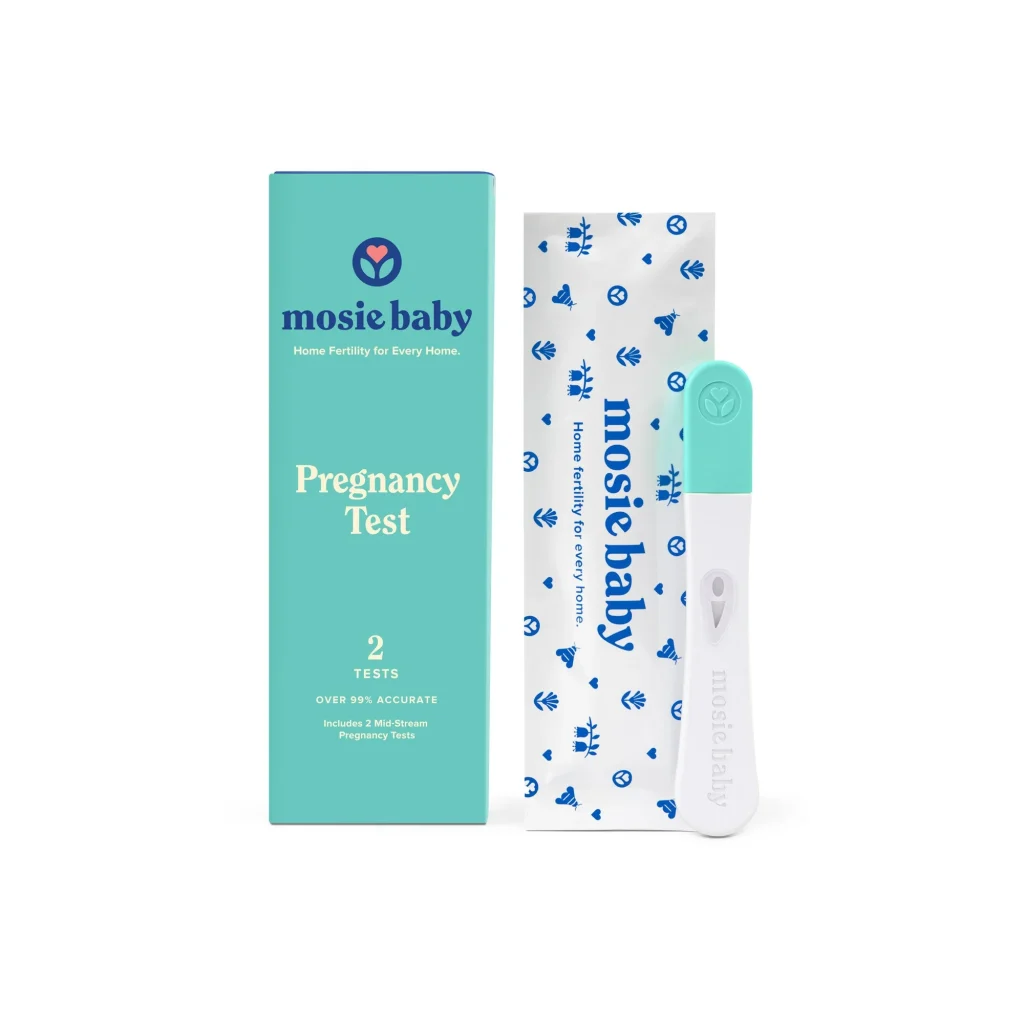
Supplies: what you need (and what to skip)
Keep your setup simple and body-safe. Improvising can waste a cycle and raise infection risk.
Basics most people consider
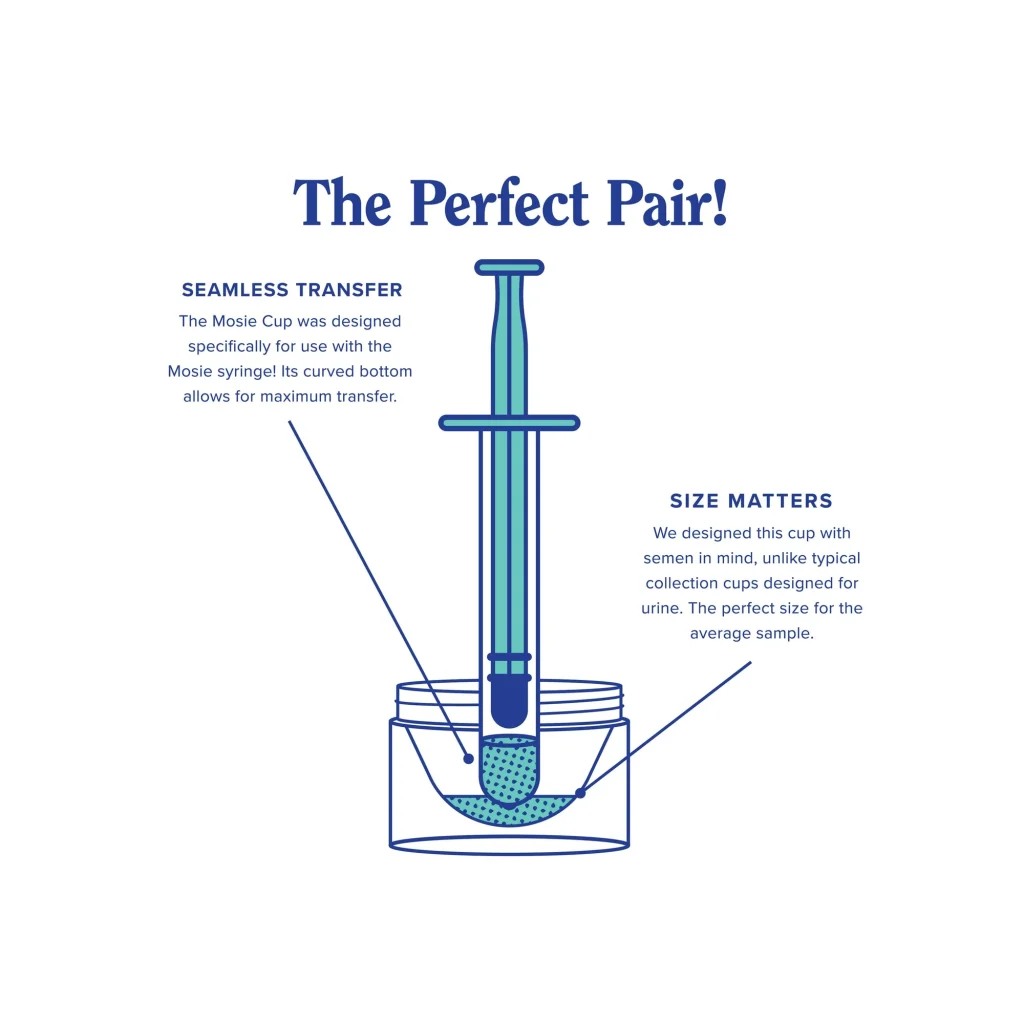
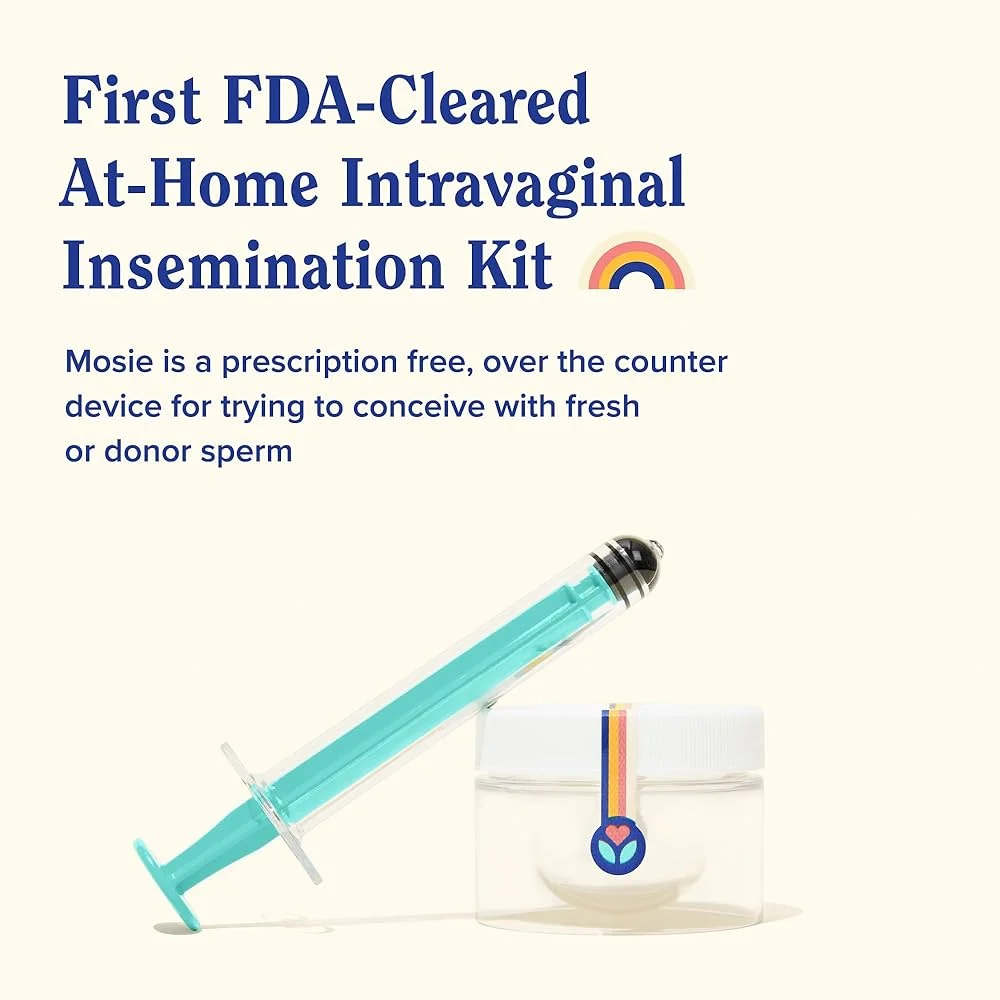
- Home insemination kit designed for ICI (typically includes sterile, needleless syringes and collection items).
- Ovulation tests if you’re timing with OPKs.
- Clean surface + handwashing supplies.
- Optional: a towel, pillow for comfort, and a timer so you don’t rush.
Skip these “hacks”
- Non-sterile containers or tools not designed for body use.
- Lubricants that aren’t fertility-friendly (some can affect sperm).
- Anything with sharp edges or rough plastic.
Step-by-step: ICI at home (clear, calm, repeatable)
This is a general educational outline. Follow your product instructions and any guidance from a licensed clinician if you’re working with one.
1) Prep your space
Choose a private, low-stress spot. Wash hands well. Lay out supplies so you aren’t opening packages mid-process.
2) Collect the sample (if using fresh semen)
Use a clean, body-safe collection container from your kit. Avoid introducing soap or residues. Time and temperature matter, so plan the handoff and use promptly per kit guidance.
3) Draw up the sample with the needleless syringe
Go slowly to reduce bubbles and mess. Keep everything as clean as possible. If something touches an unclean surface, replace it rather than guessing.
4) Insert and place semen near the cervix
Position yourself comfortably. Insert the syringe gently into the vagina (not into the cervix). Depress the plunger slowly to place the semen near the cervix.
5) Rest briefly for comfort
Some people choose to lie still for a short period. Comfort matters. Anxiety and rushing can make the experience harder than it needs to be.
6) Make notes for next cycle
Write down the day/time, OPK results, and any issues (timing, stress, supplies). This turns “trying” into a repeatable plan.
Common mistakes that waste a cycle (and how to avoid them)
Missing ovulation by a day (or two)
Fix: Use OPKs, watch mucus, and decide your timing plan before the fertile window starts.
Overhandling the sample
Fix: Keep it simple. Minimize delays and follow kit guidance on timing and storage.
Using the wrong tools
Fix: Use sterile, needleless syringes intended for insemination. Avoid household substitutes.
Ignoring the legal side of “informal donation”
Fix: Don’t assume a text message equals protection. Recent reporting has highlighted court rulings where at-home arrangements can create unexpected legal parentage outcomes. If you’re using a known donor, learn your local rules and consider legal advice before you try.
For more context on the public reporting around this issue, see: Florida Supreme Court makes ruling in at-home artificial insemination case.
FAQ (fast answers)
ICI vs. IUI: ICI is at-home and places semen in the vagina; IUI is clinical and places washed sperm into the uterus.
How many tries? It varies. Many people reassess after several well-timed cycles, especially if you’re tracking carefully.
When to get help: If you have pain, repeated losses, irregular cycles, or known fertility factors, a clinician can help you choose the safest next step.
CTA: Get a simple setup you can repeat
If you’re aiming for an at-home attempt that’s organized and body-safe, start with the right supplies. Consider an at-home insemination kit for ICI so you’re not improvising on the one day timing matters most.
How does at-home insemination (ICI) work?
Medical disclaimer: This article is for general education and does not provide medical advice or diagnosis. If you have health conditions, severe pain, a history of pregnancy loss, concerns about infection risk, or questions about donor screening and legal parentage, consult a licensed clinician and qualified legal professional in your area.