
Myth: “If you’re 35, the clock strikes midnight and your options vanish.”
Reality: Age is a factor, but fertility doesn’t flip like a light switch. The number “35” shows up everywhere in culture and headlines, yet real-life fertility is more nuanced for women and men.

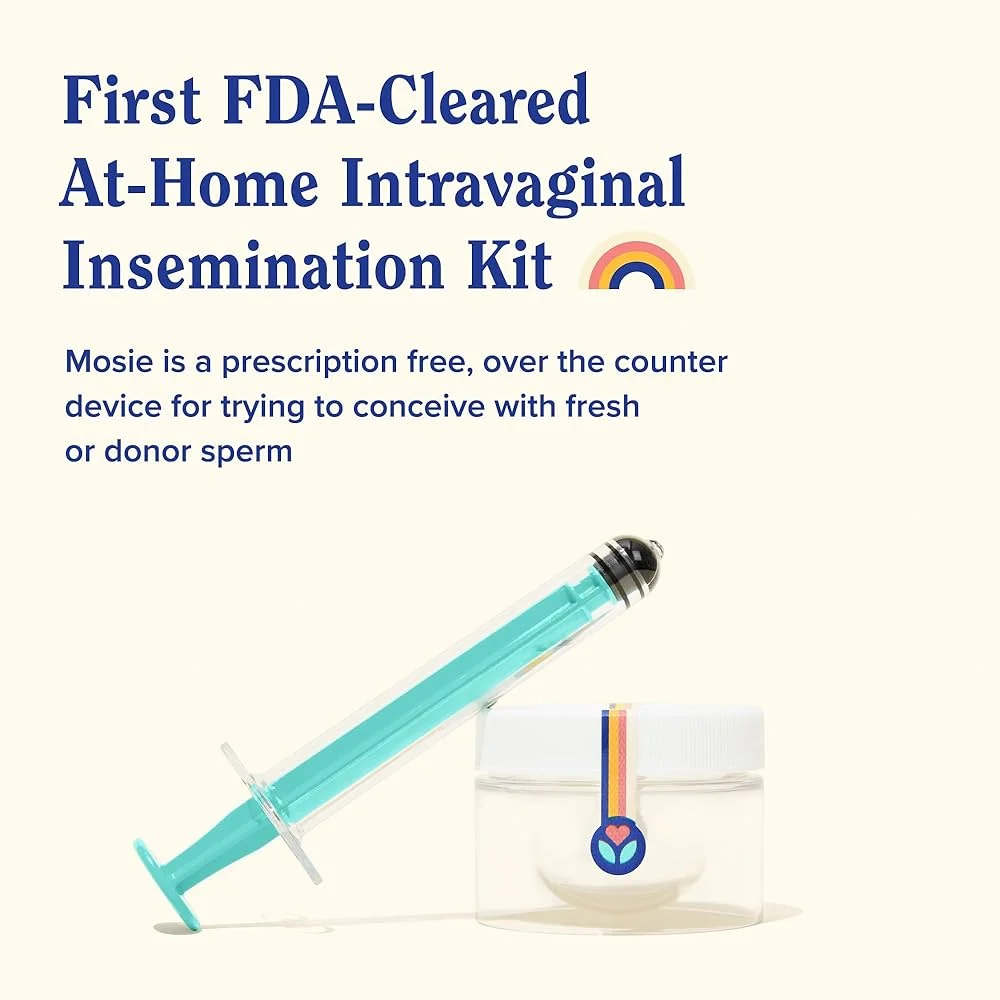
That nuance is why at-home options like ICI (intracervical insemination) keep trending. People want privacy, lower costs, and a plan that doesn’t start with a clinic waiting room. If you’re considering a home insemination kit, this guide keeps it practical and safety-first.
What people are talking about right now (and why it matters)
“35” is having a moment. It’s the kind of headline number that spreads fast, like celebrity pregnancy chatter or a plot twist in a bingeable TV drama. It’s simple, clickable, and easy to repeat.
Meanwhile, entertainment keeps feeding the conversation. Romance stories and travel-love movies make “ready for the next chapter” feel urgent. True-crime and courtroom-style docuseries remind everyone that paperwork, consent, and documentation matter in real life. Even comedy spoofs of old-school period dramas highlight how social rules around family-building keep changing.
Then there are the science headlines that reset expectations: stories about embryos stored for decades and still resulting in a birth. The takeaway isn’t “anything is possible.” It’s that fertility timelines, technology, and outcomes can be surprising—and rarely fit a single rule.
What matters medically (without the hype)
At-home insemination can be a reasonable starting point for some people. It’s not a cure-all. It also isn’t inherently reckless when done thoughtfully.
Age is real, but it’s not the only variable
Fertility is influenced by egg quantity and quality over time, but also by ovulation patterns, tubal health, uterine factors, and sperm parameters. Stress and sleep can affect cycles too. So can certain medications and health conditions.
For couples and solo parents alike, the “35” conversation can be useful if it nudges you toward earlier planning. It becomes harmful when it pushes panic decisions or shame.
ICI is different from clinic-based treatments
ICI places semen in the vagina near the cervix. It does not bypass the cervix or the uterus. That’s why timing and sperm quality matter a lot.
If you’re comparing options, think of ICI as a lower-intervention step. IVF and IUI are different tools for different situations.
Safety and screening are not optional
The biggest avoidable risks at home are infection, mix-ups, and unclear consent. A clean setup and clear documentation reduce those risks.
Some people also use apps and algorithms to predict ovulation windows. If you’re curious about how these tools “think,” it can help to understand the basics behind the home insemination kit. Still, no app replaces your body’s signals or medical testing when something feels off.
How to try ICI at home (a calm, safer workflow)
This is a general overview, not medical advice. If you have pain, fever, unusual discharge, or a history of pelvic infection, contact a clinician before trying at home.
1) Pick a timing method you can actually follow
Consistency beats perfection. Common approaches include ovulation predictor kits (LH strips), cervical mucus tracking, or basal body temperature (which confirms ovulation after the fact).
If your cycles are irregular, consider getting guidance sooner. Irregular cycles can make “well-timed” attempts harder than people realize.
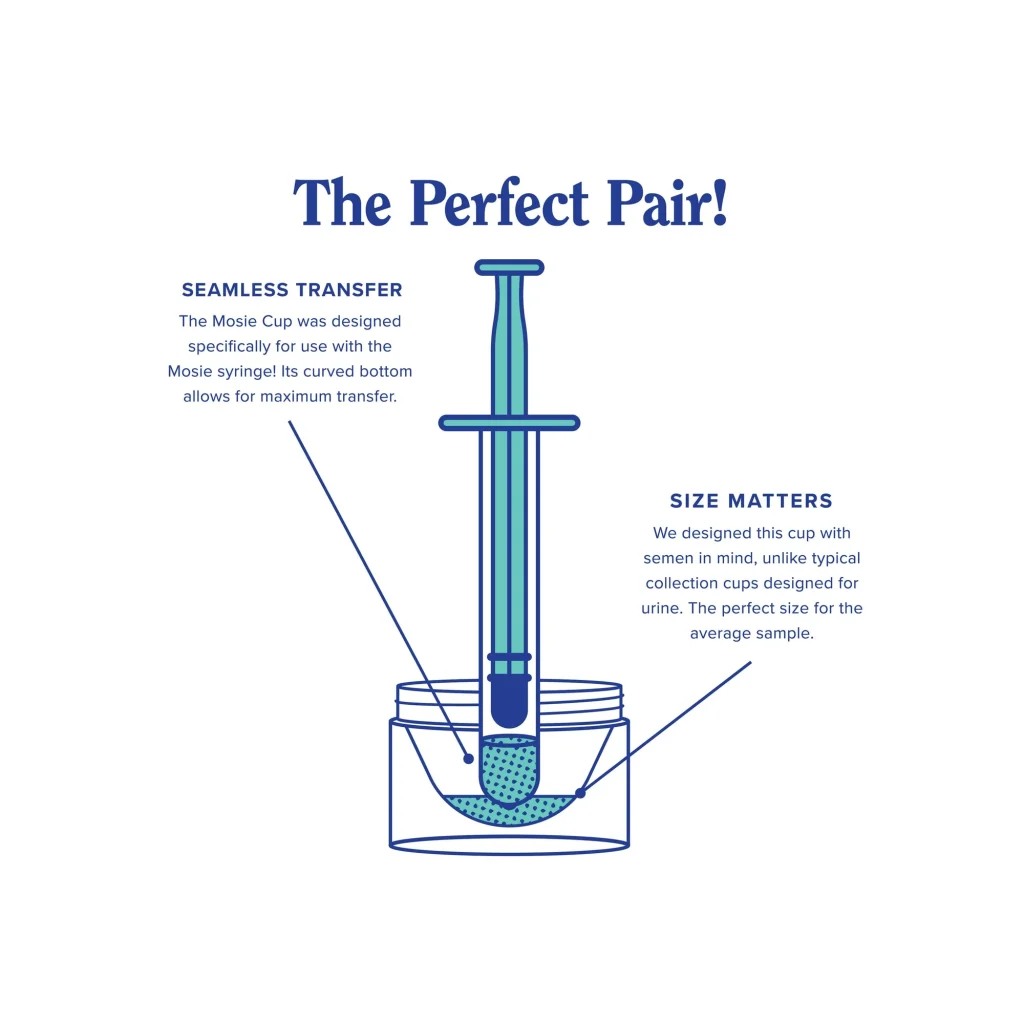
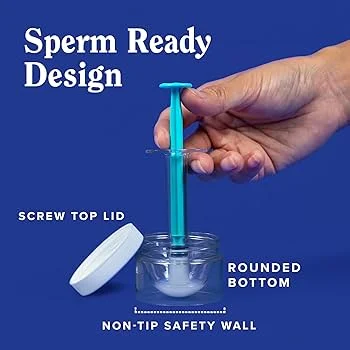
2) Reduce infection risk with sterile, single-use supplies
Avoid improvised tools. Use a purpose-built kit designed for insemination and follow included instructions. Wash hands, use clean surfaces, and keep pets out of the room.
Do not use products that irritate tissue. Scented soaps, harsh wipes, or non-fertility lubricants can be a problem for comfort and sperm.
3) Screen the sperm source and document consent
If using a known donor, talk through expectations early. Write down what you agreed to and keep copies. Local laws vary, and informal arrangements can create confusion later.
If using banked donor sperm, follow the storage and thaw guidance exactly. If anything seems off, pause and contact the source.
4) Keep the process simple and repeatable
Many people do best when the routine is low-pressure: same general time of day, same setup, and a short rest period afterward. Over-complicating the night can add stress without improving odds.
If you want a streamlined option, start with a home insemination kit for ICI that’s designed for sterile handling and clear steps.
5) Track what happened (so you can make smarter next moves)
Write down the cycle day, LH results, insemination time, and any symptoms. This helps you adjust timing next cycle. It also helps a clinician later if you decide to escalate care.
When it’s time to seek help (and what to ask)
At-home ICI is one lane. If you’re not getting results after multiple well-timed cycles, or if you already know there are risk factors, a consult can save time.
Consider getting support sooner if:
- Cycles are very irregular or absent
- You have a history of endometriosis, fibroids, pelvic inflammatory disease, or tubal issues
- There’s known male-factor infertility or prior abnormal semen analysis
- You’re experiencing significant pain, heavy bleeding, or symptoms that worry you
Useful questions for a clinician
- “Which tests would actually change our plan right now?”
- “Are we better suited for IUI vs continuing ICI?”
- “What’s a reasonable timeline before escalating to IVF?”
- “Do you recommend infectious disease screening for our situation?”
FAQ (quick, direct answers)
Is ICI the same as IUI?
No. ICI is done at home and places semen in the vagina near the cervix. IUI is performed in a clinic and places washed sperm into the uterus.
Does fertility drop exactly at 35?
No. Age can influence fertility, but it doesn’t collapse on a birthday. It’s shaped by multiple factors across both partners (or donor + recipient).
How many attempts should we try at home before getting help?
Many people seek guidance after several well-timed cycles without pregnancy, and sooner if there are known concerns or irregular cycles.
What’s the biggest safety risk with at-home insemination?
Infection and poor screening. Sterile supplies, clean handling, and clear donor screening reduce risk.
Can we use donor sperm at home?
Often, yes. Legal parentage and consent rules vary. Document agreements and consider legal guidance if using a known donor.
CTA: keep it private, but don’t keep it vague
If you’re exploring ICI because you want more control, focus on the parts that actually protect you: sterile supplies, screening, and written clarity. That’s how you lower risk while keeping the process at home.
How does at-home insemination (ICI) work?
Medical disclaimer: This article is for general education and is not medical advice. It does not diagnose or treat any condition. For personalized guidance—especially if you have pain, irregular cycles, known fertility factors, or symptoms of infection—talk with a qualified clinician.