


Is a home insemination kit actually a realistic option? For many people, yes—especially if you want privacy, lower costs, and more control.

When is the “right” time to try ICI at home? Timing matters more than most people think, and it’s usually about a short window, not a whole week.
What should you do to make it safer—medically and legally? Focus on clean technique, screening, and clear documentation of choices.
At-home insemination (ICI) is having a cultural moment. Between celebrity pregnancy chatter, storylines in TV dramas, and ongoing political and court coverage around reproductive rights, more people are asking what they can do at home—and what can go wrong.
This guide keeps it practical. It’s written for people considering ICI with a home insemination kit as a home fertility option or an IVF alternative when clinic care isn’t accessible, desired, or affordable.
Medical disclaimer: This article is general education, not medical advice. It can’t diagnose or replace care from a licensed clinician. If you have severe pain, fever, unusual discharge, heavy bleeding, or urgent concerns, seek medical help.
Big-picture: where ICI fits (and where it doesn’t)
ICI (intracervical insemination) typically means placing semen in the vagina close to the cervix, usually with a syringe-style applicator. It’s different from IUI, which places washed sperm into the uterus and is performed by a clinician.
People look at ICI for many reasons: queer family building, solo parenting, infertility workups in progress, or simply wanting a lower-intervention first step. In the background, court decisions and policy debates have also pushed more families to think carefully about legal parentage and documentation—not just biology.
If you want a quick cultural reference point: pregnancy announcements and “bump watch” lists may make conception look effortless. Real life is more logistical. A calm plan helps.
Timing that matters: find your fertile window without guesswork
Most ICI success comes down to inseminating close to ovulation. That means you’re aiming for the 24–36 hours around an LH surge and the day of ovulation.
Simple timing options
- OPKs (LH tests): Start testing before you expect to surge. When the test turns positive, plan ICI that day and the next day if you can.
- Cervical mucus cues: Slippery, clear, “egg-white” mucus often shows up close to ovulation. Pair this with OPKs for a clearer signal.
- BBT (basal body temperature): BBT confirms ovulation after it happens. It’s useful for learning your pattern, not for perfect same-day timing.
Fresh vs. frozen changes the clock
Fresh semen can survive longer in the reproductive tract, so the window is a bit more forgiving. Frozen-thawed sperm often has a shorter viable window, so many people try closer to ovulation (often very near the LH surge/peak). If you’re using frozen sperm, consider discussing timing with the sperm bank or a clinician for general guidance.
What you need: supplies for a cleaner, calmer setup
You don’t need a drawer full of gadgets. You do need a plan that reduces infection risk and prevents avoidable mishaps.
Core items
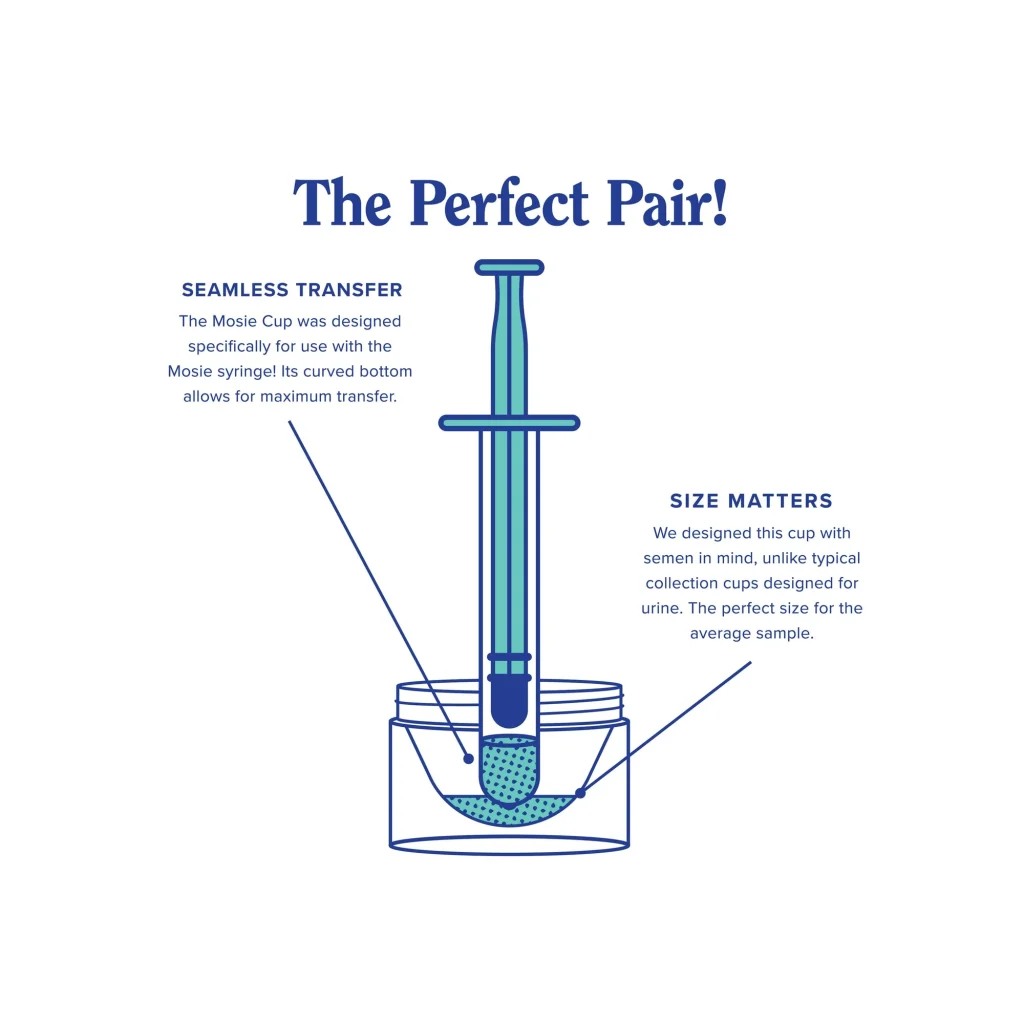
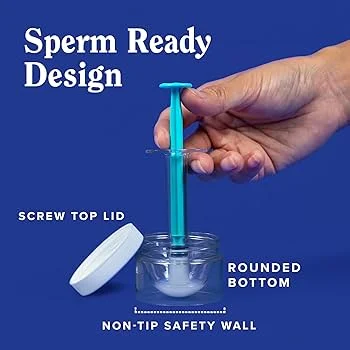
- Home insemination kit with needleless syringe/applicator designed for ICI
- Clean collection container (if collecting at home)
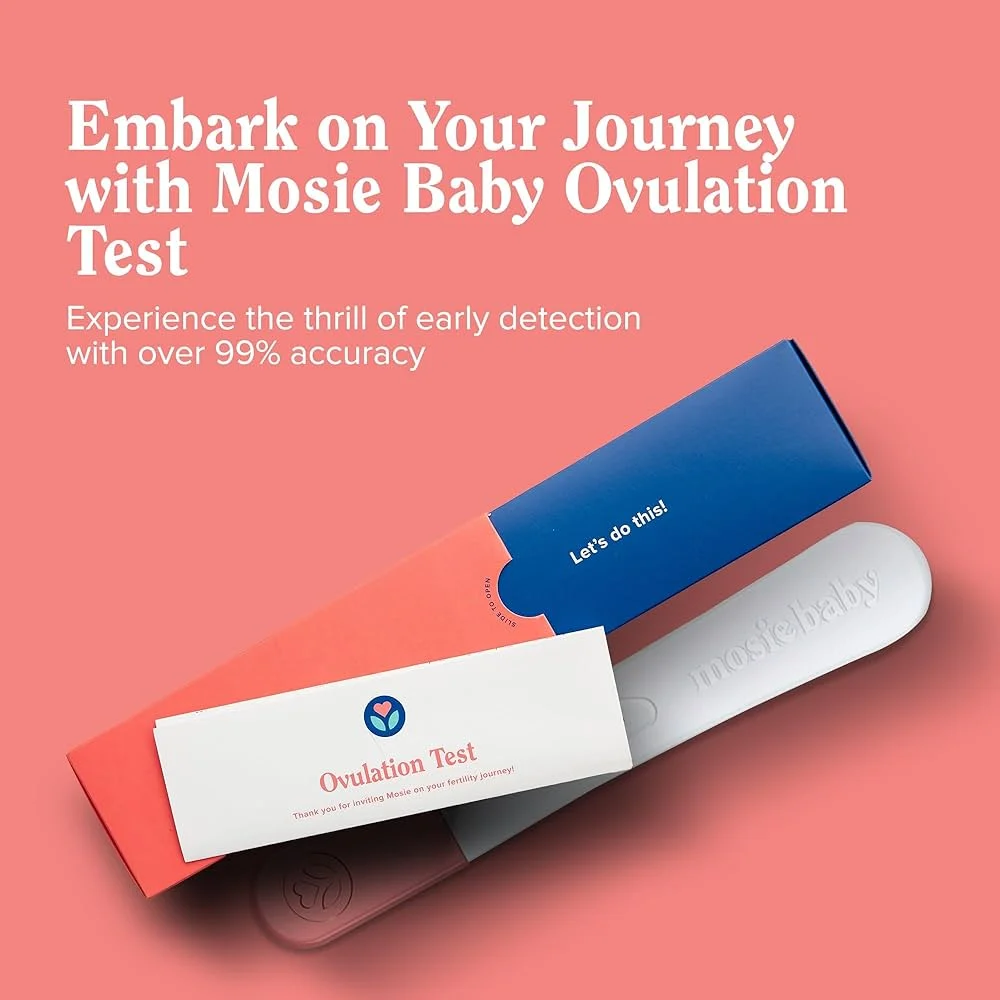
- Ovulation tests (OPKs) and a way to track results
- Hand soap and clean paper towels
- Optional: fertility-friendly lubricant (if needed), a clean towel, and a timer
Safety and screening checklist (don’t skip this)
- STI screening: Especially important with a known donor. Use current testing and discuss exclusivity and timing.
- Consent and expectations: Talk through contact, future involvement, and boundaries before anyone is emotional or sleep-deprived.
- Documentation: Keep a written record of agreements, dates, and donor information. Consider legal counsel for your state.
Legal context is evolving. For example, recent reporting highlighted how court rulings can treat at-home donor arrangements differently than clinic-based processes. If you want to read more, see this related coverage: Florida Supreme Court makes ruling in at-home artificial insemination case.
Step-by-step ICI: a straightforward at-home process
These steps focus on cleanliness, comfort, and reducing common errors. If you’re using banked sperm, follow the bank’s handling instructions first.
1) Prep the space (5 minutes)
- Wash hands thoroughly.
- Lay out supplies on a clean surface.
- Make sure the syringe/applicator packaging is intact and clean.
2) Collect or prepare the sample
- If collecting at home, use a clean container and avoid lubricants unless they are fertility-friendly.
- Keep the sample at room temperature and use it promptly. Avoid extreme heat or cold.
3) Load the syringe carefully
- Draw the semen into the syringe slowly to reduce bubbles.
- Keep everything as clean as possible. Don’t set the tip down on random surfaces.
4) Inseminate near the cervix (ICI)
- Get into a comfortable position (reclined is common).
- Insert the syringe gently into the vagina, aiming toward the back, not “up.” Stop if you feel sharp pain.
- Depress the plunger slowly to release the sample near the cervix.
5) Stay reclined briefly
Remain reclined for about 10–20 minutes if you can. Leakage afterward is normal and doesn’t automatically mean it “didn’t work.”
6) Record what happened
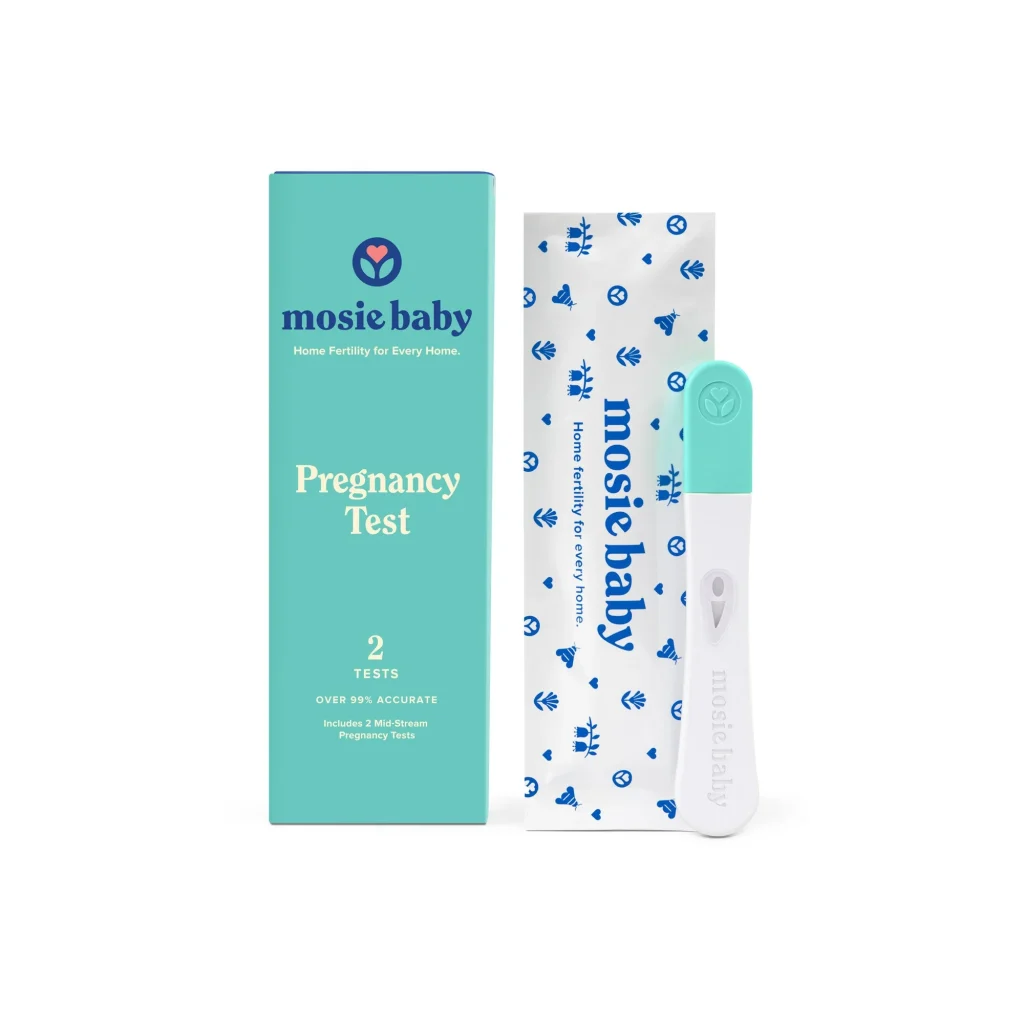
Write down the date/time, OPK result, any symptoms (like egg-white mucus), and whether the sample was fresh or frozen. This is useful for both pattern-tracking and documentation.
Common mistakes that waste a cycle (and how to avoid them)
Mistake: Trying too early or too late
Fix: Use OPKs and watch for your surge pattern. If your surge is short, test twice daily around your usual window.
Mistake: Using sperm-unfriendly products
Fix: Skip saliva and most standard lubricants. If you need lubrication, choose a fertility-friendly option and use less than you think you need.
Mistake: Treating “sterile” like “clean enough”
Fix: You don’t need a surgical suite, but you do need clean hands, clean tools, and a no-shortcuts mindset. Infection risk is low when you keep things clean, and it rises when you improvise.
Mistake: Ignoring the legal side until after a positive test
Fix: Don’t rely on assumptions or a handshake agreement. Parentage rules vary, and headlines have shown that at-home arrangements can create unexpected outcomes. Consider written agreements and legal advice early, especially with known donors.
FAQ: quick answers people ask before they try ICI
Is ICI painful?
It shouldn’t be painful. Mild discomfort can happen, but sharp pain is a stop signal. If pain persists, seek medical advice.
Do I need a speculum?
Most people do not use a speculum for ICI at home. Comfort and gentle technique matter more.
Can I do ICI if I have irregular cycles?
You can, but timing is harder. OPKs, tracking, and clinician guidance can help you identify whether you’re ovulating consistently.
CTA: choose a kit made for ICI and keep it simple
If you’re planning an at-home attempt, start with tools designed for this purpose and a repeatable process. A purpose-built kit can reduce messy handling and last-minute substitutions.
at-home insemination kit for ICI
How does at-home insemination (ICI) work?
Reminder: This content is educational and not a substitute for medical or legal advice. Consider a clinician for medical questions and a qualified attorney for parentage and consent planning in your state.
