Blog Post: Step-by-Step Guide to Successfully Performing At-Home Insemination with a Syringe
Insemination is a common fertility treatment method used by individuals and couples who are trying to conceive. It involves the introduction of sperm into the reproductive system, either through natural means or medical procedures. While insemination is typically performed in a doctor’s office, some people may prefer to do it at home for various reasons, such as privacy or convenience.
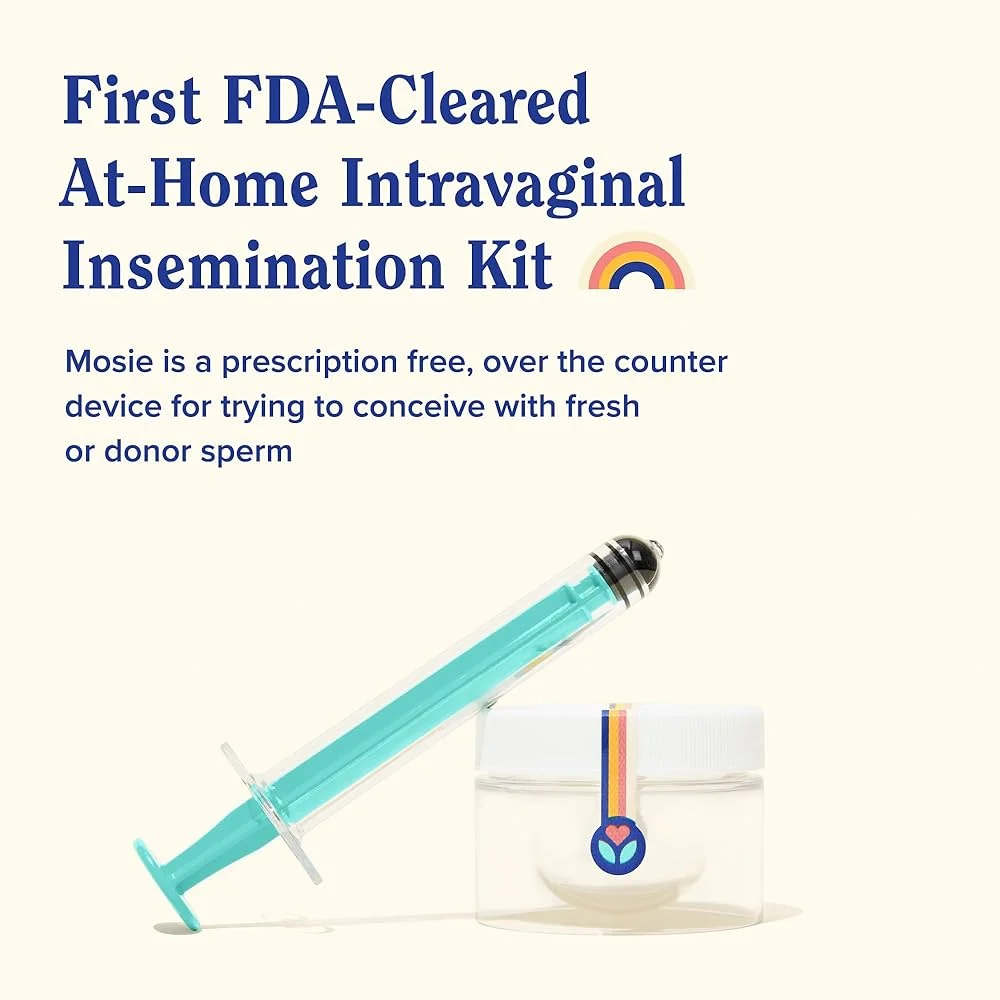
At-home insemination with a syringe is a popular method among those who are trying to conceive. It involves using a syringe to insert sperm into the vagina or cervix, mimicking the process of traditional insemination. This blog post will provide a step-by-step guide to successfully performing at-home insemination with a syringe.
Step 1: Prepare for the Insemination
Before starting the insemination process, it is essential to prepare both the sperm donor and the recipient. If using sperm from a donor bank, ensure that the sample is thawed and at room temperature. If using fresh sperm, make sure it is collected in a sterile container and kept at room temperature until ready to use.
The recipient should also prepare by emptying their bladder and washing their hands thoroughly. It is also recommended to use a clean, sterile syringe specifically designed for insemination.
Step 2: Find the Right Position
The recipient should lie down with their hips slightly elevated, either by placing a pillow under their lower back or elevating their legs against a wall. This position helps to tilt the pelvis and allows for easier insertion of the syringe.
Step 3: Load the Syringe
Using a sterile syringe, load the sperm into the syringe. If using a fresh sample, gently swirl the sperm to ensure it is well mixed. If using a donor bank sample, follow the instructions provided by the bank for loading the syringe.
Step 4: Insert the Syringe

Step-by-Step Guide to Successfully Performing At-Home Insemination with a Syringe
Once the syringe is loaded with sperm, the recipient or their partner should gently insert the syringe into the vagina and up towards the cervix. It is essential to be gentle and avoid any forceful movements to prevent harming the sensitive reproductive organs.
Step 5: Release the Sperm
Slowly push the plunger of the syringe to release the sperm into the vagina or cervix. It is recommended to release the sperm slowly to allow for proper distribution and avoid any discomfort for the recipient.
Step 6: Stay in Position
After releasing the sperm, the recipient should remain in the same position for about 20 to 30 minutes. Lying down with their hips elevated helps to keep the sperm near the cervix, increasing the chances of successful insemination.
Step 7: Clean Up
Once the recommended time has passed, the recipient can carefully remove the syringe and dispose of it in a safe manner. They can then clean themselves up and go about their day as usual.
Step 8: Repeat if Necessary
Some people may choose to repeat the insemination process multiple times during their fertile window. It is important to follow the recommended guidelines for the frequency of insemination to avoid any potential complications.
Summary:
At-home insemination with a syringe is a popular method for individuals and couples trying to conceive. This method involves using a syringe to insert sperm into the reproductive system. The first step to successfully performing at-home insemination with a syringe is to prepare both the sperm donor and the recipient. The recipient should then lie down with their hips elevated, and the syringe should be gently inserted into the vagina or cervix. After releasing the sperm, the recipient should remain in the same position for 20 to 30 minutes before cleaning up. This process can be repeated as necessary within the recommended guidelines.