
Trying to conceive can feel like a full-time job. The group chat has opinions, your feed has “miracle” tips, and a new TV drama about babies somehow makes it all feel louder.

Meanwhile, real-world headlines are reminding people that DIY fertility isn’t just personal—it can have legal and emotional ripple effects too.
If you’re considering a home insemination kit for ICI, the goal is simple: make timing easier, keep it safer, and avoid wasting a cycle.
Is at-home insemination actually a practical IVF alternative?
For many people, at-home insemination (ICI) is less an “IVF alternative” and more a first step. It’s often chosen for privacy, cost, and control.
ICI also fits the cultural moment. Celebrity pregnancy plotlines get written into shows, and new releases about family-building keep the topic in the open. That visibility can help, but it can also create pressure to move faster than your budget or your body wants.
Here’s the grounded take: IVF and IUI are medical procedures with different goals and tools. ICI is a lower-intervention option that can make sense when you’re ovulating predictably and want to start at home before stepping into clinics.
What do we need to buy (and what’s just hype)?
Most people do best with a short list. More gear doesn’t automatically mean better odds.
Focus on the basics
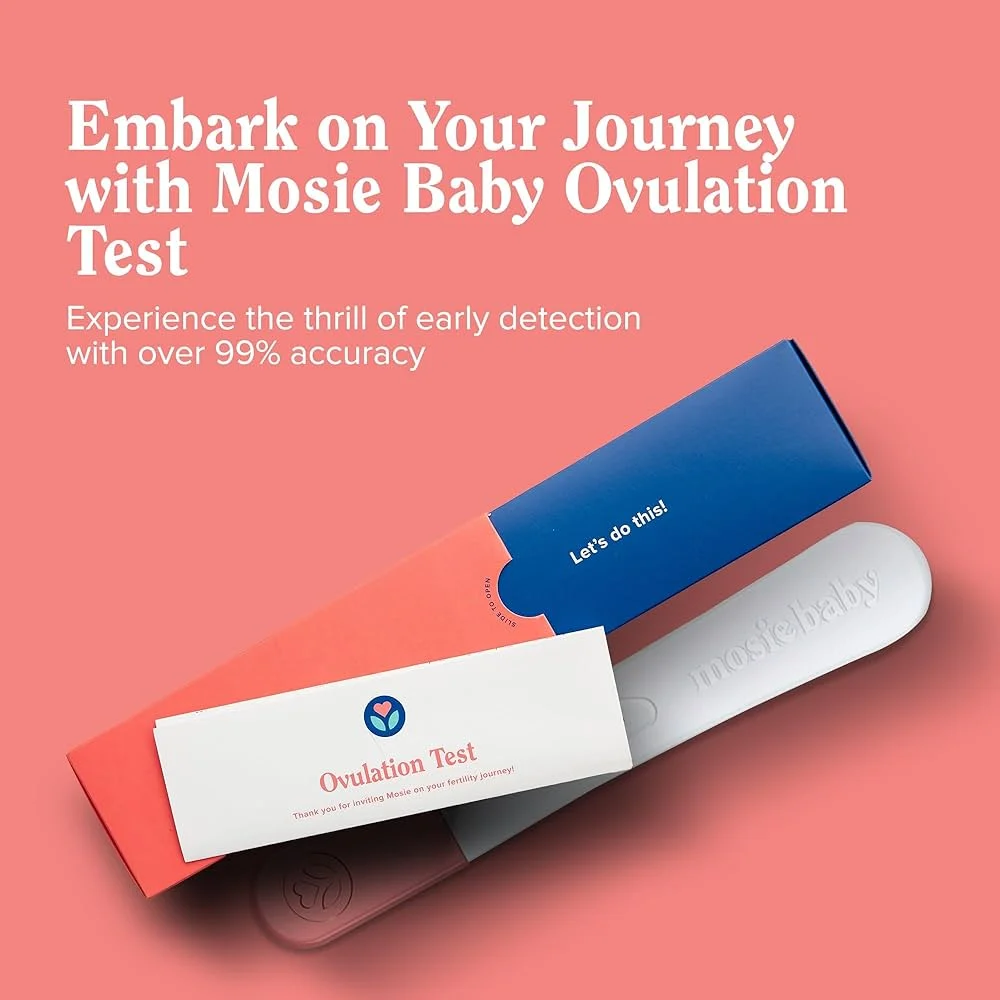
- Ovulation tracking: ovulation predictor kits (OPKs) and a simple calendar can go a long way.
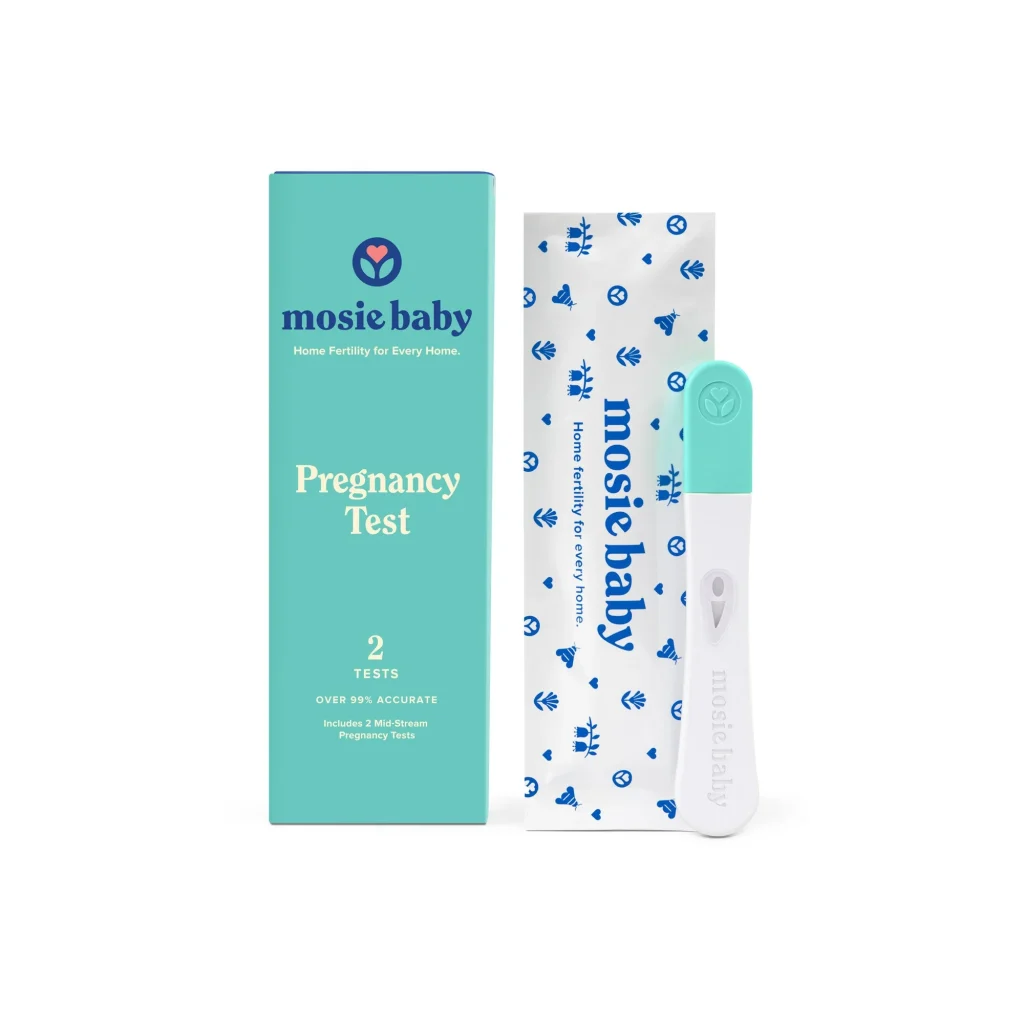
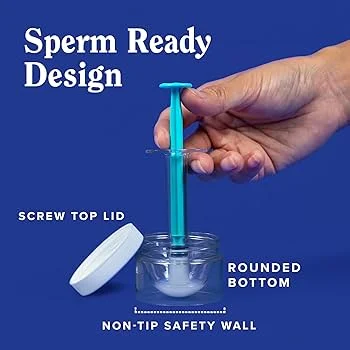
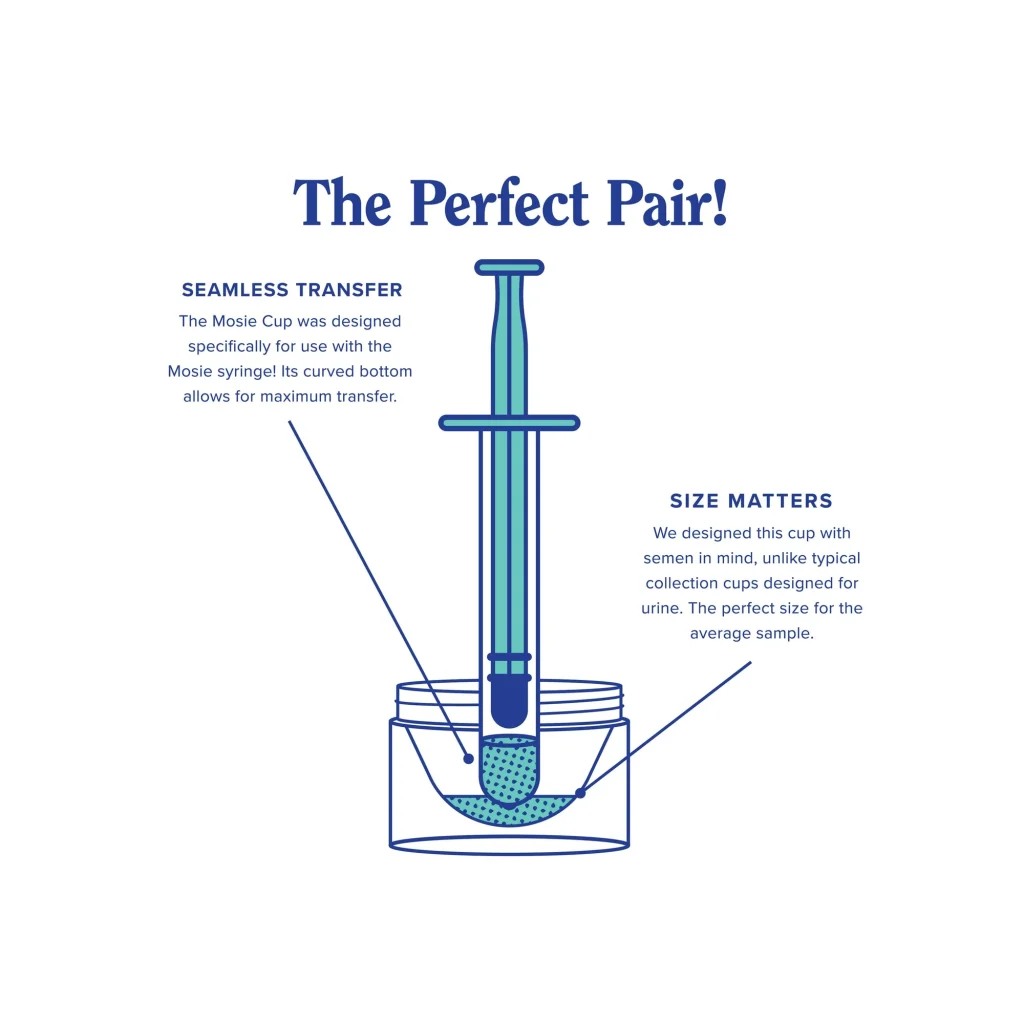
- Clean, body-safe applicator: the core of a at-home insemination kit for ICI is usually a syringe-style applicator designed for this purpose.
- Hygiene supplies: clean hands, clean surfaces, and single-use items where appropriate.
Skip the cycle-wasters
- Complex add-ons that don’t help you time ovulation better.
- Anything that isn’t designed for internal use.
- “One weird trick” products that promise guaranteed results.
How do we time ICI so we don’t miss the fertile window?
Timing is where most cycles are won or lost—especially at home. A lot of people focus on technique and ignore the calendar.
In general, sperm can survive for a period of time in the reproductive tract, while the egg is available for a shorter window after ovulation. That’s why many people aim for insemination close to ovulation, often the day before and/or the day of.
A simple, budget-friendly timing plan
- Start OPKs a few days before you usually ovulate.
- When the test line surges, plan ICI within the next day (and consider a second attempt if it fits your budget and stress level).
- If your cycles are irregular, consider adding basal body temperature tracking to confirm ovulation patterns over time.
What are people missing about safety and comfort at home?
At-home should still mean careful. Discomfort and rushed handling can turn a hopeful moment into a stressful one.
Comfort basics that matter
- Use a calm, unhurried setup and a private space.
- Avoid introducing anything that could irritate tissue or raise infection risk.
- Stop if there’s significant pain or bleeding and seek medical advice.
Medical note: This article is general education, not medical advice. A clinician can help if you have pelvic pain, recurrent pregnancy loss, known fertility conditions, or concerns about infection risk.
Do headlines about donor rights change what we should do?
They should change how seriously you take the paperwork and the process—especially with donor sperm or a known donor. Recent coverage out of Florida has highlighted that parentage outcomes can hinge on legal details, not just intent.
If you’re using a known donor, don’t rely on assumptions or casual texts. Consider getting legal guidance and using clear consent and parentage documentation that fits your jurisdiction.
To understand the kind of issues being discussed, see this coverage: Florida Supreme Court makes ruling in at-home artificial insemination case.
Is the “fertility cliff” talk helping—or just adding panic?
Age-and-fertility headlines tend to land like a countdown clock. They’re shareable, but they can oversimplify a very individual reality.
If you’re feeling rushed, use that energy to tighten what you can control: tracking, timing, and a plan for when you’ll seek testing or clinic support. Panic spending on random products rarely helps.
When is ICI not the best next step?
ICI can be a reasonable starting point, but it isn’t the answer for every scenario. Consider getting professional guidance sooner rather than later if cycles are unpredictable, you suspect ovulation issues, or you’ve had prior fertility diagnoses.
Also consider clinic options if you’re using frozen donor sperm and your clinician recommends IUI for better placement and timing. That’s not a failure. It’s a strategy shift.
Common questions before you try
How many cycles should we try before changing plans?
Many people pick a specific number of well-timed cycles before reassessing. The right number depends on age, cycle regularity, and known factors. If you’re unsure, a clinician can help you choose a timeline that fits your situation.
Does position or staying lying down matter?
People often rest briefly afterward because it’s easy and calming. There’s no need to force uncomfortable positions. Focus more on timing and a gentle approach.
Can stress ruin the whole cycle?
Stress is real, and it can disrupt sleep, libido, and routines. Still, don’t blame yourself. Use a repeatable plan so each cycle doesn’t become a brand-new experiment.
CTA: choose a simple setup you can repeat
If you want to try ICI without turning every month into a shopping spree, start with a reliable home insemination kit and a timing plan you can actually follow.
at-home insemination kit for ICI
How does at-home insemination (ICI) work?
Medical disclaimer: This content is for general education only and isn’t a substitute for medical or legal advice. Talk with a qualified clinician for personalized fertility guidance and a lawyer for parentage or donor agreements.