Blog Post:
Planning for a pregnancy can be an exciting and overwhelming experience. For couples who are trying to conceive, there are many different options and methods available to help increase the chances of success. One of these methods is insemination using a syringe collection. This process involves collecting sperm and directly injecting it into the cervix to increase the chances of fertilization. In this step-by-step guide, we will walk you through the process of insemination syringe collection for pregnancy planning.
Step 1: Understand the Basics of Insemination
Before getting into the process of syringe collection, it’s important to understand the basics of insemination. Insemination is the process of placing sperm into the female reproductive tract to increase the chances of fertilization. This can be done through artificial insemination or through natural methods such as sexual intercourse. Insemination using a syringe collection is a form of artificial insemination, where the sperm is manually inserted into the cervix.
Step 2: Gather Supplies
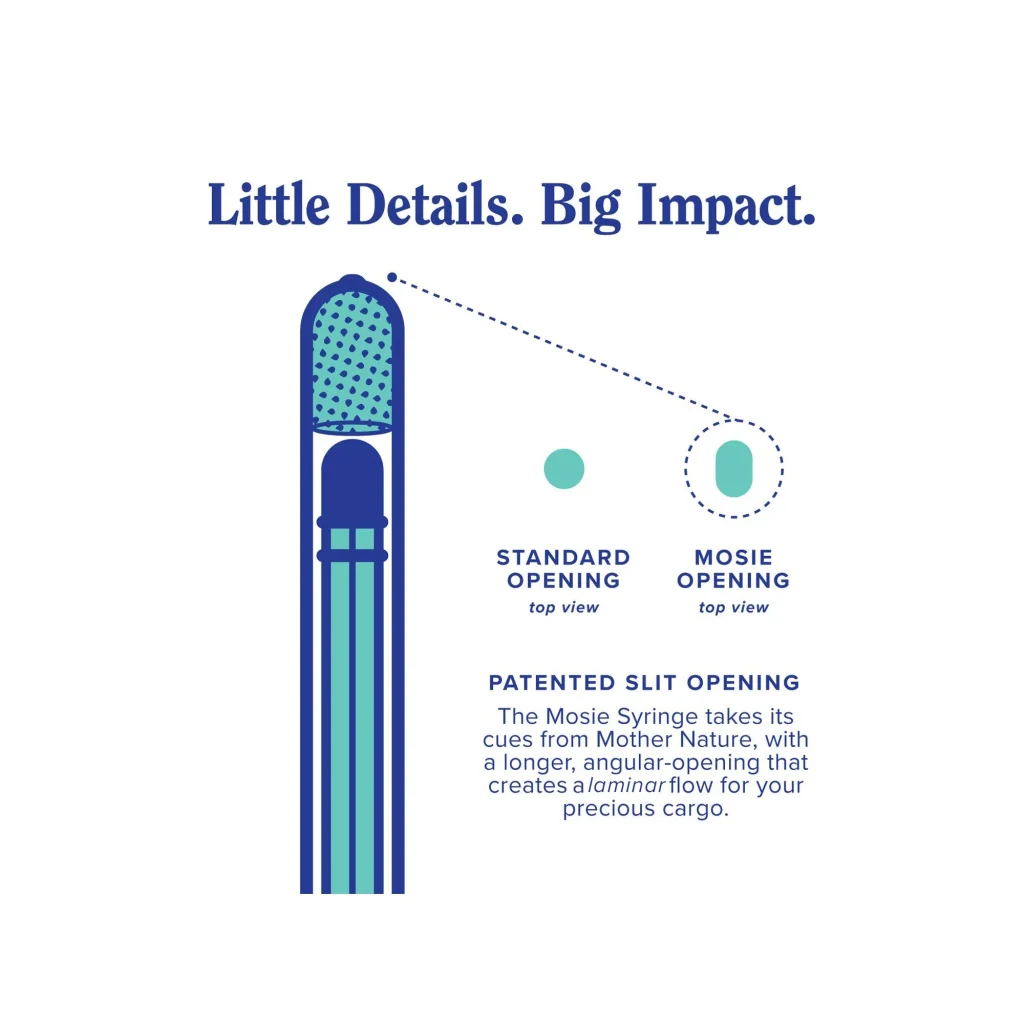
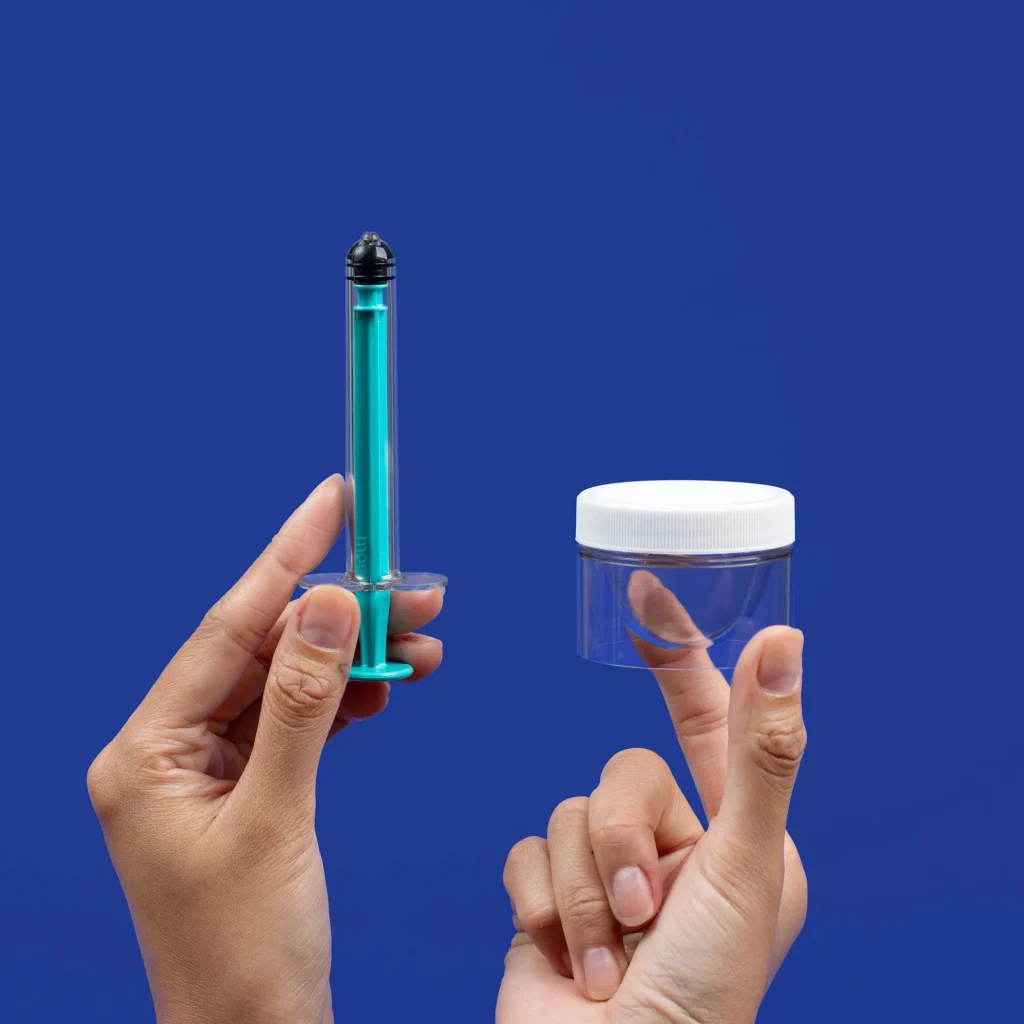
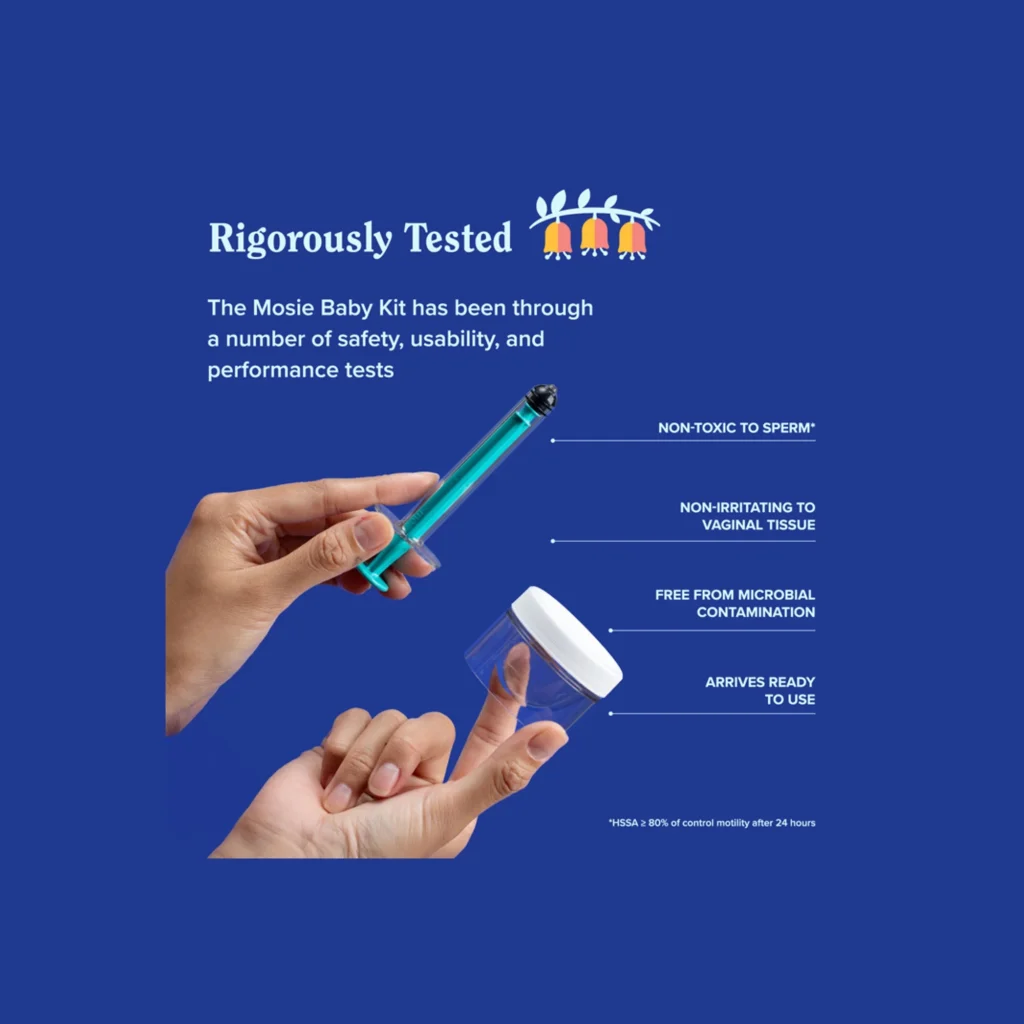
The first step in the process of insemination syringe collection is to gather all the necessary supplies. You will need a sterile syringe, a sterile container, and a sperm sample. The syringe should be a 5ml to 10ml syringe with a blunt tip. It’s important to use a sterile syringe to avoid any risk of infection. The sterile container should be large enough to hold the sperm sample and should also be sterile.
Step 3: Prepare the Sperm Sample
Before collecting the sperm, it’s important to prepare the sample. If you are using frozen sperm, you will need to thaw it according to the instructions provided by the sperm bank. If you are using fresh sperm, it’s important to collect it in a sterile container. The sperm sample should be kept at room temperature and should be used within an hour of collection.
Step 4: Collect the Sperm into the Syringe
Once the sperm sample is prepared, it’s time to collect it into the syringe. Using a sterile syringe, draw the sperm sample into the syringe. It’s important to remove any air bubbles from the syringe to avoid discomfort during the insemination process. You can do this by gently tapping the syringe or pushing the plunger slightly to release the air bubbles.
Step 5: Prepare for Insemination

A Step-by-Step Guide to Insemination Syringe Collection for Pregnancy Planning
Before beginning the insemination process, it’s important to prepare for it. Find a comfortable position, such as lying down with your hips elevated, to make it easier to insert the syringe into the cervix. It’s also a good idea to have a towel or pad underneath you to catch any excess sperm.
Step 6: Insert the Syringe into the Cervix
Using the syringe, gently insert the tip into the cervix. It’s important to be gentle and avoid any forceful movements to avoid any discomfort or injury. Once the syringe is inserted, slowly push the plunger to release the sperm into the cervix. It’s important to do this slowly to avoid any discomfort.
Step 7: Rest for 15-20 Minutes
After the syringe is empty, it’s important to rest for 15-20 minutes to allow the sperm to reach the uterus. You can continue to lie down with your hips elevated during this time. This will help increase the chances of fertilization.
Step 8: Repeat the Process
To increase the chances of success, it’s recommended to repeat the insemination process for 2-3 days in a row. This will ensure that there is a higher concentration of sperm in the cervix, increasing the chances of fertilization.
Step 9: Take a Pregnancy Test
After the insemination process, it’s important to wait for 10-14 days before taking a pregnancy test. This will give the sperm enough time to fertilize the egg and for the pregnancy hormone (hCG) to be detected in the body.
In Summary:
Insemination using a syringe collection is a method that can help increase the chances of pregnancy for couples who are trying to conceive. The process involves collecting sperm and directly injecting it into the cervix. To perform this process, you will need a sterile syringe, a sterile container, and a sperm sample. The steps involved in insemination syringe collection include understanding the basics of insemination, gathering supplies, preparing the sperm sample, collecting the sperm into the syringe, preparing for insemination, inserting the syringe into the cervix, resting for 15-20 minutes, repeating the process, and taking a pregnancy test after 10-14 days. By following these steps, you can increase the chances of success in your pregnancy planning journey.