Blog Post Title: The Ultimate Guide to DIY Home Insemination
Introduction:
In recent years, more and more couples and individuals have turned to DIY home insemination as a means of starting or expanding their families. This alternative method of conception allows for greater privacy, control, and cost-effectiveness compared to traditional medical procedures. If you are considering home insemination, it is important to understand the process and gather all the necessary information to ensure a safe and successful experience. In this guide, we will cover everything you need to know about DIY home insemination.
What is DIY Home Insemination?
DIY home insemination is the process of using at-home techniques to introduce sperm into the vagina, cervix, or uterus in order to fertilize an egg. This method can be used by couples trying to conceive, same-sex couples, or single individuals looking to start a family. It involves collecting sperm from either a sperm donor or the male partner and using various tools and techniques to inseminate the female partner.
Step-by-Step Guide to DIY Home Insemination:
Step 1: Determine Your Fertility Window
The first step in DIY home insemination is to determine your fertility window. This is the time during your menstrual cycle when you are most likely to conceive. Tracking your ovulation using methods such as ovulation predictor kits or tracking your basal body temperature can help you determine this window.
Step 2: Choose Your Sperm Donor
If you and your partner are using donor sperm, it is important to choose a reputable and reliable sperm bank. You can also choose to use a known sperm donor, such as a friend or family member, but it is crucial to have a legal agreement in place beforehand. The donor should also undergo testing for sexually transmitted infections to ensure a safe and healthy insemination process.
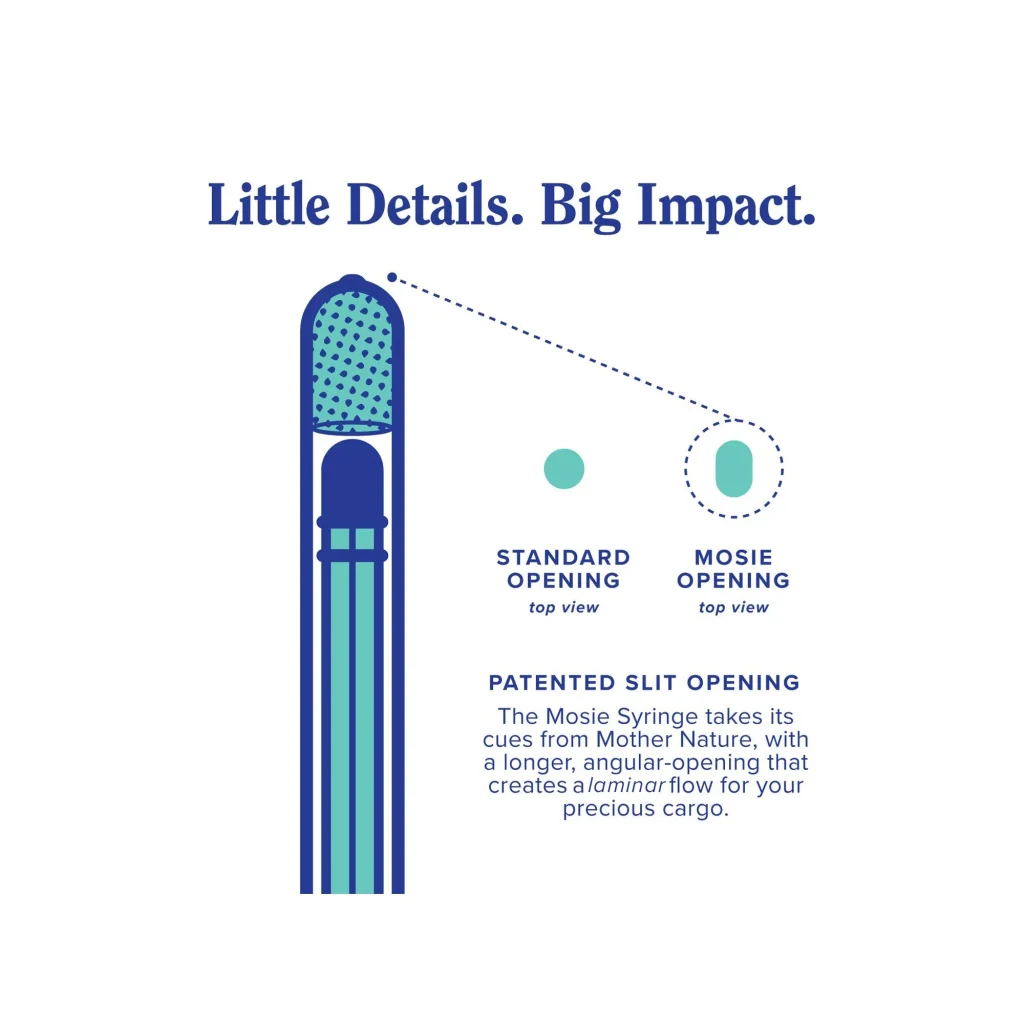
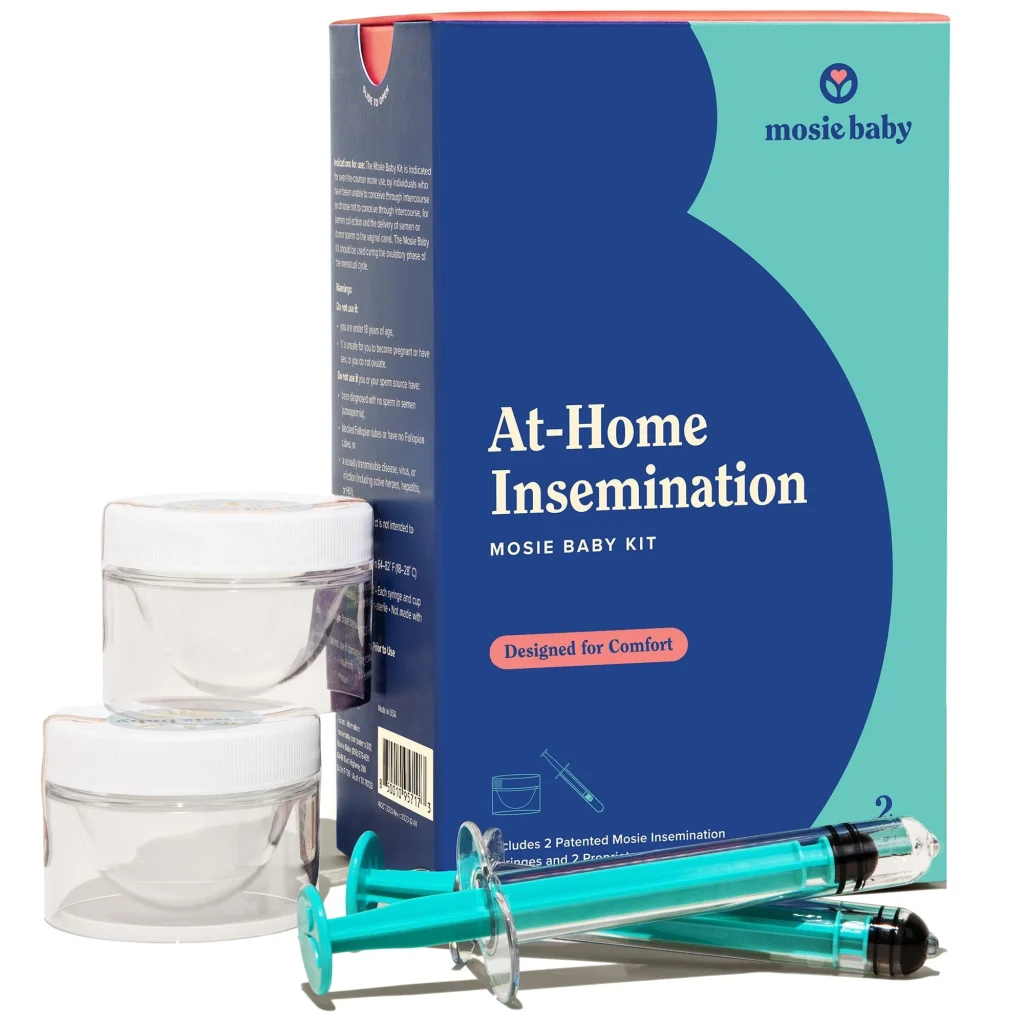
Step 3: Gather Supplies
Before beginning the insemination process, it is important to gather all the necessary supplies. This may include a syringe, sterile container for the sperm, a speculum, and any other items recommended by your healthcare provider.
Step 4: Prepare the Sperm
If using a sperm donor, the sperm should be thawed according to the instructions provided by the sperm bank. If using fresh sperm, it should be collected into a sterile container and used within an hour. The sperm should be kept at room temperature until ready to use.
The Ultimate Guide to DIY Home Insemination
Step 5: Prepare the Recipient
The recipient should empty their bladder and then lie down in a comfortable position with their hips slightly elevated. It may also be helpful to use a pillow under the hips to further elevate them. The recipient should also use the speculum to examine their cervix and make sure it is in the correct position for insemination.
Step 6: Insert the Sperm
Using the syringe, the sperm should be inserted into the vagina, aiming towards the cervix. The recipient should remain in this position for at least 30 minutes to allow the sperm to reach the uterus.
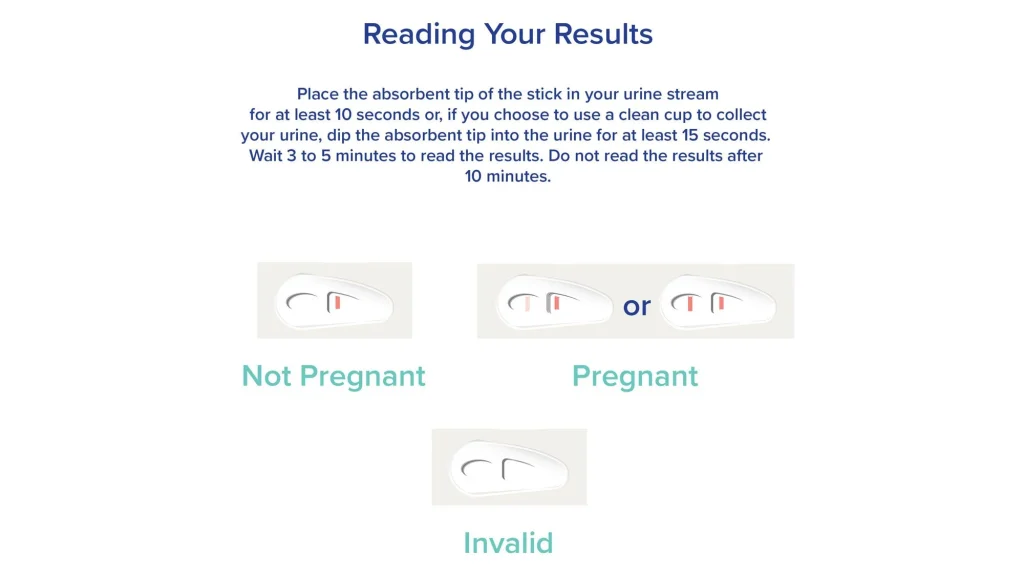
Step 7: Monitor for Pregnancy
After insemination, the recipient should continue to track their ovulation and monitor for pregnancy symptoms. If successful, a pregnancy test can be taken after a missed period.
Tips for Successful DIY Home Insemination:
– Communicate openly with your partner and/or donor throughout the process.
– Follow all instructions and recommendations from your healthcare provider.
– Use a sterile technique and ensure all supplies are clean and properly stored.
– Consider using an ovulation predictor kit to accurately time insemination.
– Stay relaxed and avoid stress during the process.
Risks and Complications:
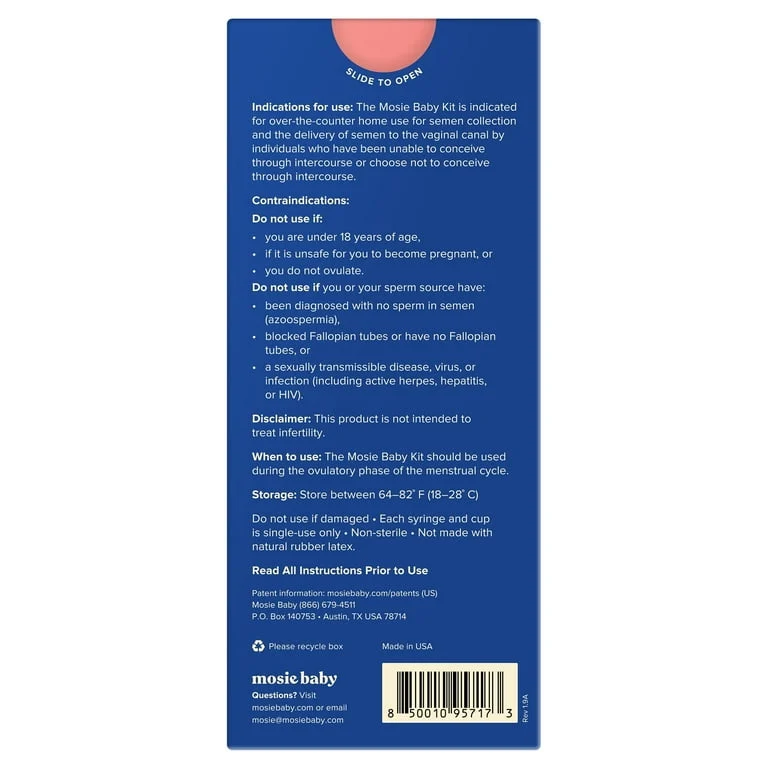
While DIY home insemination can be a safe and effective method of conception, there are some risks and potential complications to be aware of. These include:
– Infection: If proper sterile techniques are not followed, there is a risk of infection.
– Allergic reactions: Some individuals may have allergies or sensitivities to certain materials used in the process, such as latex or lubricants.
– Ectopic pregnancy: This occurs when the fertilized egg implants outside of the uterus, which can be life-threatening if not detected and treated.
– Emotional considerations: It is important to consider the emotional impact of using a donor or the potential for failed insemination attempts.
In Conclusion:
DIY home insemination can be a viable option for those looking to conceive a child. With proper preparation, communication, and following recommended guidelines, it can be a safe and successful method of conception. However, it is important to also consider the potential risks and complications and make informed decisions about whether it is the right choice for you.
Summary:
DIY home insemination is a method of conception where sperm is introduced into the vagina, cervix, or uterus at home. This alternative method offers greater privacy and control compared to traditional medical procedures. The process involves determining the fertility window, choosing a sperm donor or collecting fresh sperm, and using various tools and techniques to inseminate the recipient. It is important to follow all instructions and recommendations from healthcare providers, as well as consider the potential risks and complications. With proper preparation and communication, DIY home insemination can be a safe and effective way to start or expand a family.