


Q1: Can a home insemination kit really be a practical IVF alternative?
Q2: What matters more—products, supplements, or timing?
Q3: What are people missing when they try ICI at home?
Yes, a home insemination kit can be a practical starting point for some people trying intracervical insemination (ICI). Timing usually beats “more stuff.” And the most common miss is simple: trying on the wrong days, then changing five variables at once.
At moisebaby, we keep this direct. Here’s a clean ICI plan you can run without turning your bedroom into a lab.
Overview: Why ICI at home is trending again
Between celebrity baby news cycles (the “everyone’s expecting” headlines) and constant fertility chatter online, at-home options are getting more attention. Some people want privacy. Others want a lower-cost step before clinic care.
You’ll also see more talk about tech tools, from cycle tracking apps to algorithm-driven predictions. If you’re curious about the broader concept behind those tools, here’s a plain explainer on home insemination kit. Helpful for context, but remember: an app can’t confirm ovulation on its own.
One more cultural reality: laws and court decisions can shape family-building options. Recent reporting has highlighted that at-home donor arrangements may create unexpected legal parentage outcomes in some places. That matters if you’re using a known donor.
Timing: The simplest way to boost your odds
If you only optimize one thing, optimize when you try. Ovulation doesn’t flip like a switch at a specific birthday or a single calendar day. It varies by person and cycle.
Use a two-signal approach (not vibes)
- LH tests: Look for the surge that often happens 24–36 hours before ovulation.
- Cervical mucus: Slippery, clear, “egg-white” mucus often shows up in the fertile window.
A practical schedule for ICI
- If you catch an LH surge, consider ICI that day and again the next day (if feasible).
- If mucus turns fertile before the surge, that’s often a good cue to start sooner.
- If your cycles are irregular, focus on signs (LH + mucus) more than calendar counting.
Don’t overcomplicate it. You’re trying to place sperm near the cervix during the fertile window. That’s the core job.
Supplies: What you need (and what you don’t)
Keep your setup minimal and consistent. Changing tools every cycle makes it harder to learn what works.
Basic checklist
- Your chosen at-home insemination kit for ICI
- Ovulation tests (LH strips)
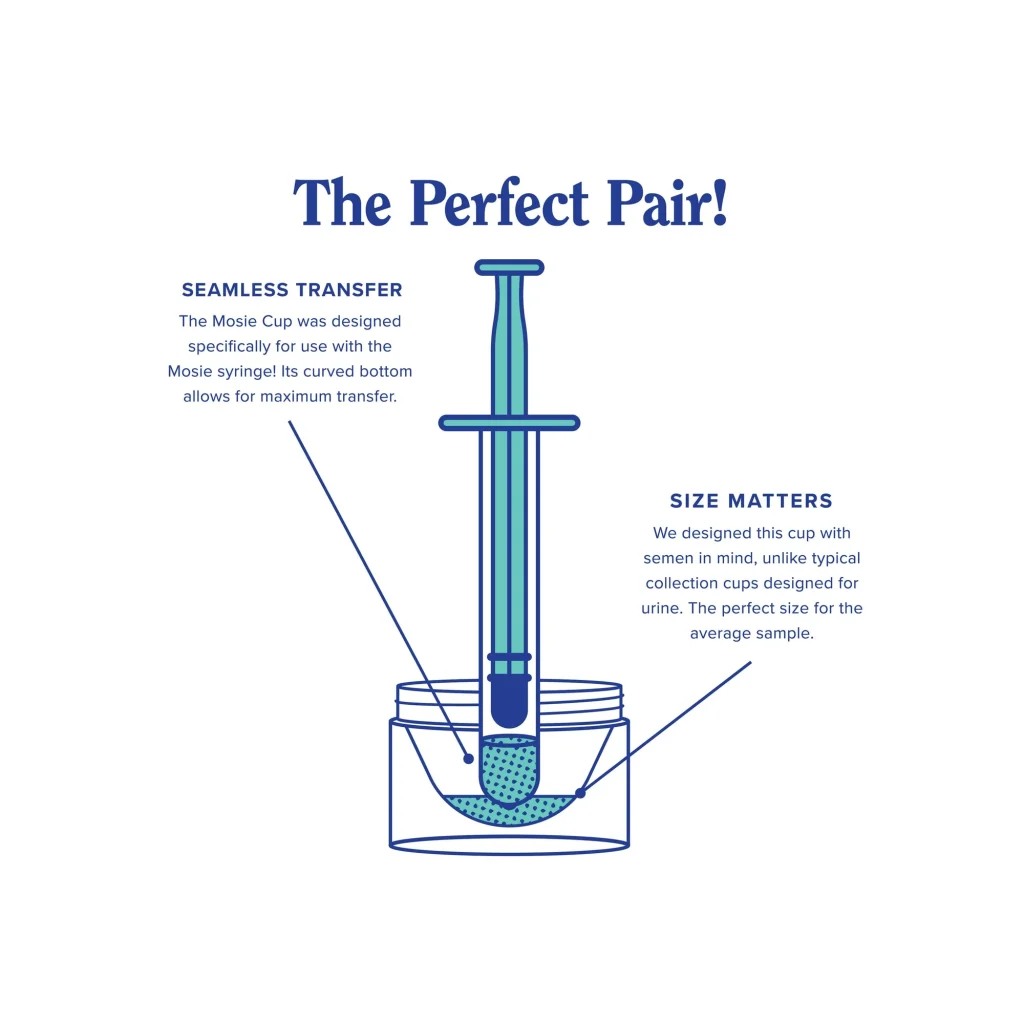
- A clean collection cup (if collecting semen)
- Optional: water-based lubricant labeled fertility-friendly (avoid sperm-harming products)
- Clean towel/wipes for comfort
Skip these common add-ons (unless your clinician recommends)
- Random “fertility stacks” you saw in a market report or influencer reel
- New gadgets that promise to “guarantee ovulation”
- Anything not designed for body-safe use
Step-by-step: ICI at home, done simply
This is general education, not medical advice. If you have pain, bleeding, or a known condition, talk with a clinician first.
1) Prep your space and your timing
Wash hands. Set out supplies. Confirm you’re in your fertile window (LH and/or mucus). Aim for calm, not perfect.
2) Collect and handle semen appropriately
Use a clean container. Avoid saliva and avoid harsh soaps or residues in the cup. Follow any storage/handling guidance that came with your materials.
3) Draw up the sample
Use the syringe provided in your kit (or a body-safe option intended for this purpose). Go slowly to reduce bubbles and mess.
4) Position for comfort
Many people choose to lie back with hips slightly elevated. Comfort matters because rushing increases mistakes.
5) Inseminate at the cervix (ICI)
Insert only as directed by your kit instructions. Then depress the syringe slowly. Faster isn’t better.
6) Stay still briefly, then move on
Rest 10–20 minutes if you want. After that, return to normal life. Stress-testing every symptom doesn’t help.
Mistakes that waste cycles (and how to avoid them)
Mistake 1: Trying after ovulation
If you wait until cramps or a temperature shift, you may be late. Use LH tests and mucus to get ahead of the window.
Mistake 2: Switching methods every month
Don’t change the kit, timing strategy, and supplements all at once. Keep the process stable for at least a few cycles so you can learn.
Mistake 3: Using unsafe or irritating products
Avoid oils, non-body-safe items, or lubricants not meant for conception attempts. Irritation can make the experience miserable and may prompt you to stop early.
Mistake 4: Ignoring legal risk with a known donor
In some jurisdictions, at-home donation can create unexpected parentage rights or responsibilities. If you’re using a known donor, consider legal advice before you start.
Mistake 5: Treating “35” like a hard cliff
Age can matter, but fertility is multi-factor for all genders. If you’re concerned, get information early instead of waiting for a perfect month.
FAQ: Quick answers before you try
Is it normal for some fluid to leak out afterward?
Yes, leakage is common. It doesn’t automatically mean the attempt “failed.”
Should we do ICI multiple times in one day?
Some people try once per day during the fertile window. More attempts aren’t always better, especially if it adds stress or irritation.
Can ICI help if we’re considering IVF later?
It can be a stepping-stone for some people. If time is a priority or there are known fertility issues, a clinician can help you decide when to escalate.
CTA: Ready for a clean, timed ICI setup?
If you want an at-home approach that stays focused on timing and simplicity, start with a plan you can repeat.
How does at-home insemination (ICI) work?
Medical disclaimer: This article is for general educational purposes only and is not medical or legal advice. It does not diagnose, treat, or replace care from a qualified clinician. If you have persistent pain, unusual bleeding, infertility concerns, or questions about donor arrangements and parentage, seek professional guidance.

