Summary:
The journey to starting a family can be challenging, especially for those struggling with fertility issues. But with the rise of at-home insemination methods, taking control of your fertility journey has become easier and more accessible. In this blog post, we will discuss everything you need to know about home insemination and how to create your own home insemination starter pack.
First, let’s understand what home insemination is. Home insemination is a fertility method where the sperm is inserted directly into the cervix or uterus at home, without the involvement of a medical professional. This method is often used by same-sex couples, single women, and those who prefer a more natural approach to conception.
So, how do you get started with home insemination? Here’s our home insemination starter pack guide:
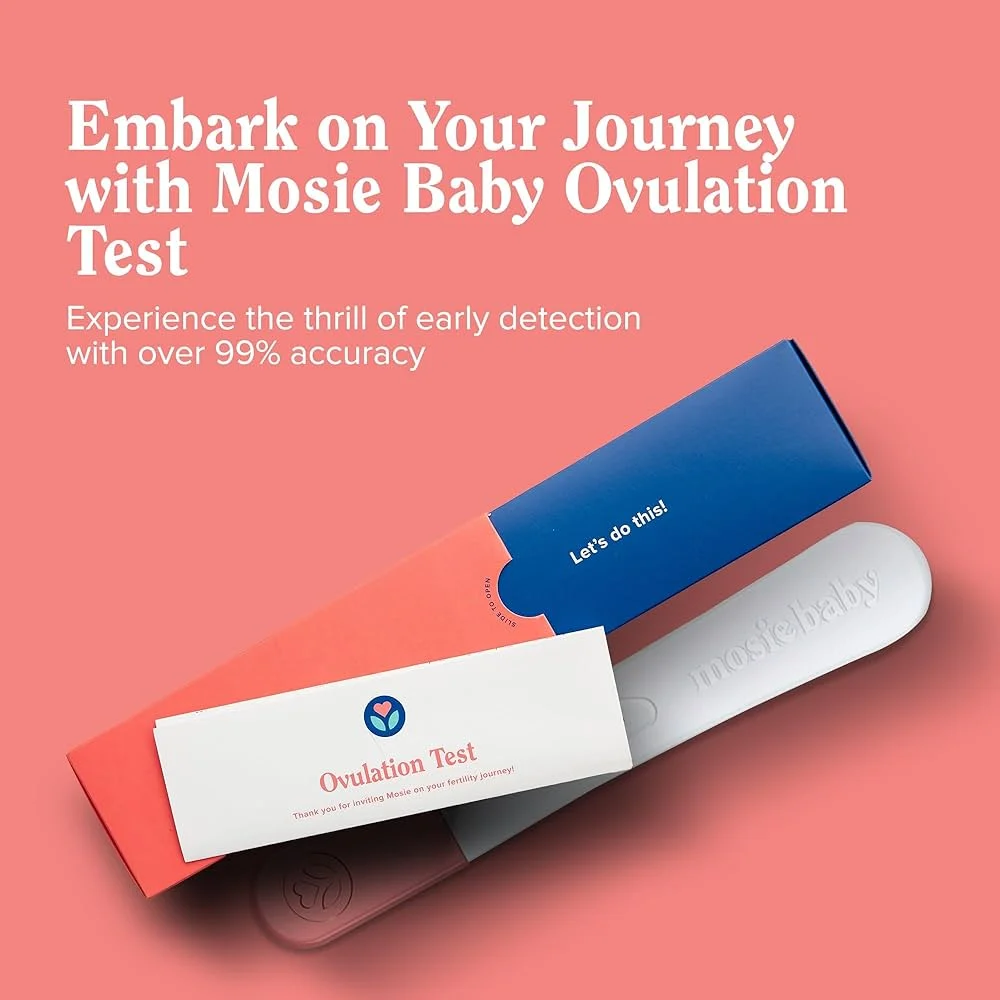
1. Know Your Cycle: The key to successful home insemination is to know your menstrual cycle. This will help you determine the best time to inseminate, which is usually during ovulation. You can track your cycle using various methods like ovulation predictor kits, tracking your basal body temperature, or monitoring your cervical mucus.
2. Choose a Donor: The next step is to choose a sperm donor. You can opt for a known donor, such as a friend or family member, or use a sperm bank. Make sure to thoroughly research the donor and their medical history before making a decision.
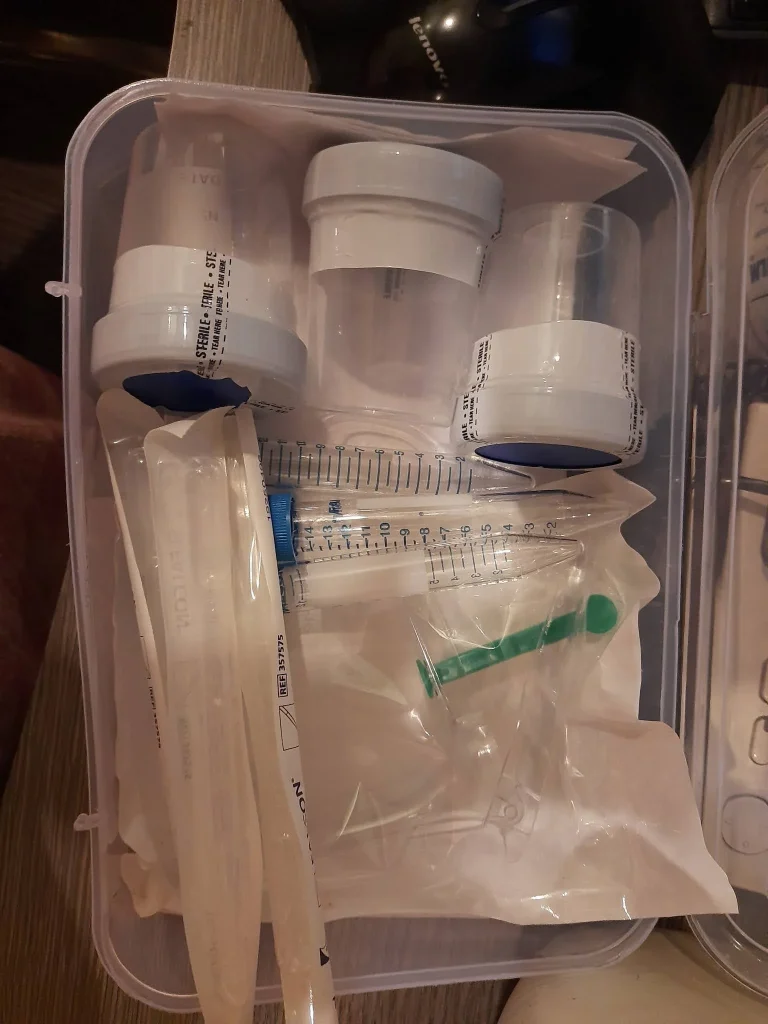
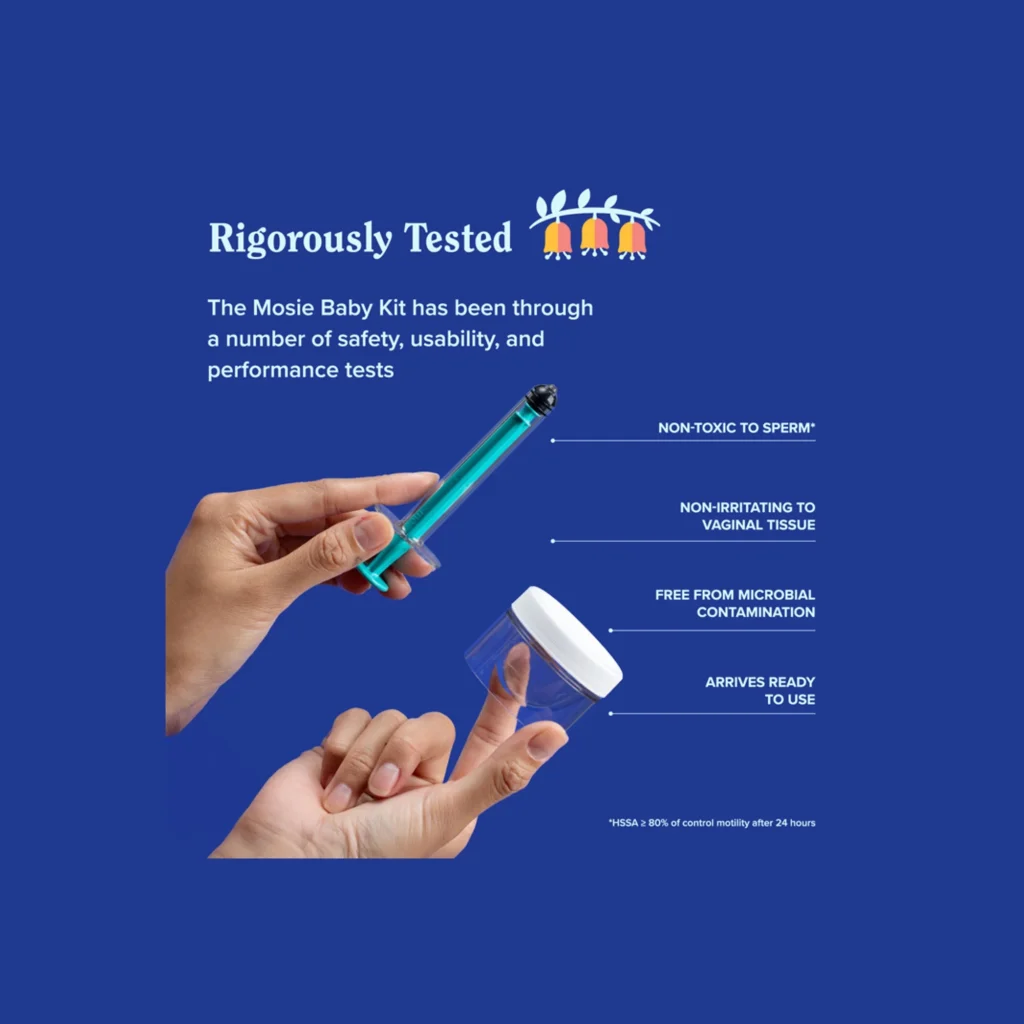
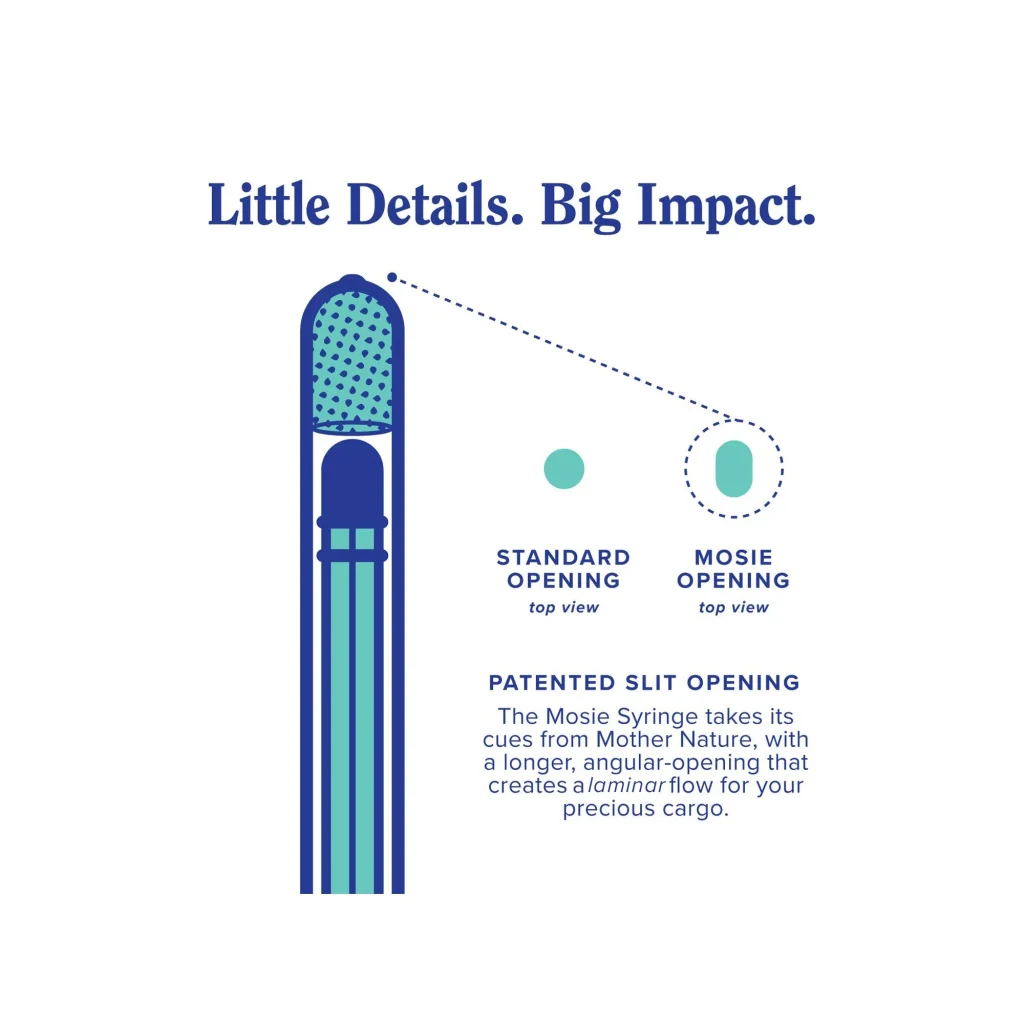
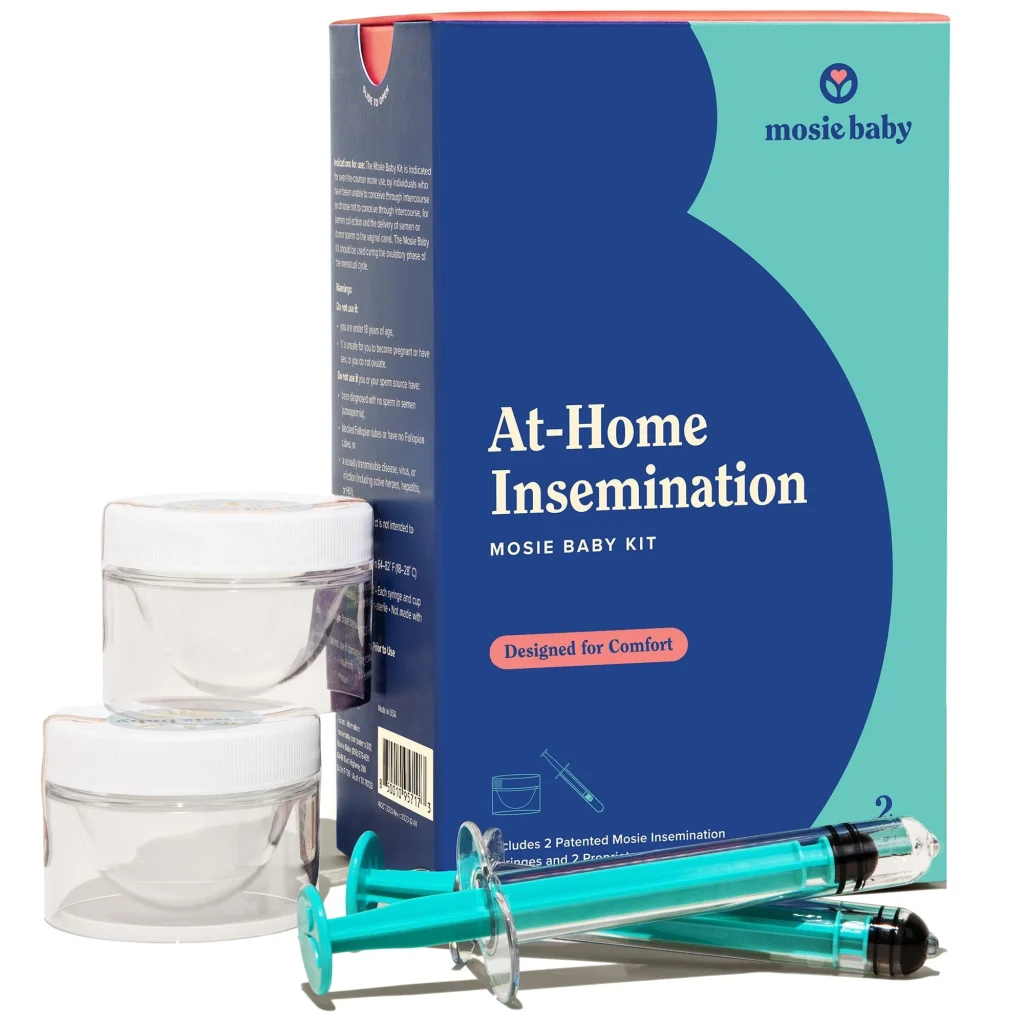
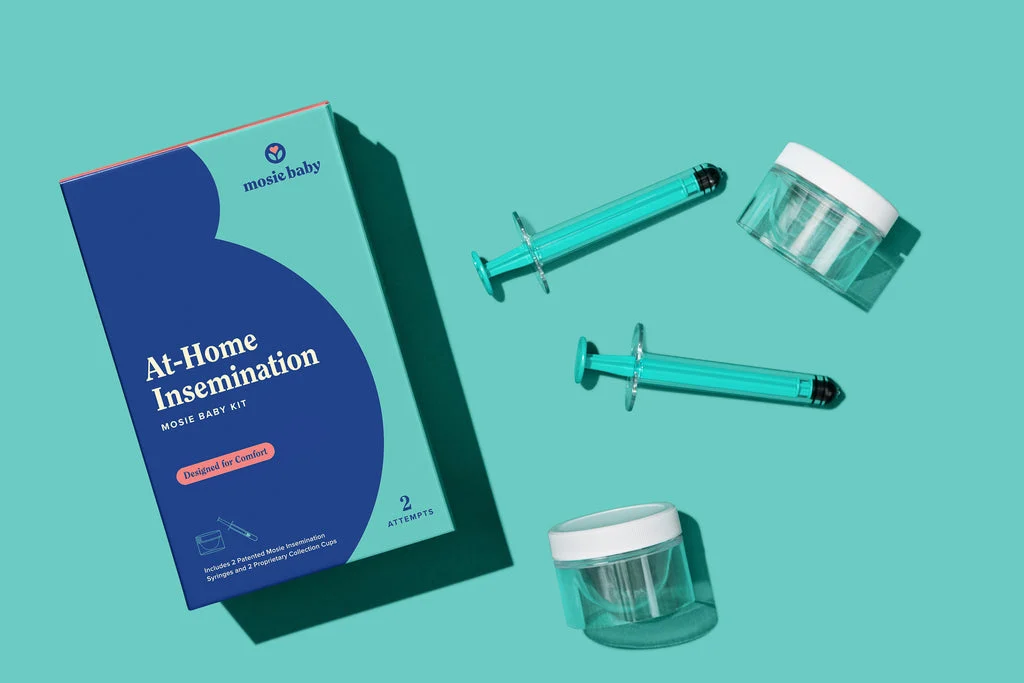
3. Gather Supplies: To perform home insemination, you will need a few supplies. These include a sterile syringe, a sterile cup or container, and a sterile speculum. You can purchase these items online or at a medical supply store.
Taking Control of Your Fertility Journey: Home Insemination Starter Pack
4. Create a Comfortable Environment: It’s important to create a comfortable and relaxing environment for the insemination process. This helps to reduce stress and increase the chances of success. You can dim the lights, play soothing music, or use aromatherapy to create a calming atmosphere.
5. Follow the Instructions: Before starting the insemination process, make sure to carefully read and follow the instructions provided with your supplies. This will ensure that you perform the procedure correctly and safely.
6. Insemination Process: Now it’s time for the insemination process. The person receiving the sperm can lie on their back with their legs raised, using a pillow or rolled-up towel under their hips for support. The partner or donor can then use the speculum to gently open the vagina and insert the syringe into the cervix or uterus, slowly releasing the sperm.
7. Post-Insemination Care: After the insemination, it’s essential to rest for at least 20-30 minutes. This allows the sperm to travel to the egg and increases the chances of fertilization. It’s also recommended to avoid strenuous activities and to stay hydrated.
8. Tracking and Testing: After the insemination, it’s essential to track your cycle and take a pregnancy test at the appropriate time. If the insemination was successful, you should experience pregnancy symptoms and a positive pregnancy test.
Home insemination can be a cost-effective and convenient way to start a family, but it’s crucial to remember that it may not work for everyone. If you have been trying for a while without success, it’s best to consult with a fertility specialist for further guidance and support.
In conclusion, taking control of your fertility journey through home insemination is a personal and empowering experience. With the right information, preparation, and support, you can create your own home insemination starter pack and begin your journey towards parenthood.