


Creating Your Own Path to Parenthood: The Home Insemination Starter Kit
Parenthood is a journey that many people dream of, but for some, it may not come as easily as they hoped. Whether you are a single individual or a same-sex couple, there are many ways to create your own path to parenthood. One option that has become increasingly popular in recent years is home insemination. This method allows individuals or couples to take control of their own fertility and start their journey to parenthood in the comfort of their own home. In this blog post, we will discuss the basics of home insemination and how to create your own home insemination starter kit to help you on your path to parenthood.
What is Home Insemination?
Home insemination, also known as at-home insemination, is a method of artificial insemination that can be done in the privacy of your own home. It involves depositing sperm into the vagina or cervix in order to fertilize an egg and initiate pregnancy. This method is often used by same-sex couples or single individuals who want to become parents, as well as by couples who are struggling with fertility issues. It is a simple and cost-effective option compared to other fertility treatments, and it can be done without the involvement of a medical professional.
Creating Your Home Insemination Starter Kit
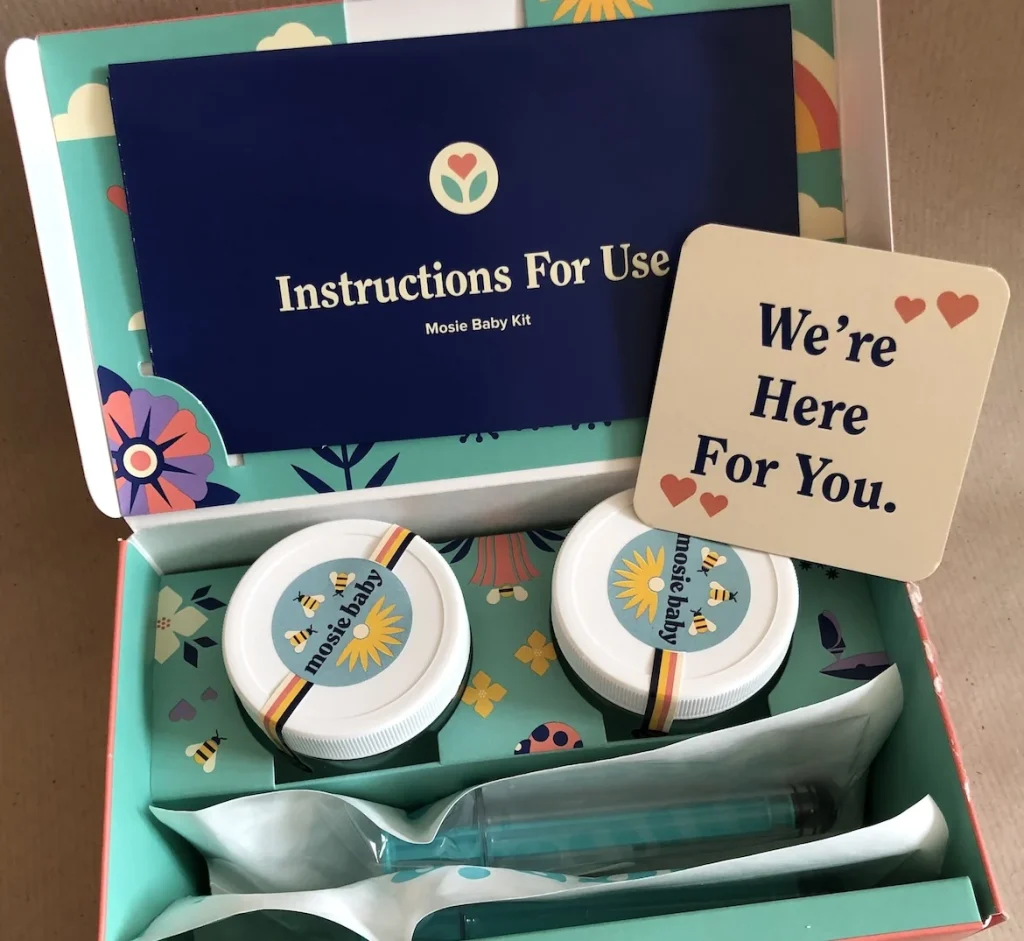
Before starting the home insemination process, it is important to gather all the necessary supplies. Here is a list of items that should be included in your home insemination starter kit:
1. Sperm
The most important component of a home insemination starter kit is, of course, sperm. You can obtain sperm from a sperm bank, a known donor, or a friend. If using a sperm bank, you can choose from a variety of donors based on physical characteristics, medical history, and other criteria. If using a known donor or a friend, it is important to have them tested for sexually transmitted infections and to have a legal agreement in place. It is also recommended to have the sperm frozen and tested for quality before use.
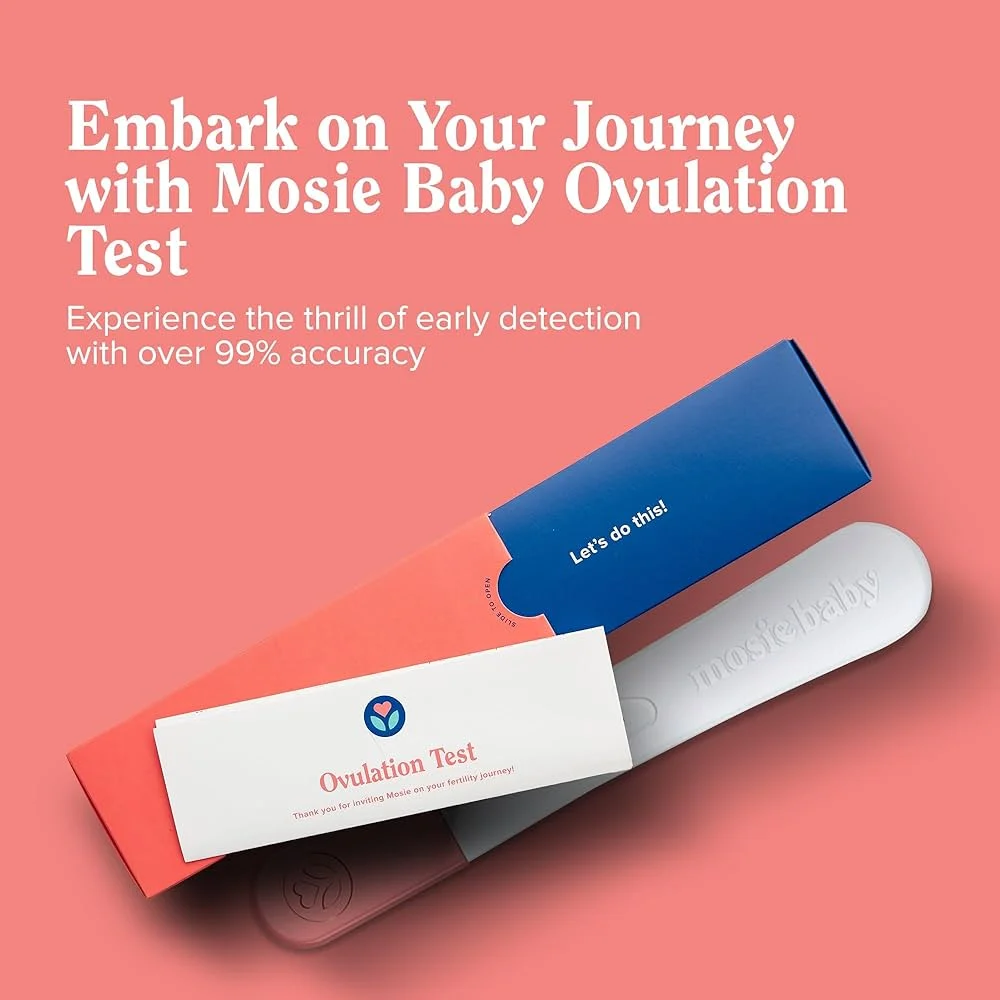
2. Ovulation Predictor Kit
In order to increase the chances of a successful insemination, it is important to track ovulation. An ovulation predictor kit can help you determine when you are ovulating by detecting the surge in luteinizing hormone (LH) in your urine. This surge usually occurs 24-36 hours before ovulation, giving you the optimal time frame for insemination.
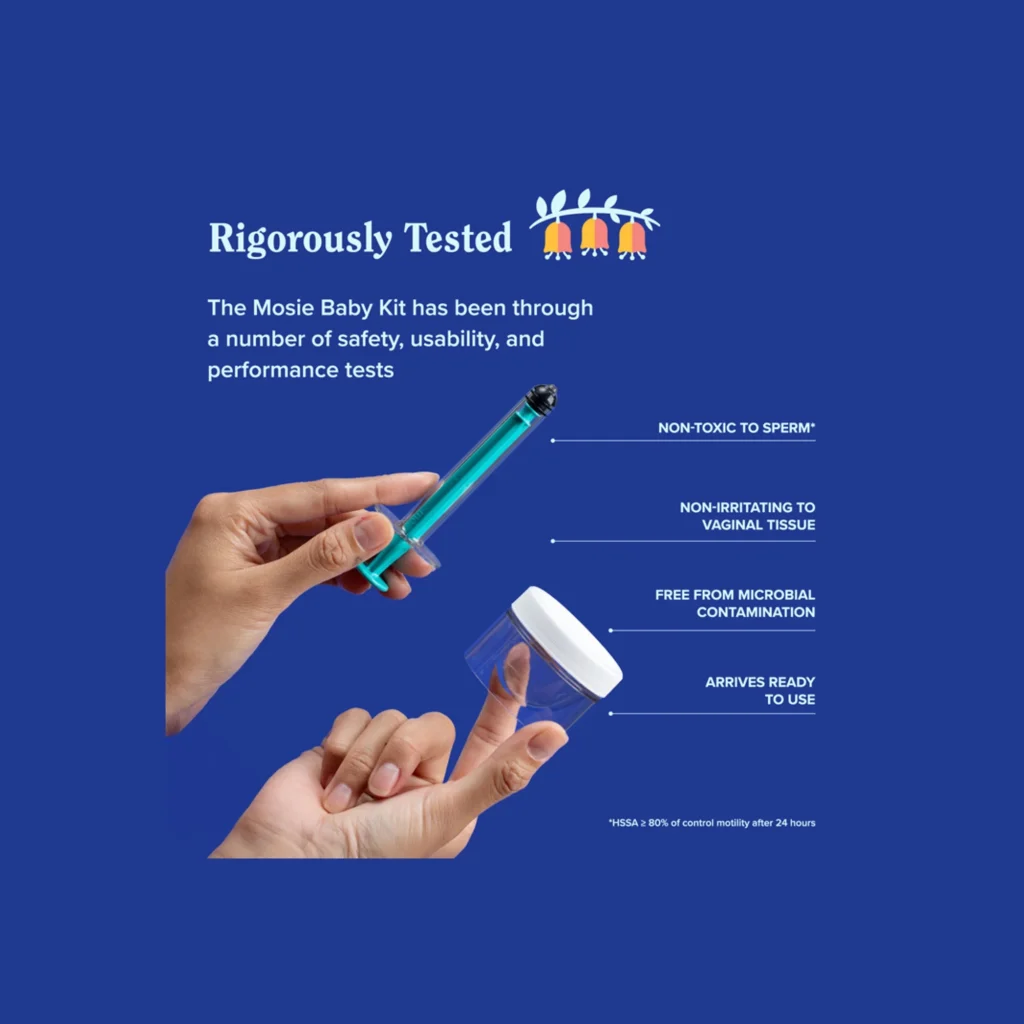
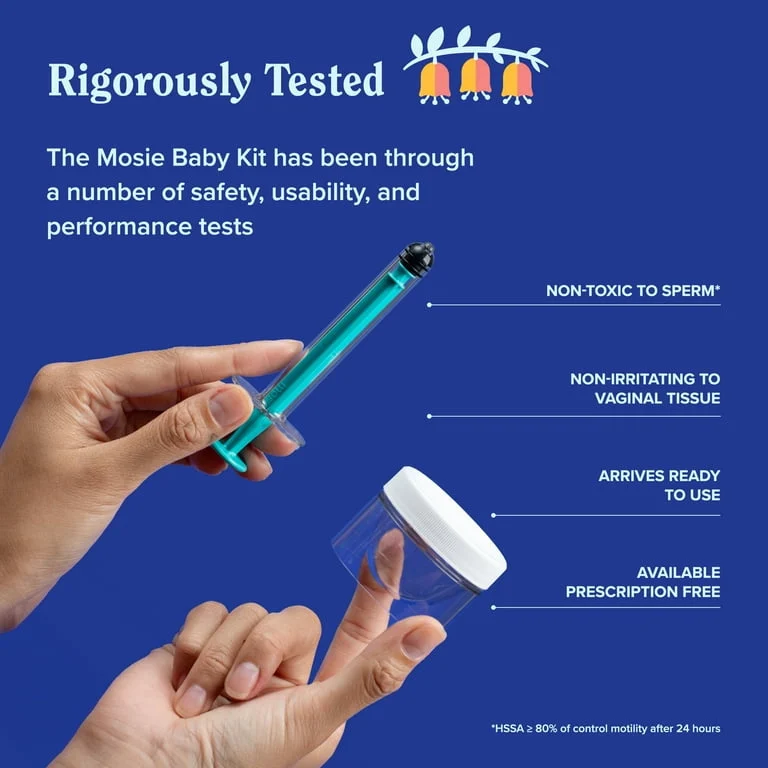
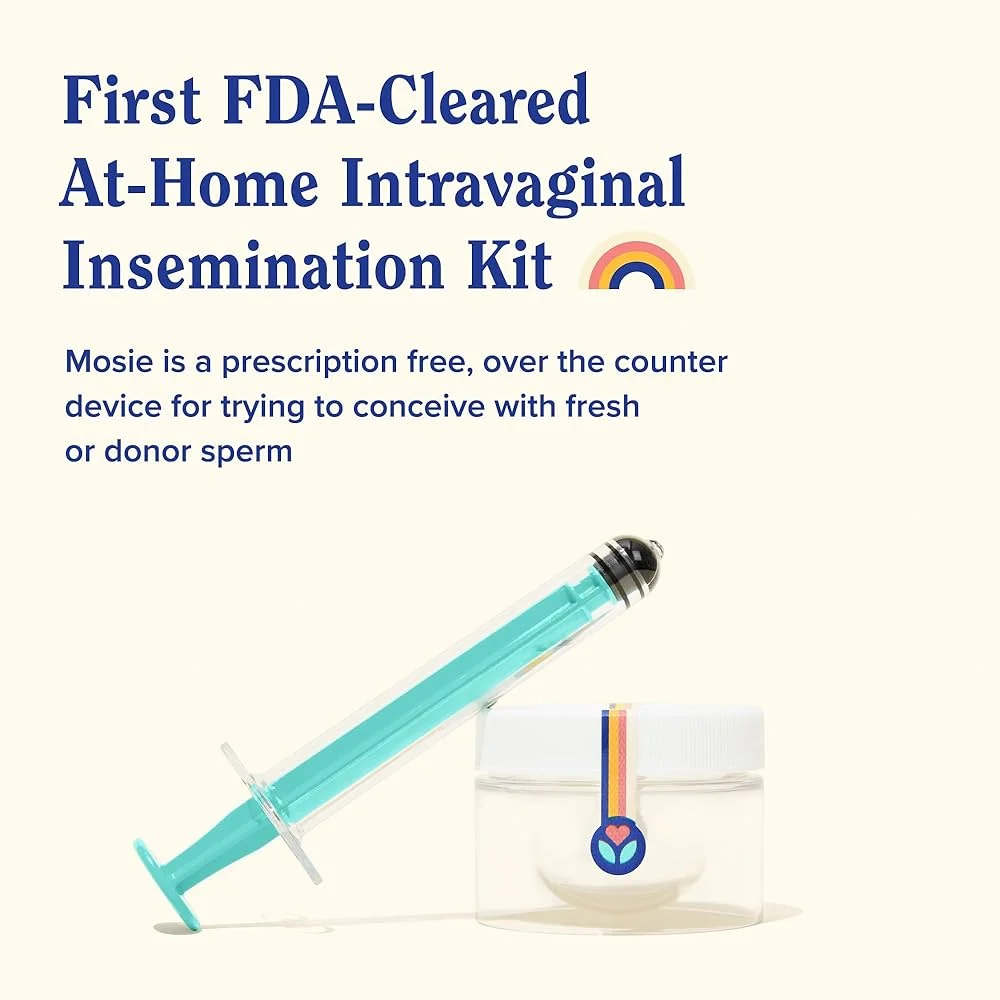
3. Syringe or Turkey Baster
A syringe or turkey baster can be used to deposit the sperm into the vagina or cervix. It is important to use a clean and sterile syringe or turkey baster to avoid any risk of infection. It is also recommended to use a soft-tipped syringe or baster to prevent any damage to the cervix.
4. Speculum
A speculum is a tool used to hold open the walls of the vagina in order to access the cervix. It is not necessary for home insemination, but it can make the process easier and more comfortable.
5. Soft Cup or Instead Softcup
A soft cup or Instead Softcup is a flexible, disposable cup that is placed in the vagina to collect and hold sperm close to the cervix. It can increase the chances of conception by keeping sperm near the cervix for a longer period of time.
6. Lubricant
Using a lubricant during insemination can make the process more comfortable and less painful. However, it is important to choose a fertility-friendly lubricant, as some lubricants can harm sperm and decrease their chances of reaching the egg.

Creating Your Own Path to Parenthood: The Home Insemination Starter Kit
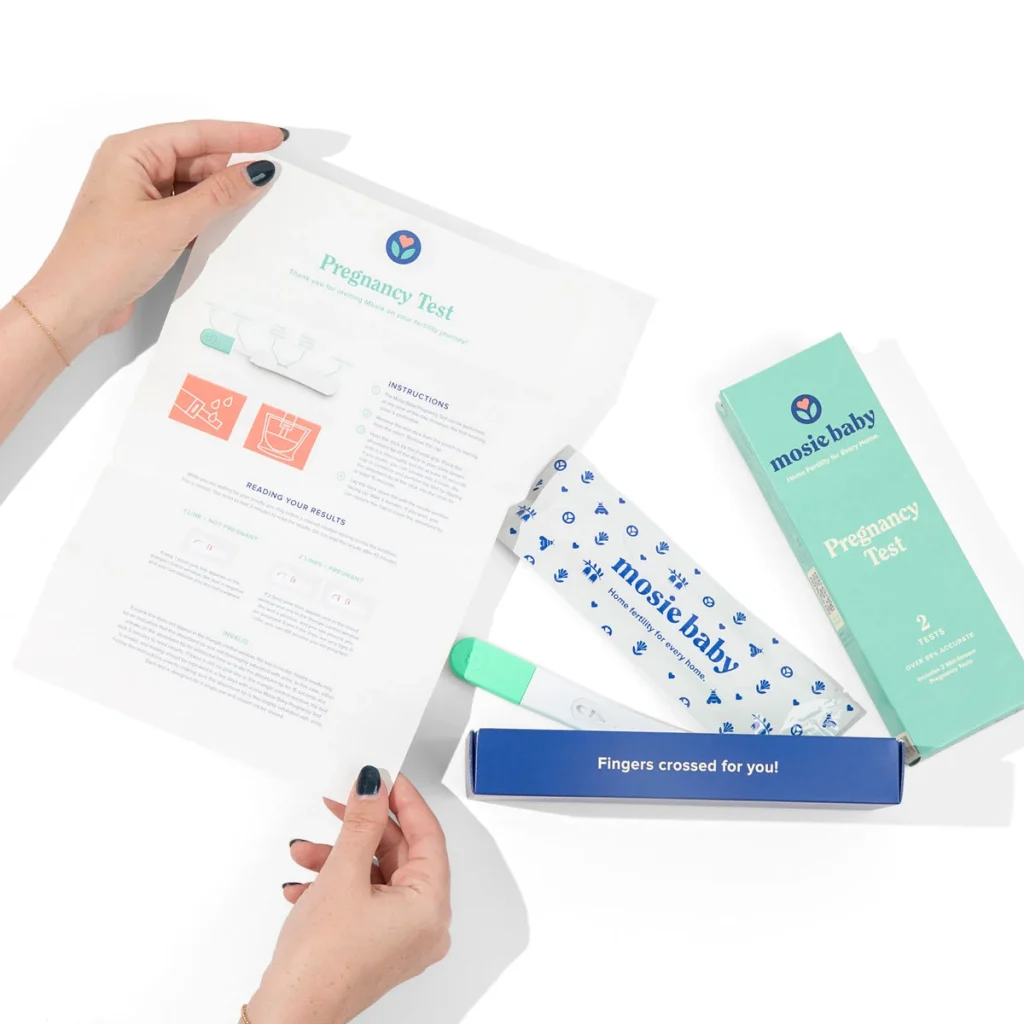
7. Pregnancy Test
After insemination, you will have to wait for about two weeks to take a pregnancy test. It is important to have a pregnancy test on hand to check for pregnancy and to avoid any unnecessary stress or anxiety.
The Process of Home Insemination
Now that you have gathered all the necessary supplies, it is time to start the home insemination process. Here are the basic steps to follow:
1. Determine when you are ovulating using an ovulation predictor kit.
2. Collect the sperm in a sterile container.
3. Use a syringe or turkey baster to deposit the sperm into the vagina or cervix. If using a soft cup or Instead Softcup, place it in the vagina after depositing the sperm.
4. Keep your hips elevated for 15-20 minutes to allow the sperm to reach the cervix.
5. Remove the soft cup or Instead Softcup after 4-6 hours.
6. Wait for about two weeks before taking a pregnancy test.
It is important to note that home insemination may not be successful on the first try. It may take several attempts before achieving pregnancy, so it is important to be patient and keep trying.
Important Considerations
Before embarking on the home insemination journey, it is important to consider a few important factors.
1. Consult with a healthcare professional: It is always a good idea to consult with a healthcare professional before starting any fertility treatments. They can provide valuable advice and make sure that you are physically and emotionally ready for the process.
2. Have realistic expectations: While home insemination can be a successful method of achieving pregnancy, it is important to have realistic expectations. Pregnancy may not happen right away, and it may take several attempts before achieving success.
3. Seek support: Starting the journey to parenthood can be an emotionally challenging experience. It is important to seek support from your partner, family, friends, or a support group to help you through the process.
Summary
Creating your own path to parenthood through home insemination can be a rewarding and empowering experience. By gathering the necessary supplies and following the basic steps, you can take control of your fertility journey and increase your chances of achieving pregnancy. However, it is important to consider the important factors and seek support along the way.