Blog Post Title: Step-by-Step Guide to Home Insemination: A Starter Pack for Couples
Summary:
Insemination is a commonly used fertility treatment for couples who are struggling to conceive. While it is often done in a clinical setting, many couples are now turning to home insemination as a more affordable and convenient option. Home insemination involves using a syringe or a special device to deposit sperm into the vagina, bypassing the need for intercourse. This blog post will serve as a comprehensive guide for couples who are considering home insemination as a fertility option. We will cover the necessary steps, equipment, and precautions to take when performing home insemination.
Step 1: Understand the Basics of Home Insemination
Before diving into the process of home insemination, it is important to have a basic understanding of the procedure. Home insemination is a form of artificial insemination that can be done at home without medical supervision. The goal is to deposit sperm into the vagina, close to the cervix, to increase the chances of fertilization. This method is commonly used by same-sex couples, single women, or heterosexual couples with male factor infertility.
Step 2: Choose the Right Sperm Donor
One of the most important steps in home insemination is choosing the right sperm donor. You can either use a known donor, such as a friend or family member, or purchase sperm from a sperm bank. If using a known donor, it is important to have a legal agreement in place to protect all parties involved. When purchasing sperm from a sperm bank, make sure to choose a reputable one and carefully review their screening process and donor profiles.
Step 3: Gather the Necessary Equipment
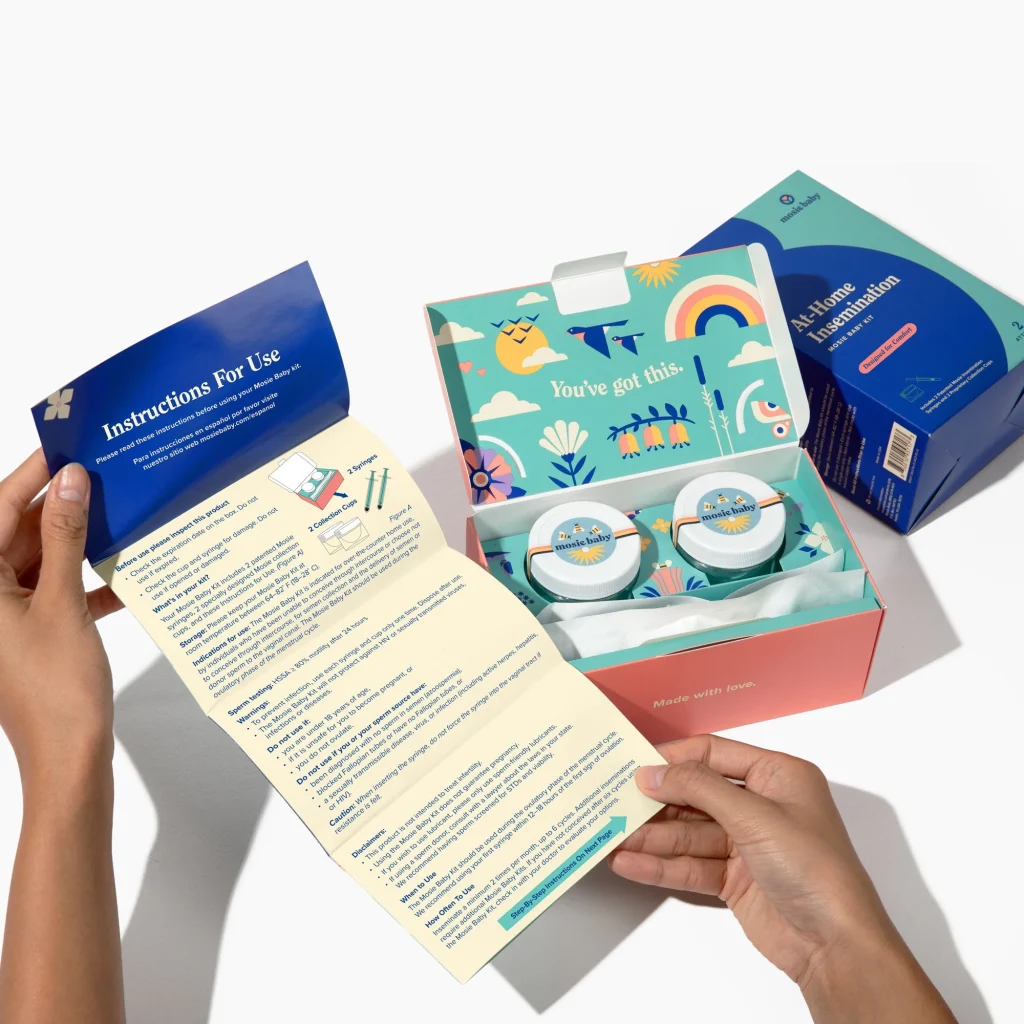
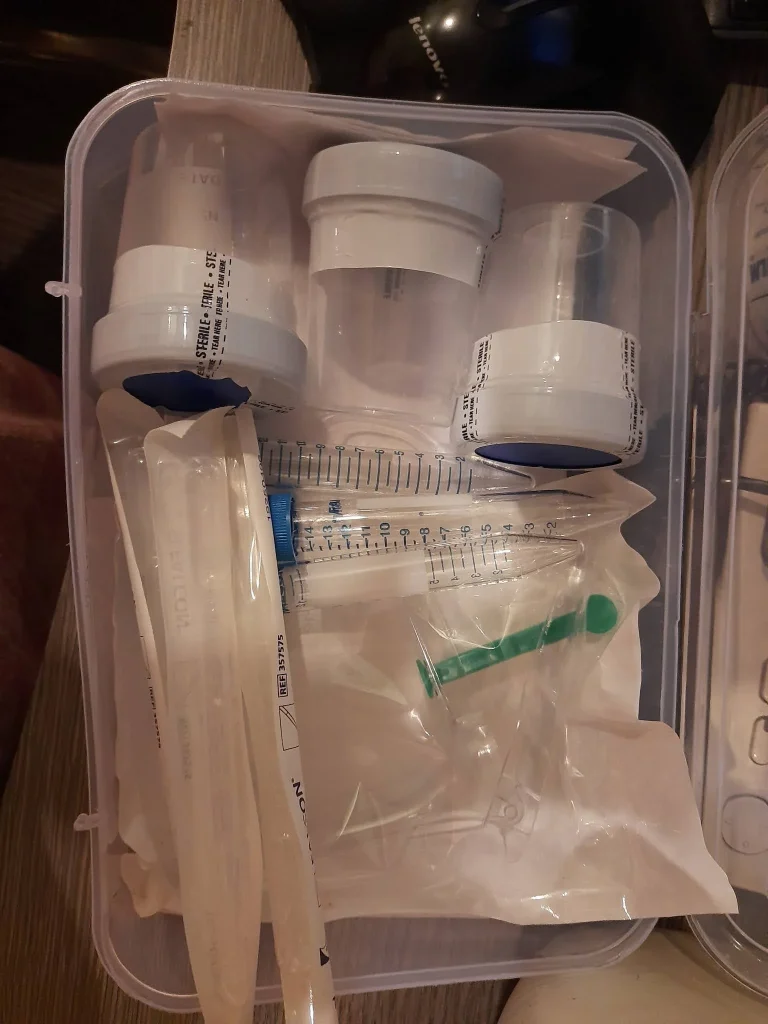
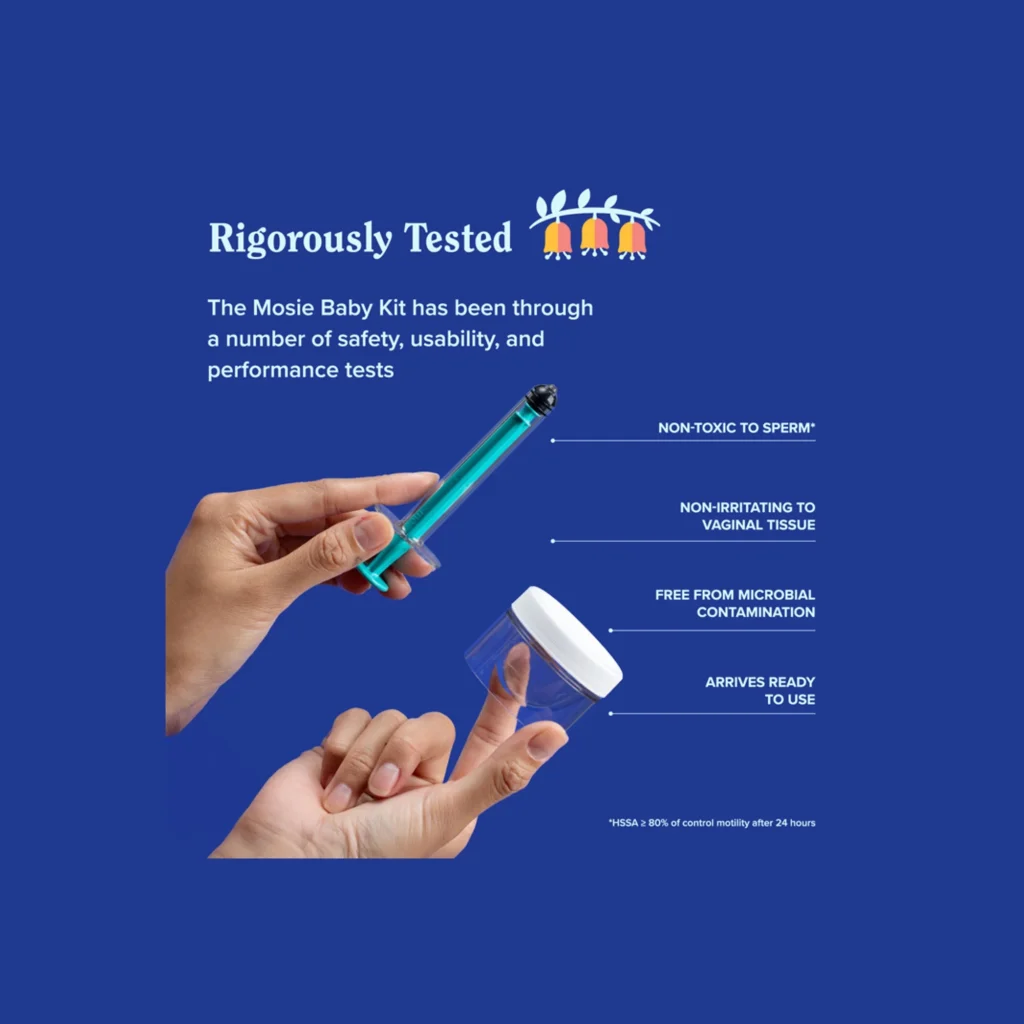
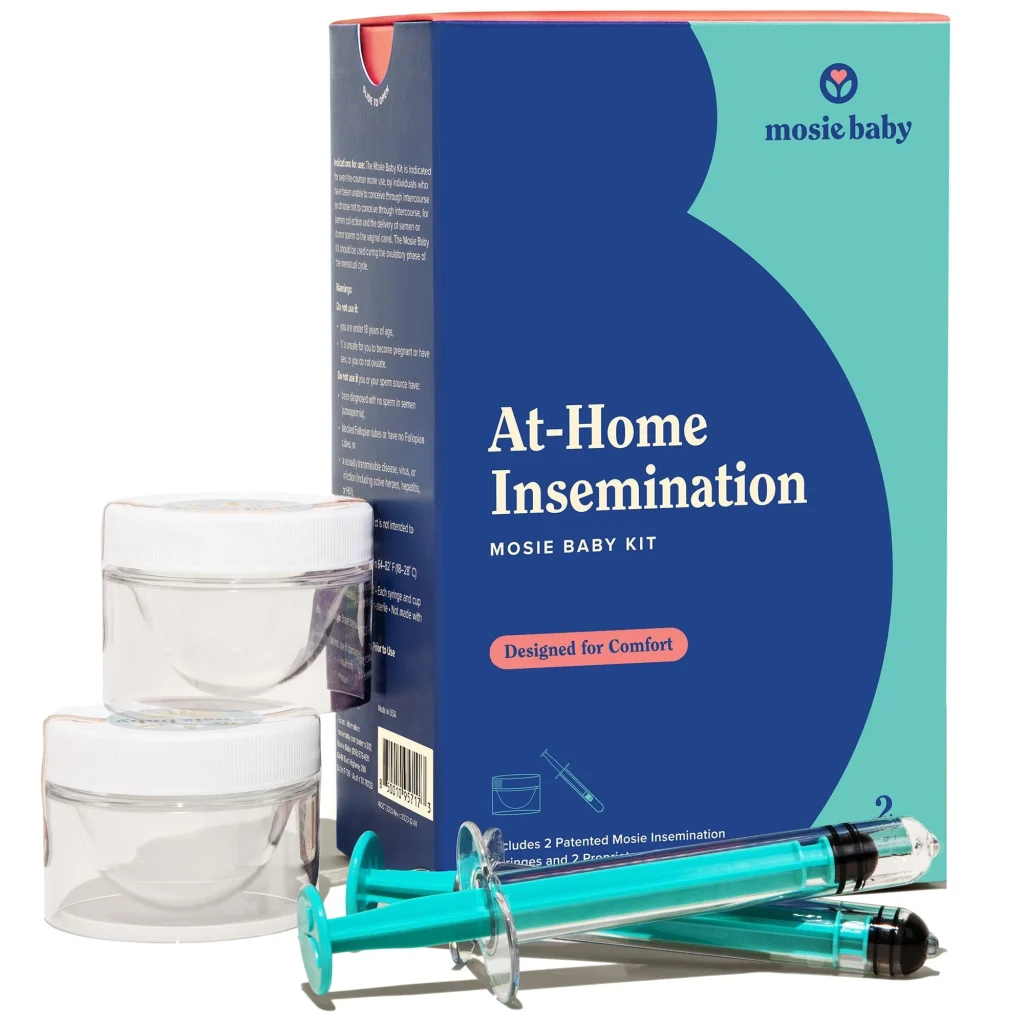
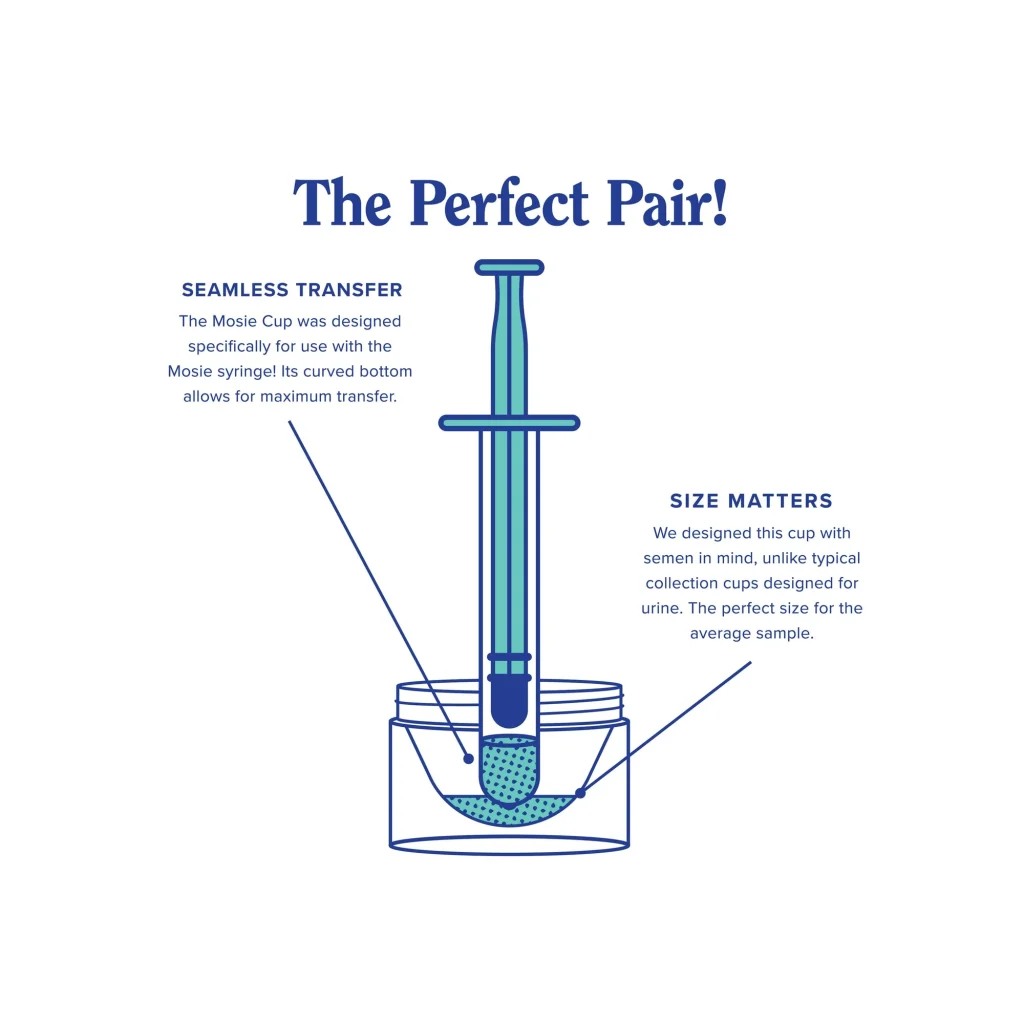
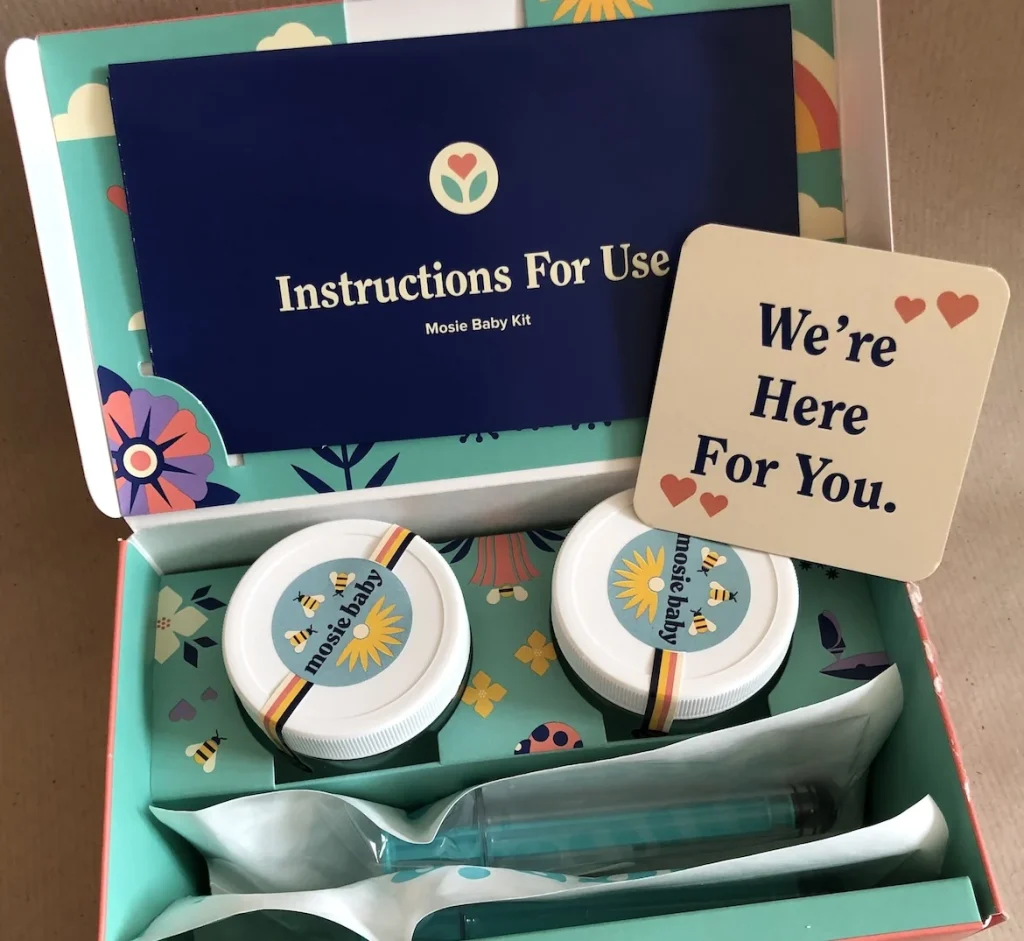
To perform home insemination, you will need the following equipment: a sterile syringe or insemination device, a collection cup, a timer, and a clean and comfortable space. It is important to use sterile equipment to avoid any risk of infection. You can purchase home insemination kits online, which include all the necessary equipment, or you can assemble your own kit with the above-mentioned items.
Step 4: Track Your Ovulation
Timing is crucial when it comes to home insemination. You need to ensure that you are ovulating before attempting the procedure. You can track your ovulation using an ovulation predictor kit or by monitoring your basal body temperature. It is recommended to perform home insemination within 12-24 hours of ovulation for the best chances of success.
Step-by-Step Guide to Home Insemination: A Starter Pack for Couples
Step 5: Prepare the Sperm
Before insemination, the sperm needs to be prepared. If using a sperm bank, follow the instructions provided by the bank. If using a known donor, the sperm can be collected in a sterile cup and kept at room temperature for up to an hour. The sperm should be liquefied before being used. You can do this by gently swirling the cup or using a sperm liquefying agent provided by the sperm bank.
Step 6: Insert the Sperm
Once the sperm is prepared, it is time to insert it into the vagina. This can be done using a syringe or an insemination device. The syringe should be inserted into the vagina and aimed towards the cervix. Slowly push the plunger to deposit the sperm close to the cervix. The insemination device works similarly, but it is designed to be inserted into the vagina and release the sperm at the right location.
Step 7: Rest and Relax
After the insemination is complete, it is important to rest and relax for at least 15-20 minutes. This will allow the sperm to travel towards the cervix and increase the chances of fertilization. You can also elevate your hips by placing a pillow under your hips to help the sperm reach the cervix.
Step 8: Repeat if Necessary
Home insemination does not guarantee success in one attempt. It may take multiple tries before achieving a pregnancy. If you do not get pregnant in the first try, you can repeat the process during your next ovulation cycle.
Important Precautions to Take:
– Always use sterile equipment to avoid any risk of infection.
– Keep the sperm at room temperature and do not expose it to extreme temperatures.
– Make sure to track your ovulation accurately to increase the chances of success.
– If using a known donor, have a legal agreement in place to protect all parties involved.
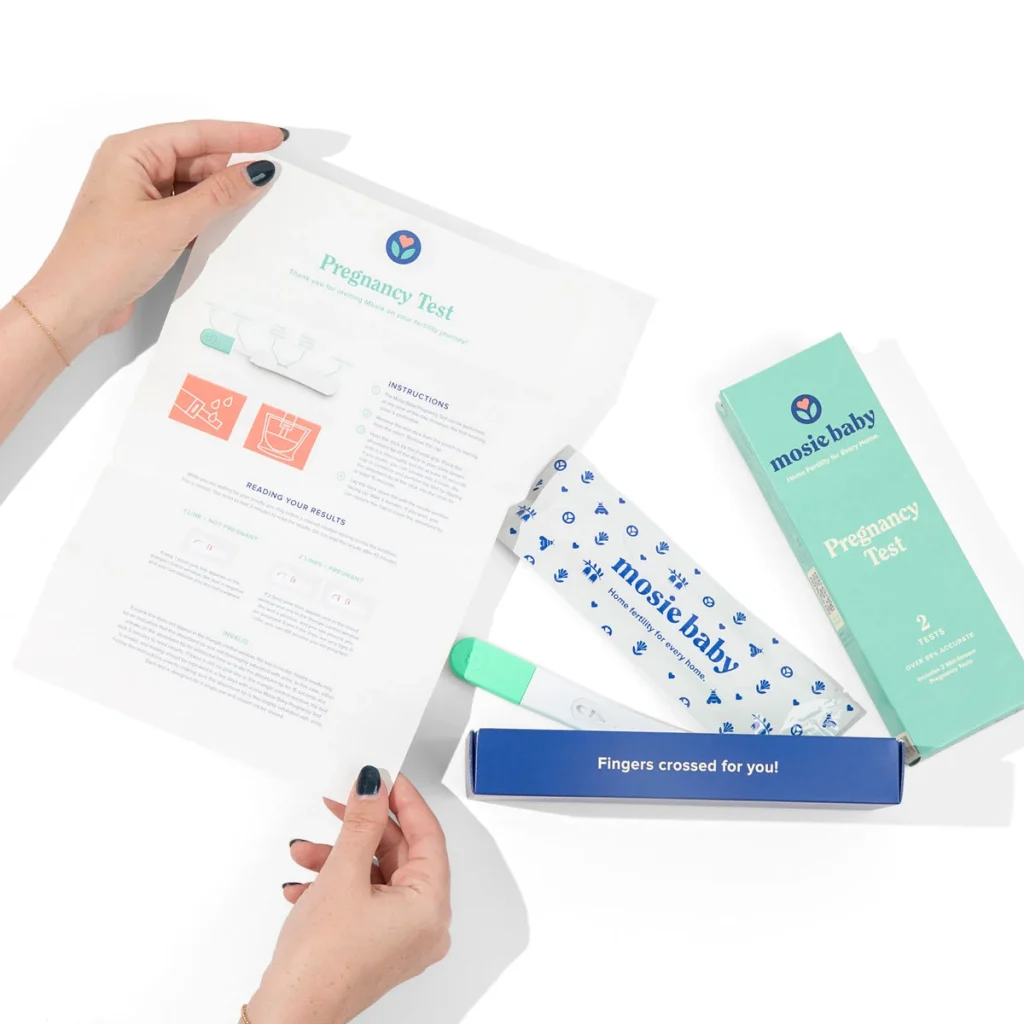
– Take a pregnancy test two weeks after insemination to confirm if the procedure was successful.
In conclusion, home insemination can be a viable option for couples who are looking for a more affordable and convenient fertility treatment. By following the above-mentioned steps and taking necessary precautions, couples can increase their chances of success with home insemination. It is important to consult with a healthcare professional before attempting home insemination to ensure that it is the right option for you and your partner.